Resin Flooring

Resin Flooring Kits from EPODEX

Resin Flooring

Resin flooring can be applied to any pre-existing floors. Whether you are working on concrete, wood, or leveling compound. Shop now one of our one-of-a-kind flooring kits!

  • Ideal for all types of floors such as industrial floors, garage floors, and designer floors
  • Layer Thickness: 1/16″
  • Working time: 60min, Curing time primer: 8-12h, Curing time main coat: 16-24h.
  • Kit consists of suitable epoxy primer as well as resin and hardener (mixing ratio 2:1) for the main coat. Epoxy primer not included with the clear kit.
  • Select a kit and receive the right amount of colorants to color your epoxy.

Select your color

Color Selection
epoxy floor grey

Working on Concrete Flooring

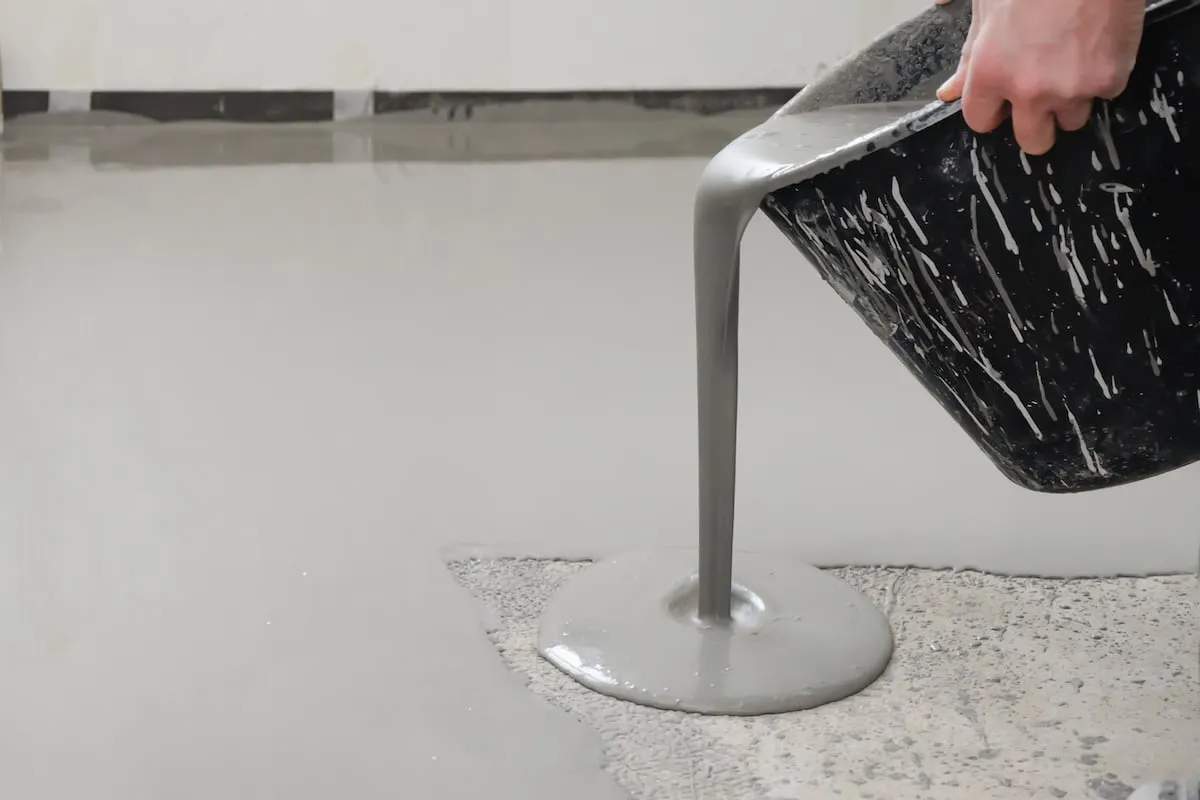
Before applying your resin flooring kit, make sure that your concrete is dried, leveled, and non-porous. Fill out any cracks or holes with mortar. If your concrete is porous, we recommend applying an extra layer of a saturating primer. If your concrete floor isn’t leveled, you have 2 options. First, you could level the area using a leveling compound. Or you could apply more resin than recommended to level out the area. Our resin flooring kit is self-leveling and by applying more resin, your floor will automatically be leveled.

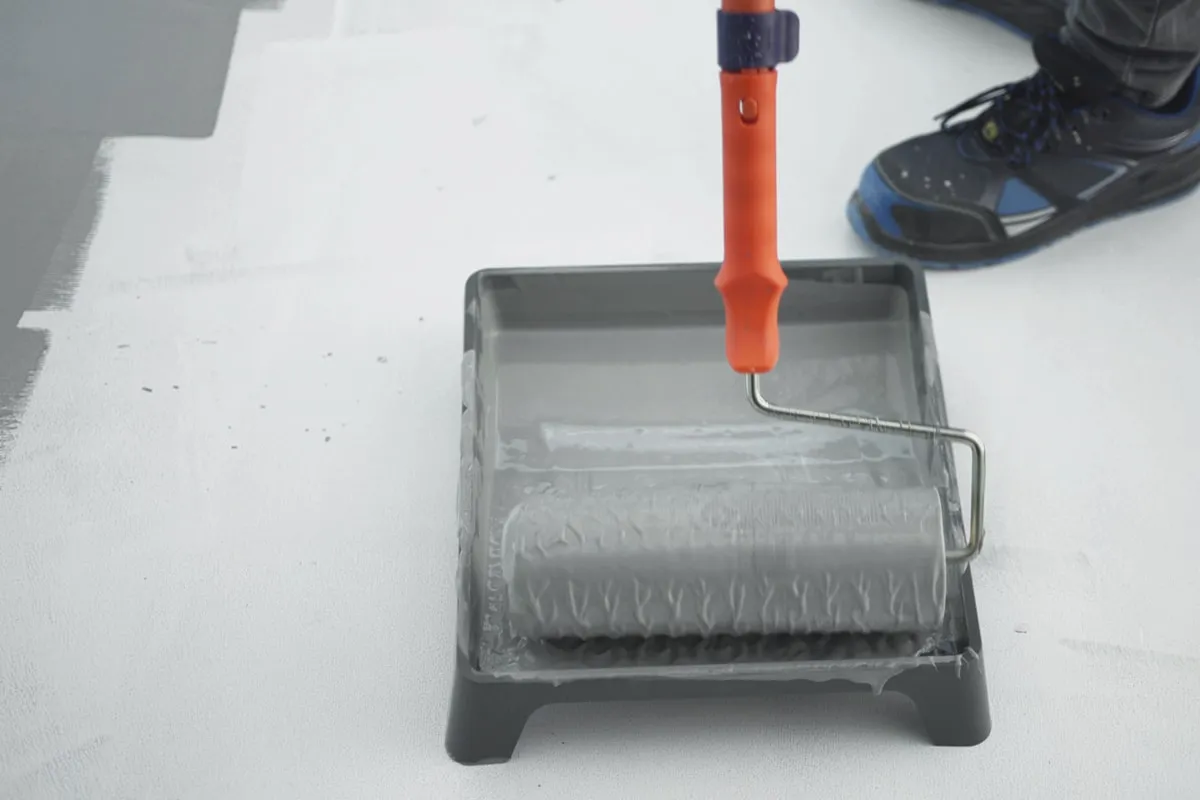
Now your concrete floor should be leveled, non-porous, and completely dry. Continue with the supplied primer. All our resin flooring kits include a primer. Mix the primer well before use. Then, apply it with a paint or foam roller over the entire area. Let it dry.

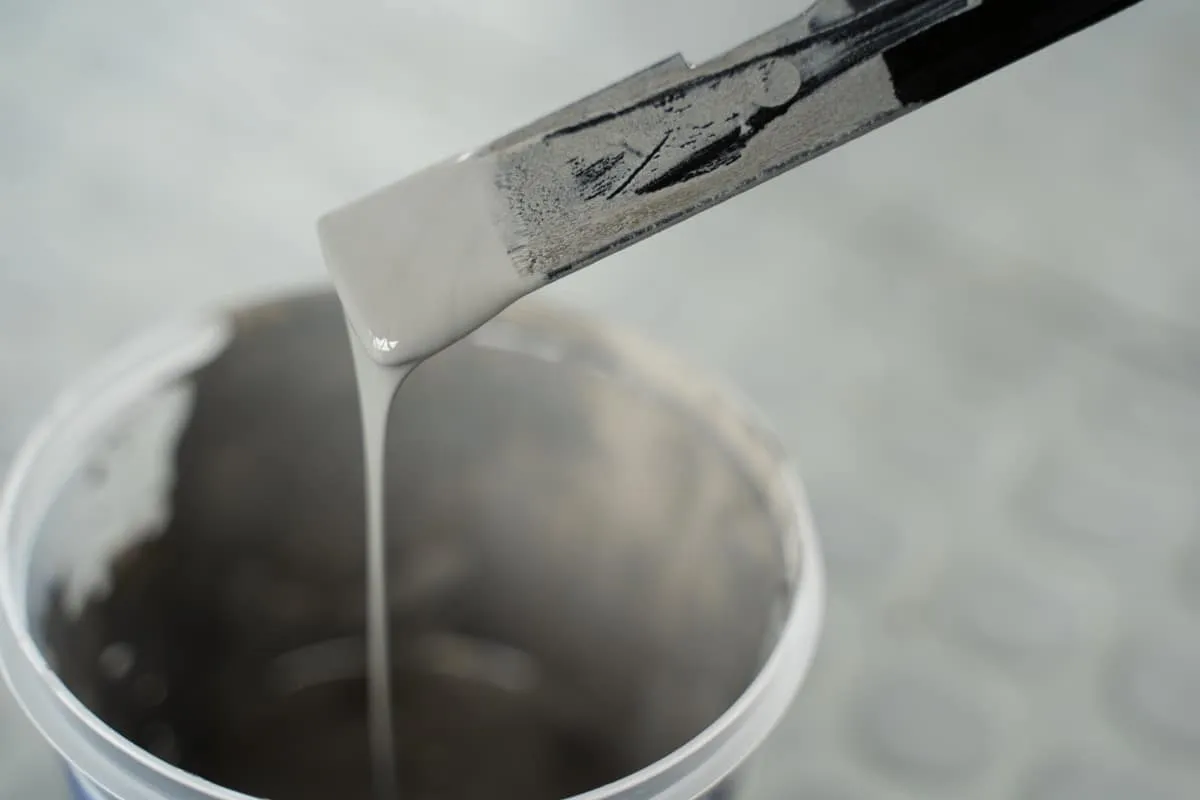
Now that your primer is dried. Continue with the main coat. The main coat application depends on the selected resin flooring kit. We propose kits with 1, 2, or 3 colorants. You’ll find instructions on how to apply the main coat here.

Robert Johnson
Robert Johnson
Any questions? I am glad to help!

More than

314,000+

Satisfied costumers

4.78/5

Based on 3.100 ratings

I am a pro a this art and this product by far is top line and very easy to work with.

13.08.2022

I am an artist and have worked with Epoxy before but this by far is the easiest and clearest epoxy. Color range is fab !

09.08.2022

The quality and ease of use compared to other products I have used in the past is incredible ! I found it super easy to use, and my projects turned out great!

10.07.2022

Transparency
Quality
Customer Service

Resin Flooring on Wooden Floor

When working on a wooden floor, preparation is everything. If you wish to oil your wood to change its color, do it in advance. Let the oil or varnish dry completely before applying our epoxy. Again, make sure that your flooring is leveled and non-porous. If you are working on porous wood, start by applying a suitable primer.

Most people are choosing to apply a clear epoxy flooring kit onto wood to protect it and make it easier to clean. To keep the wooden effect, we do not recommend applying a leveling compound prior to the resin. In that case, it is better to plan more resin. We recommend working in layers to fill small gaps and level you’re flooring.

With our clear flooring kit, you will receive enough resin and hardener to apply 2 coats. The amount supplied is calculated for a leveled non-porous wooden floor.

Start by applying the first coat. To do so, mix the resin and hardener in a 2:1 mixing ratio. For example, 2gal of resin with 1gal of hardener. Stir until the mixture is free of streaks. Pour the mixture onto your wooden floor. Guide it over the entire area with a squeegee. Let the first layer cure for 1 day.

Once your first layer is cured, you can continue with the second layer. Mix the resin and hardener again until the mixture is free of streaks. Pour the mixture and guide it with the squeegee. Let the second layer cure for at least 1 day before walking on it. Final hardness will be achieved after 7days.

cast resin liquid floor
epoxy concrete flooring
epoxy primer for floors
Cart
Languages
chat-icon