Get the service you deserve!
✓ Guaranteed hassle-free shopping experience. Simply select the color and the epoxy quantity you want. We automatically calculate the required amount of colorant to dye the clear epoxy.
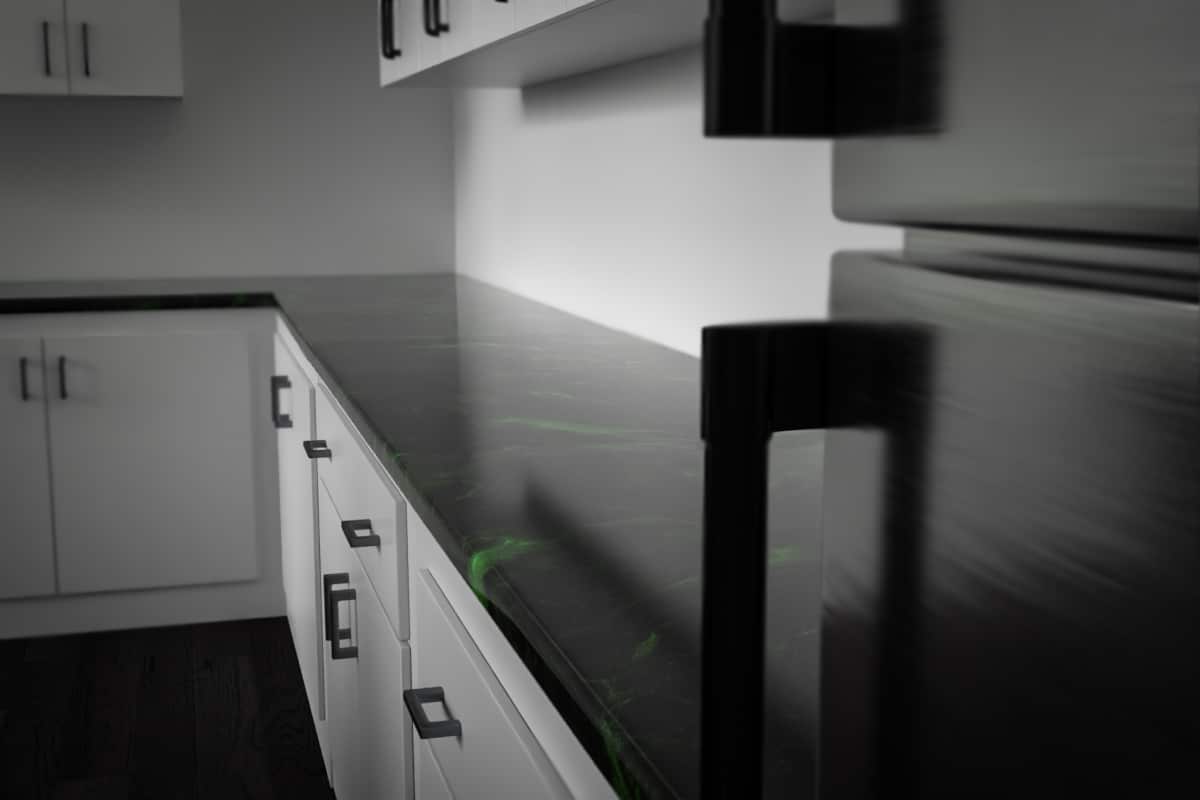
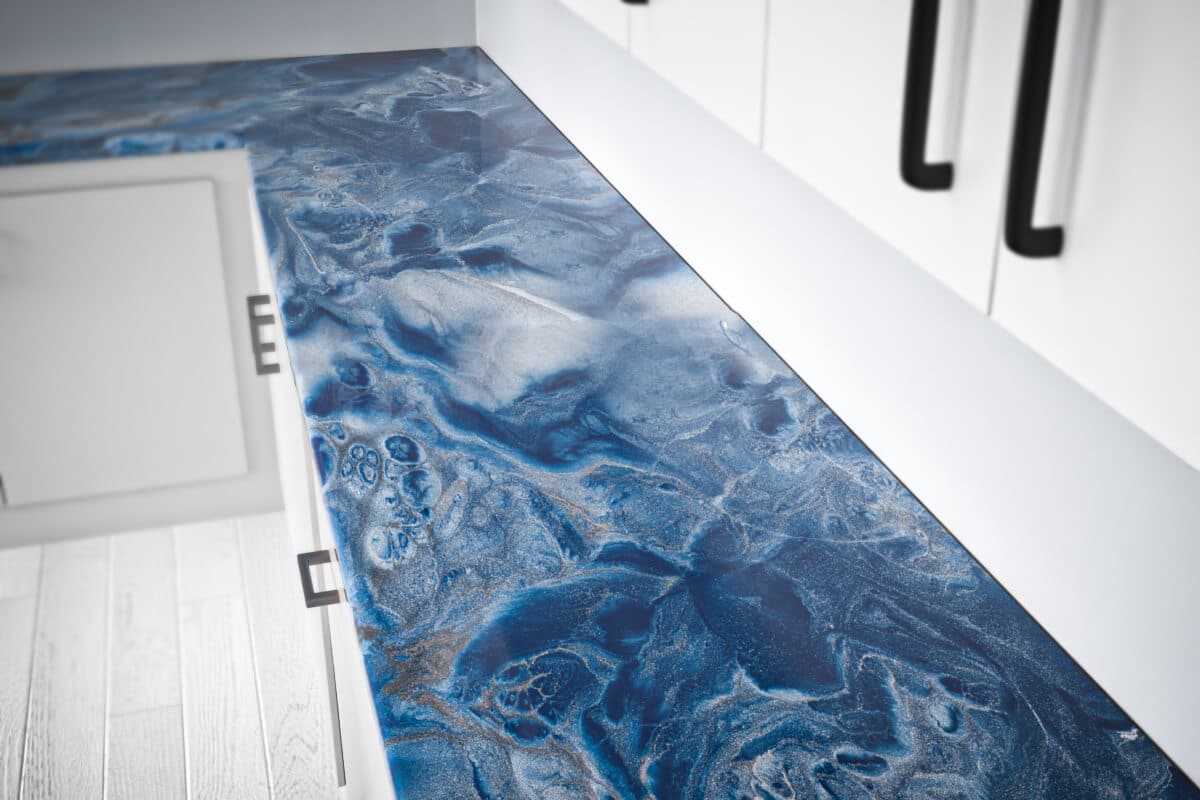
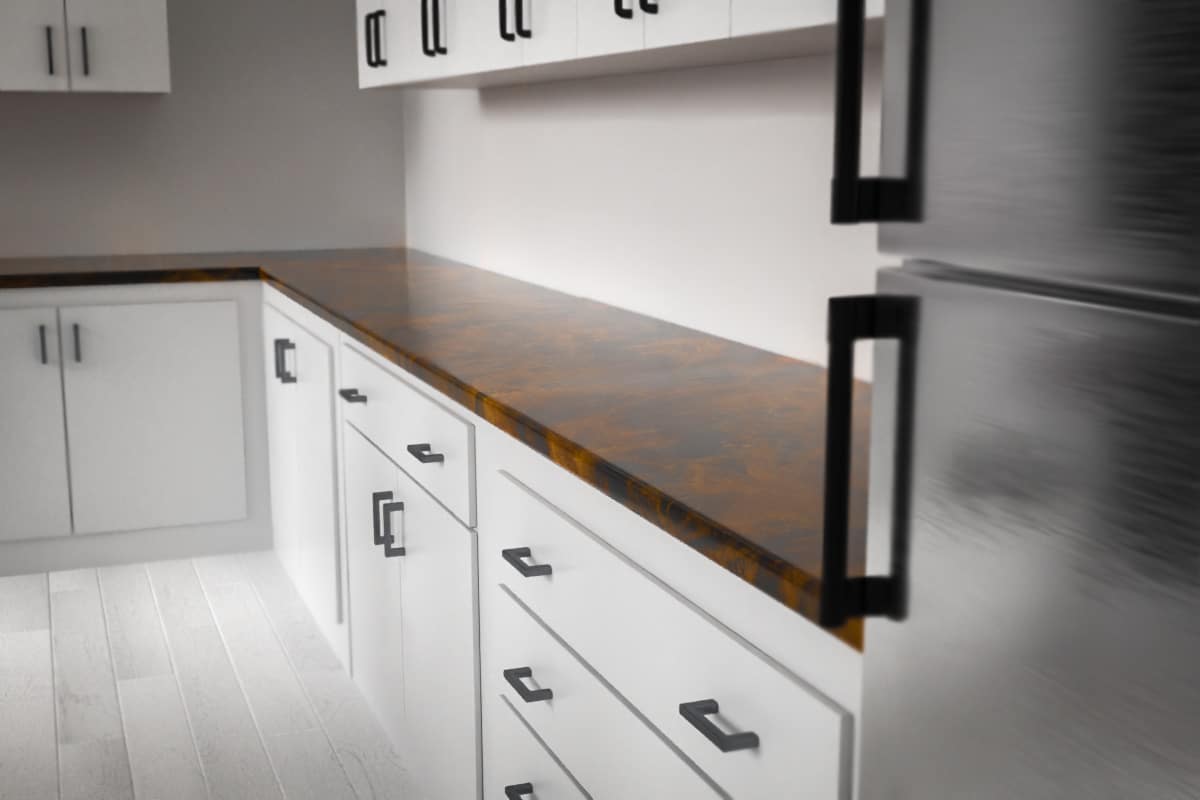
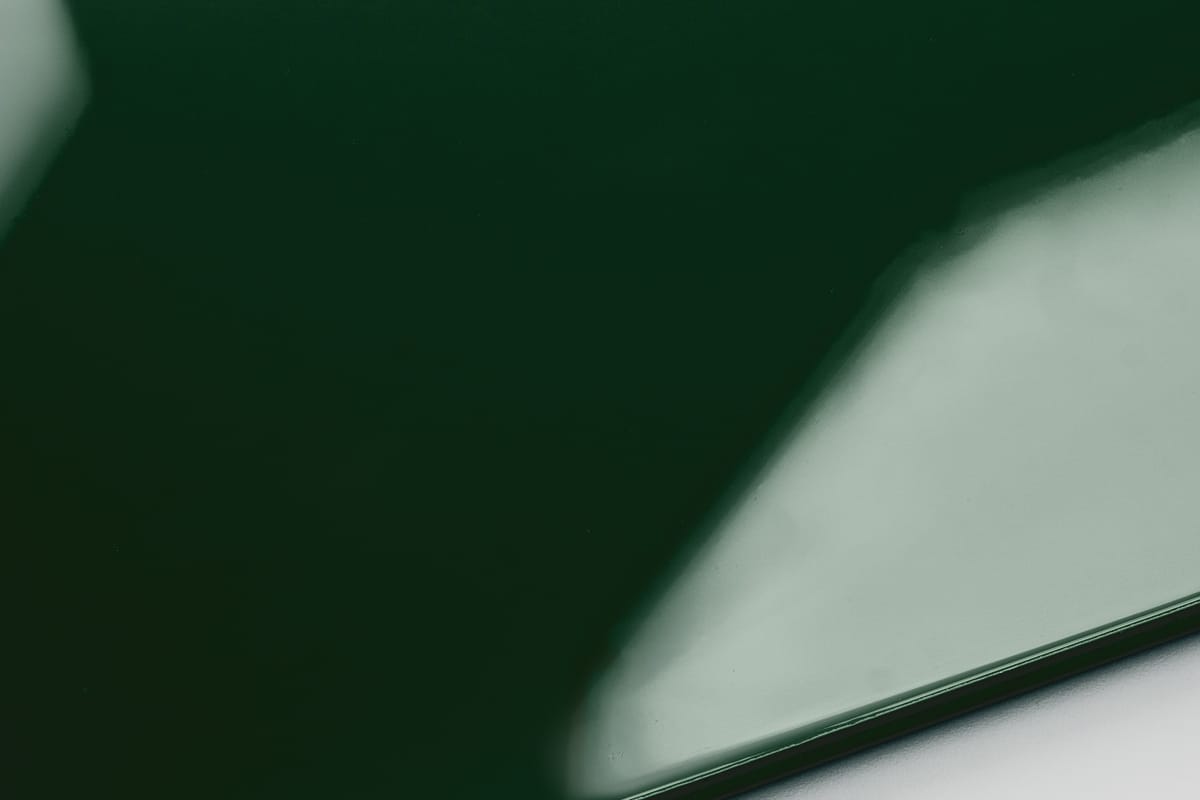
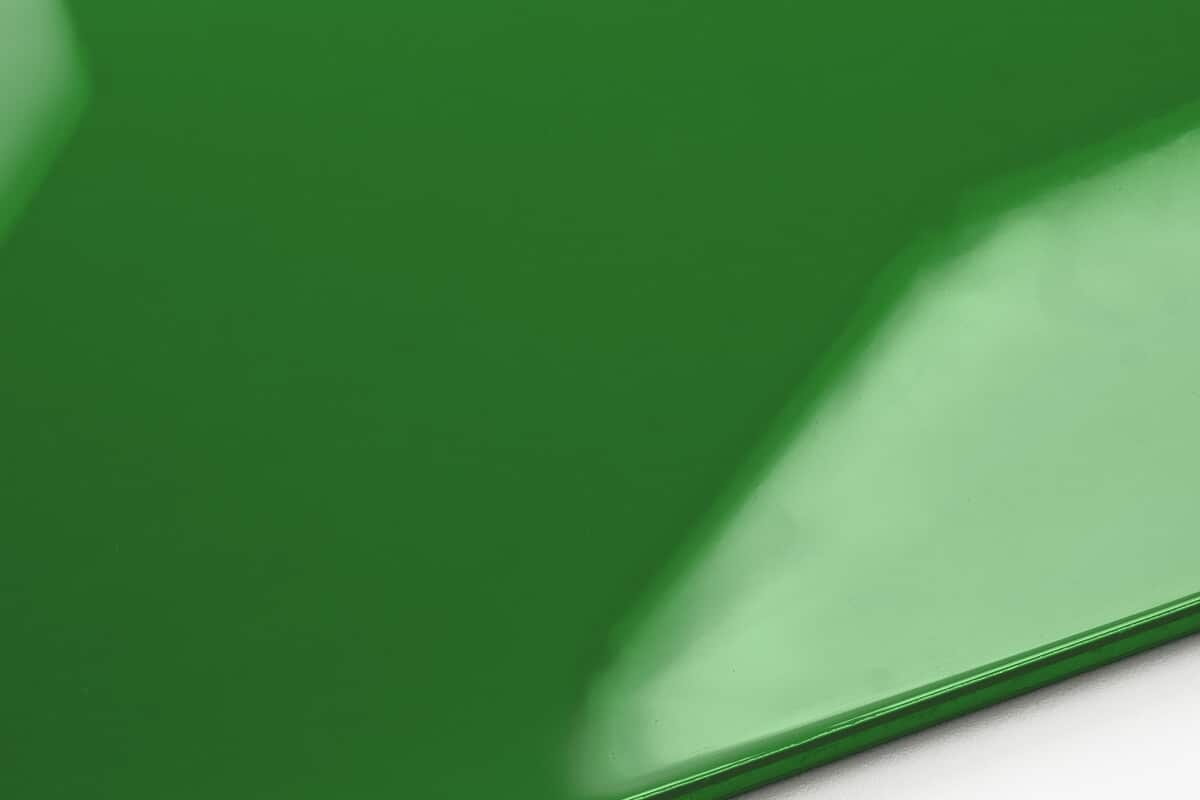
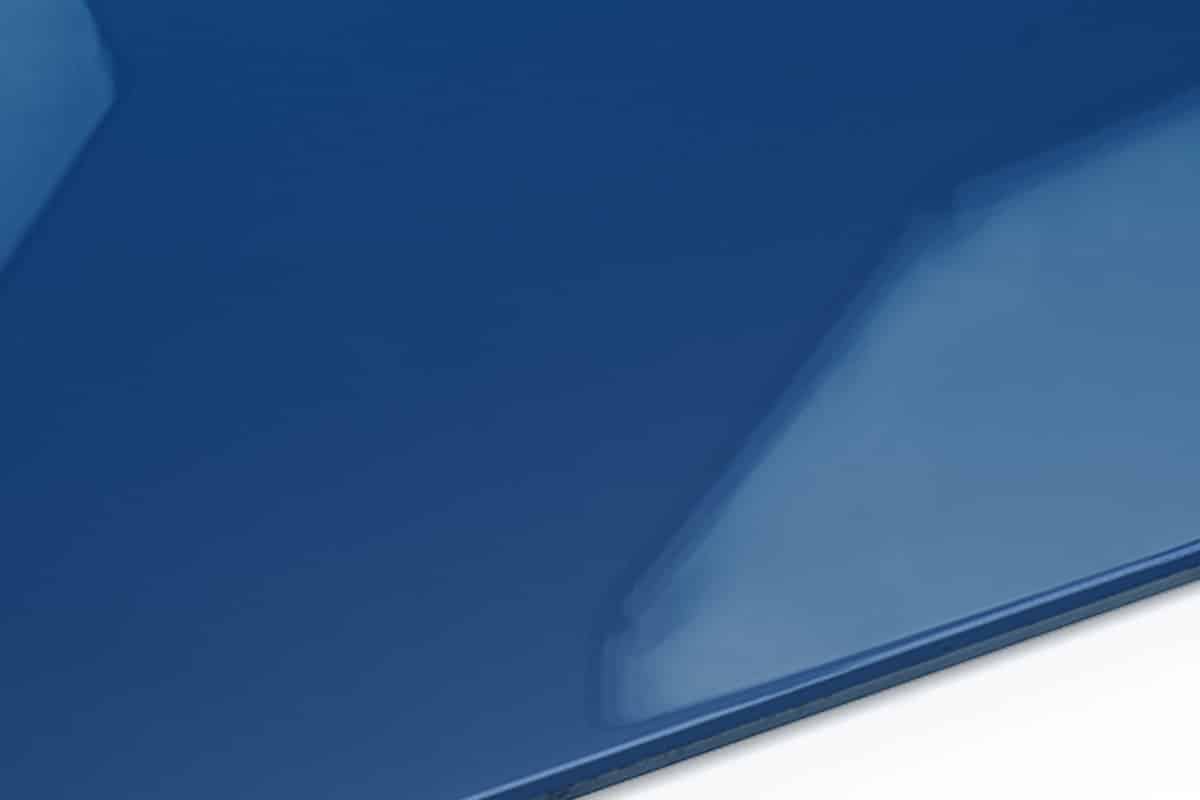
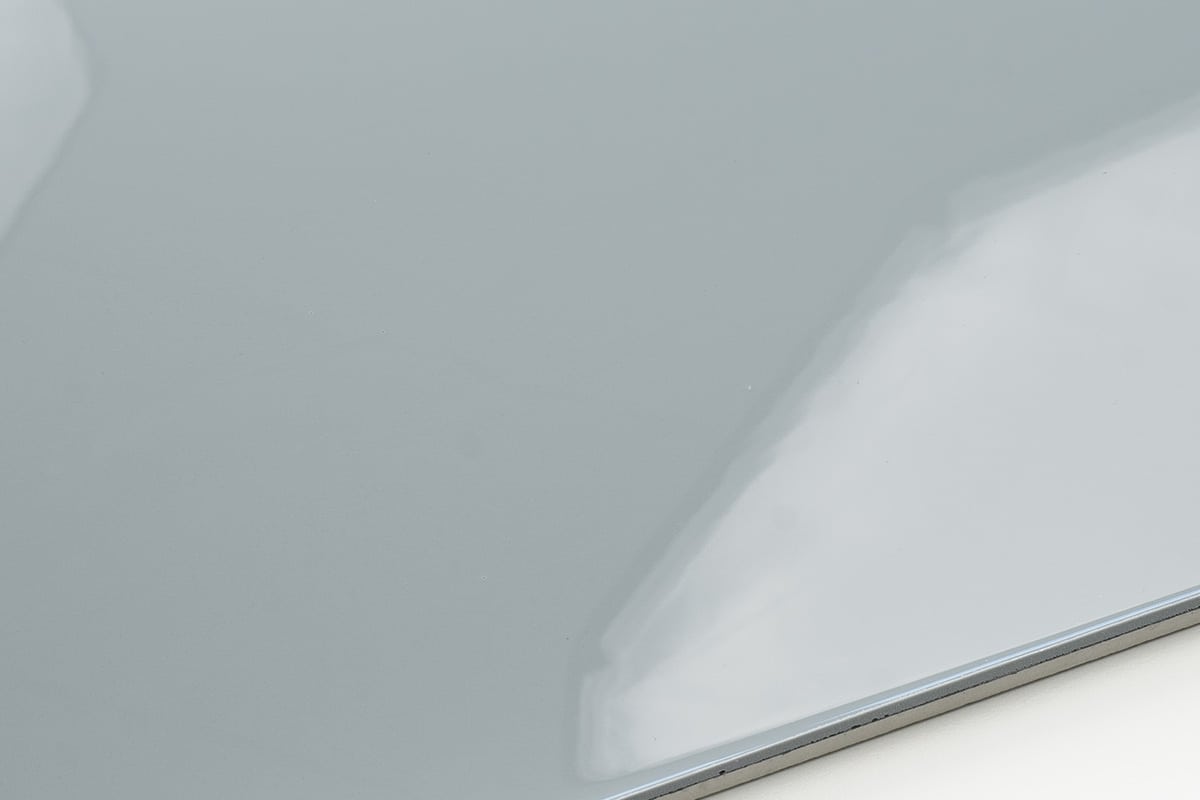
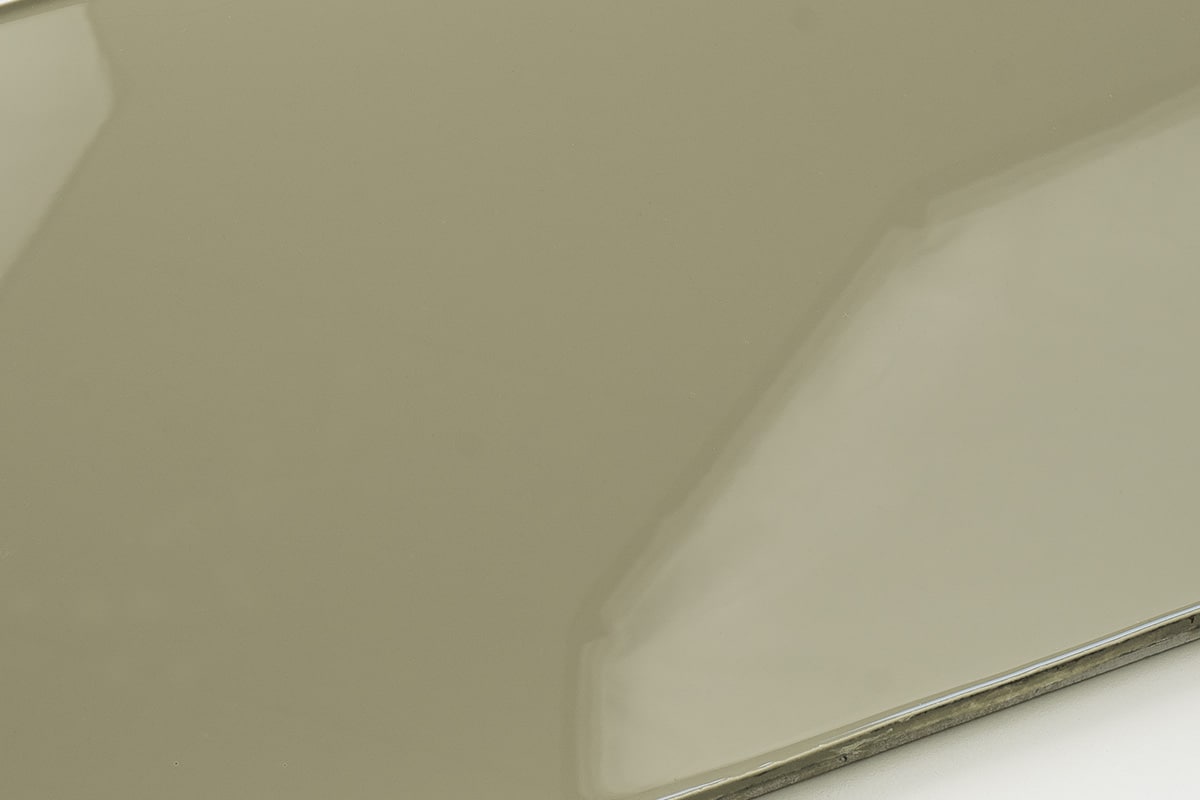
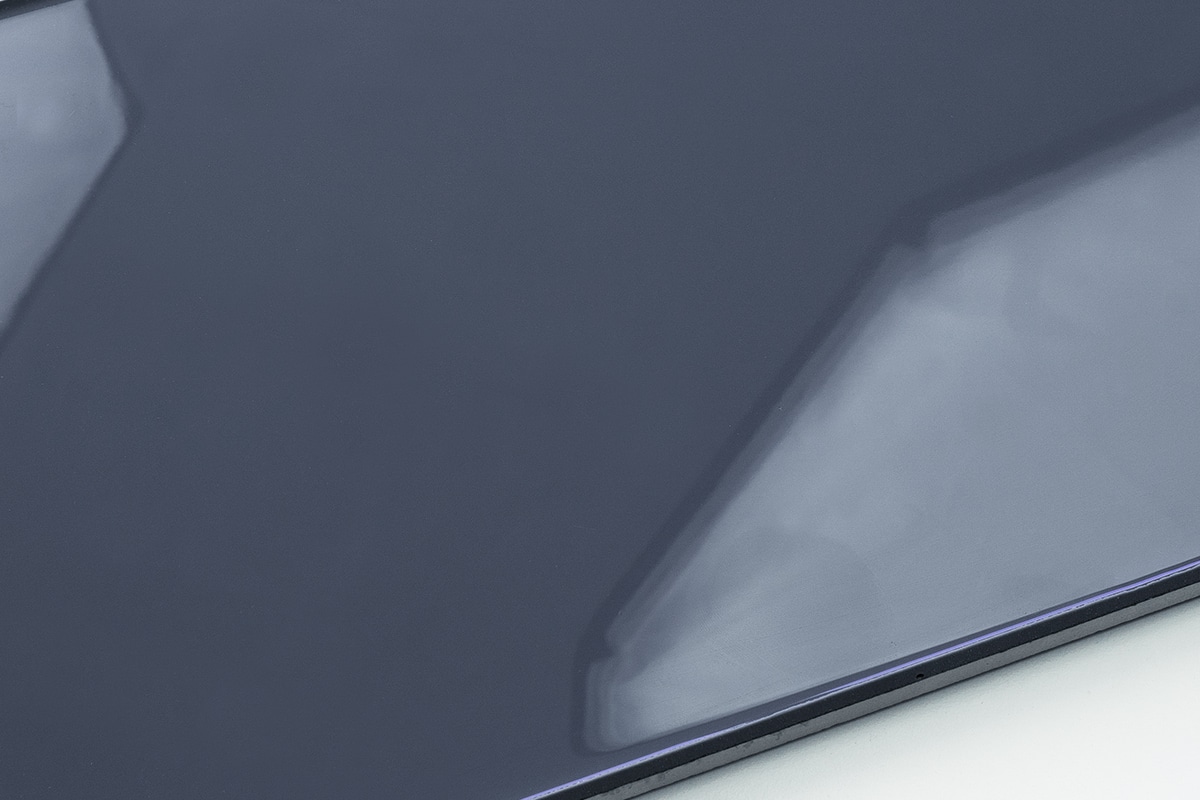
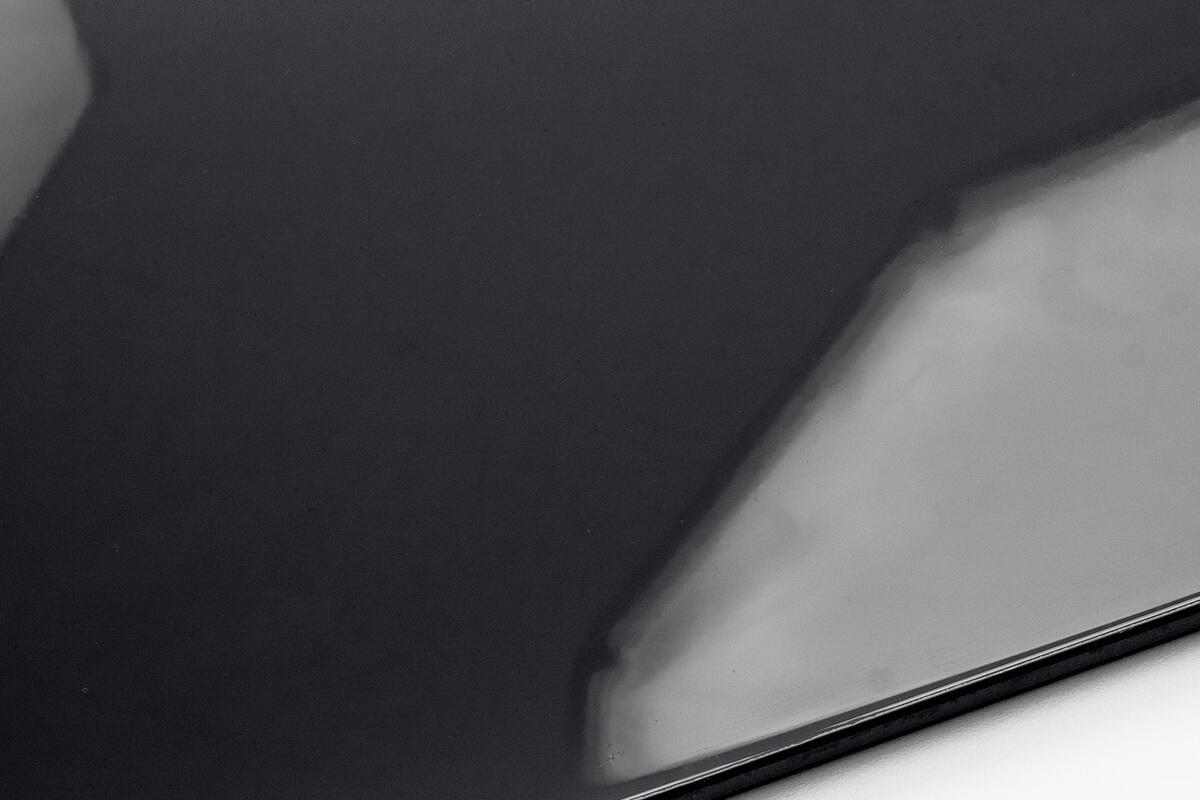
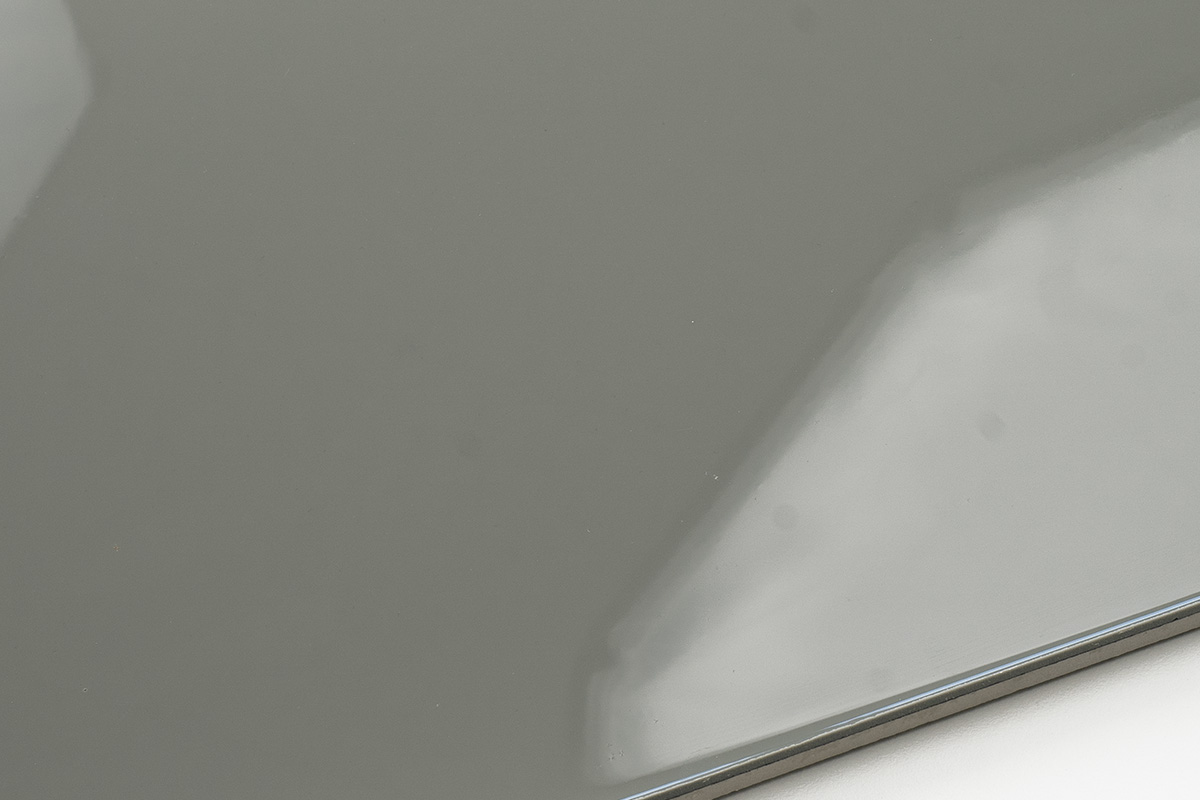
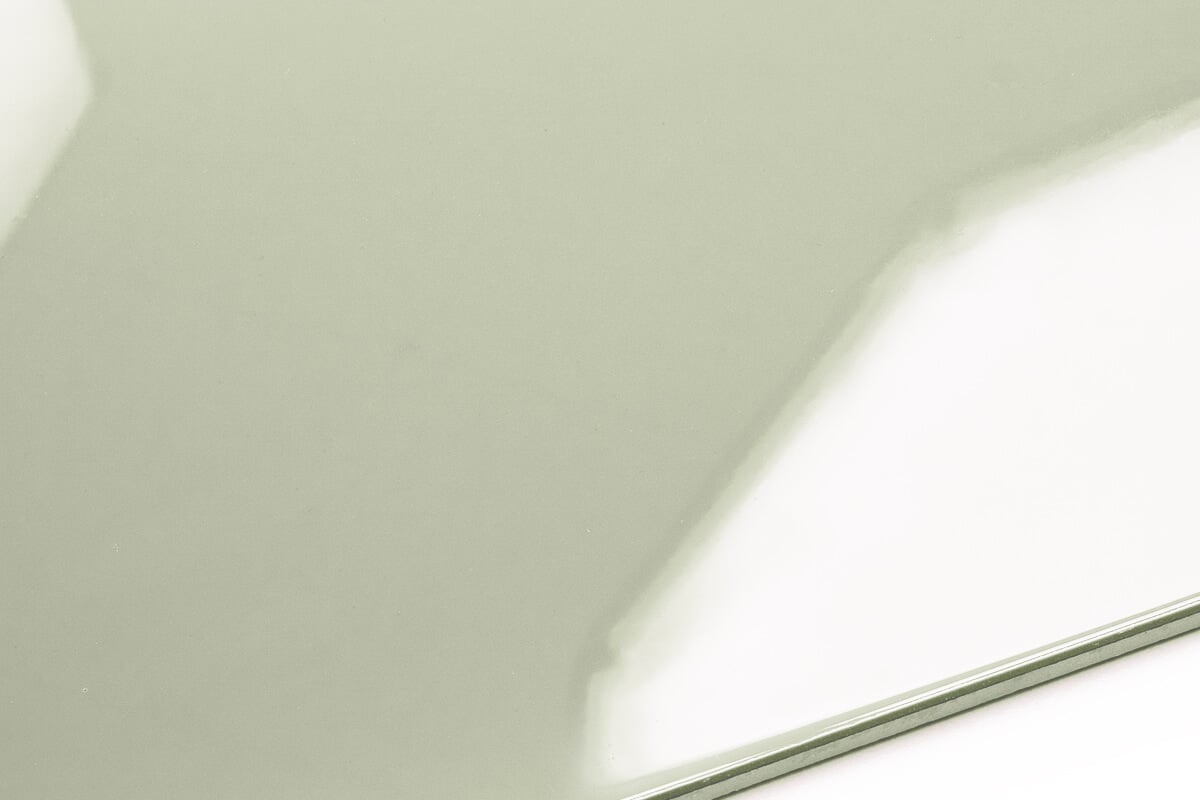
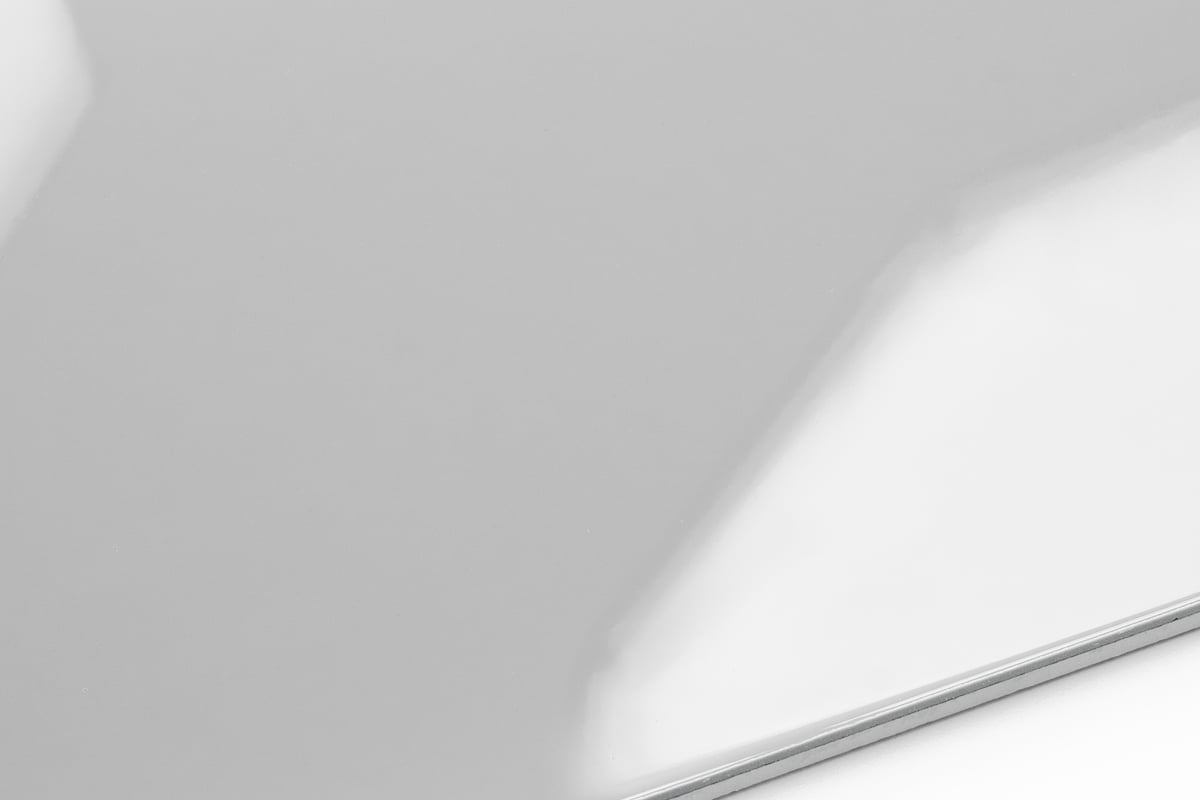
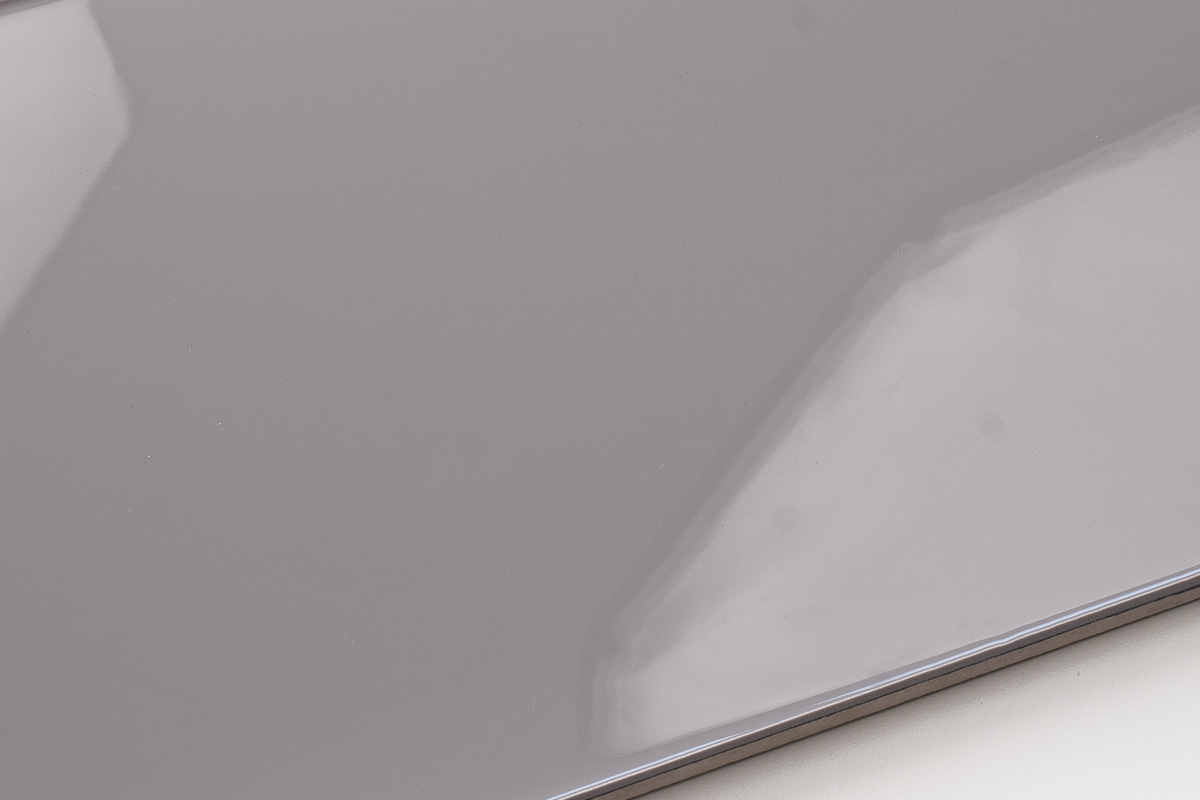
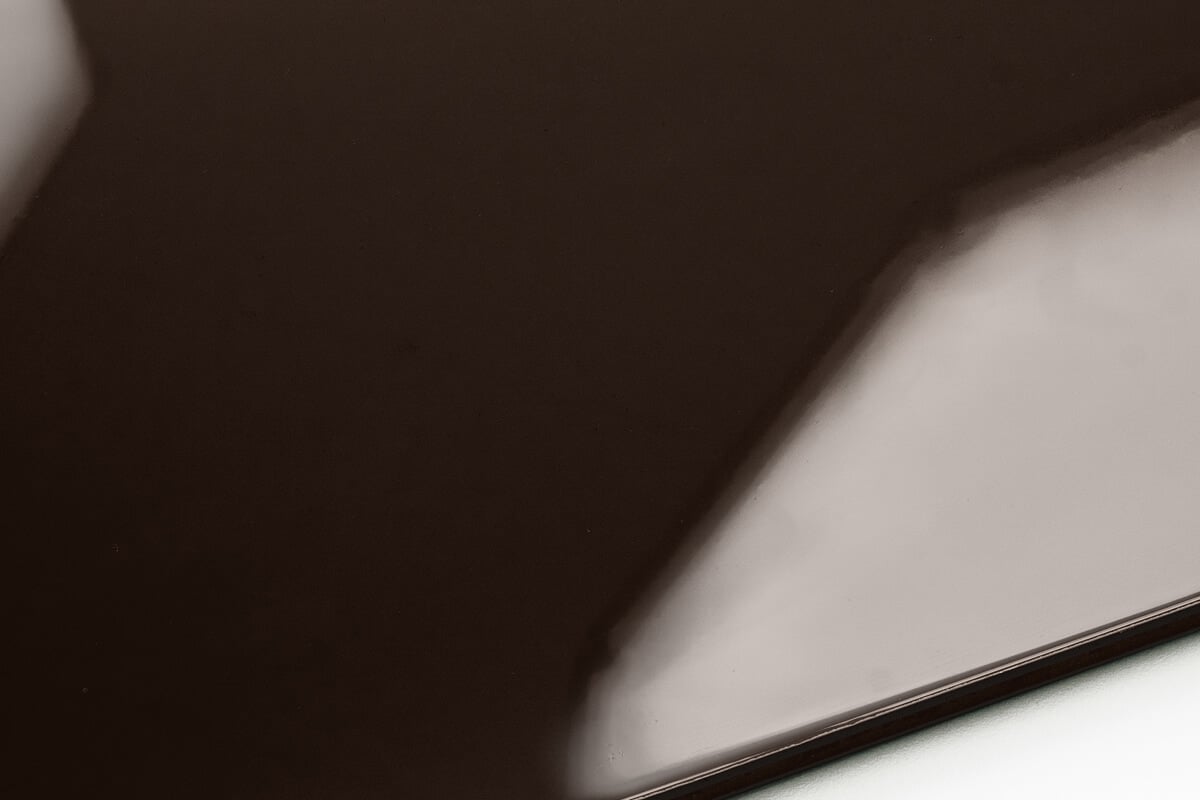
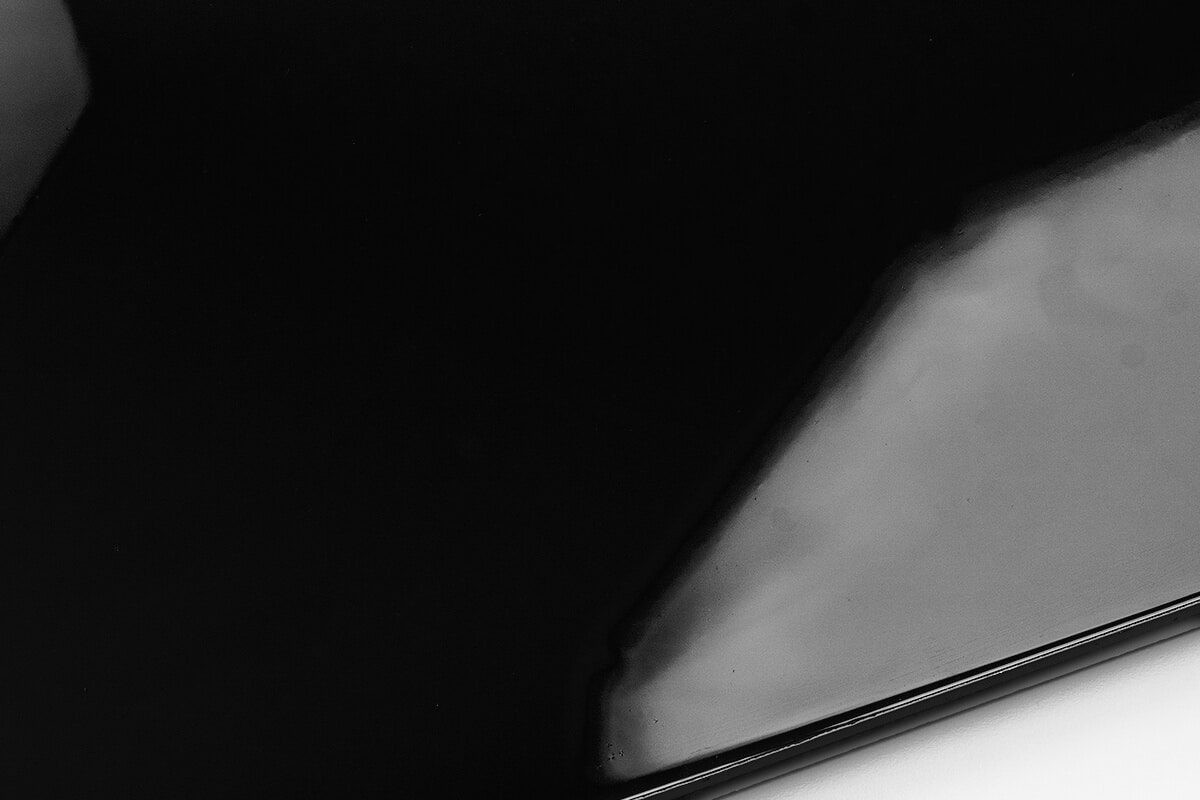
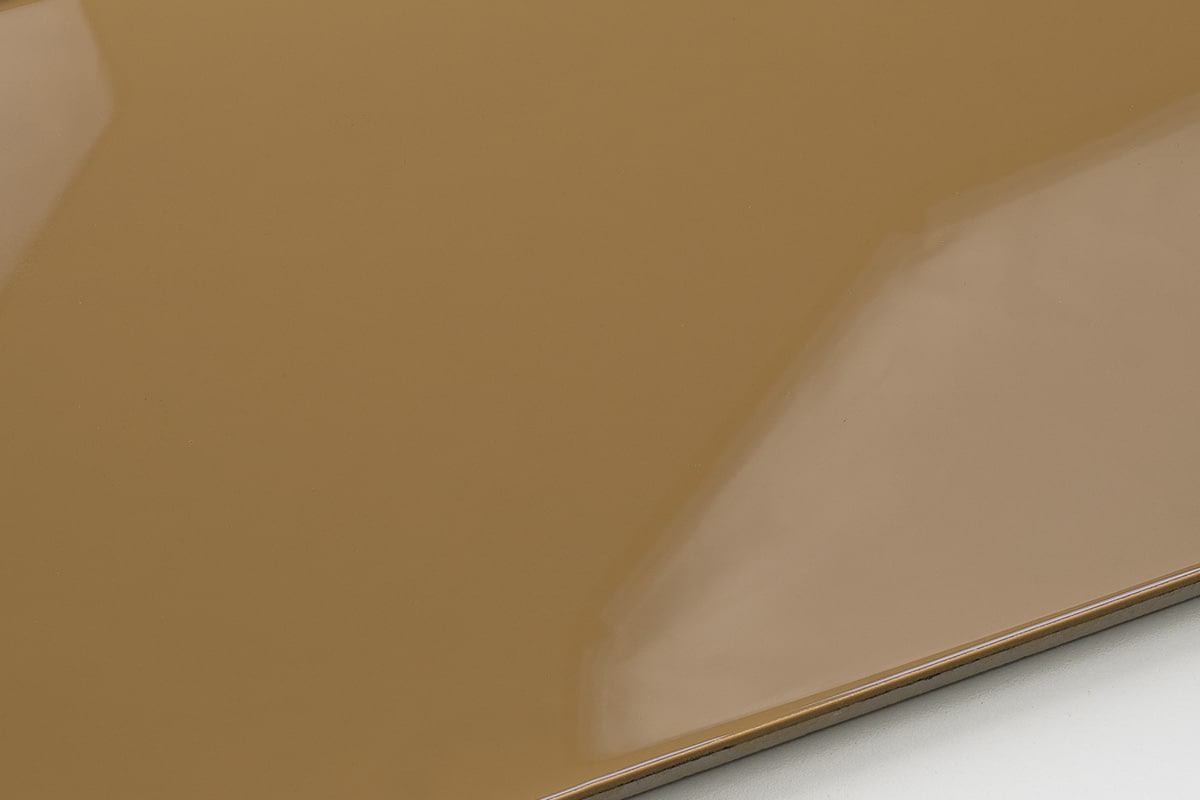
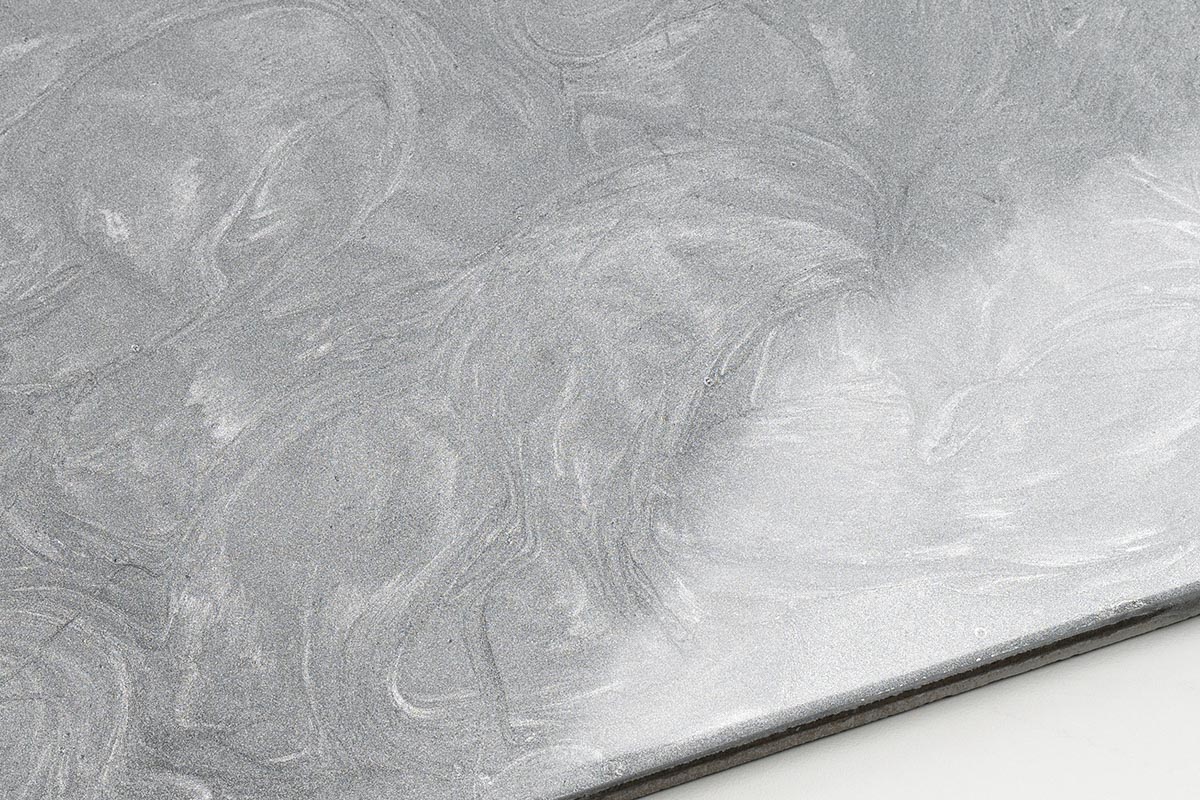
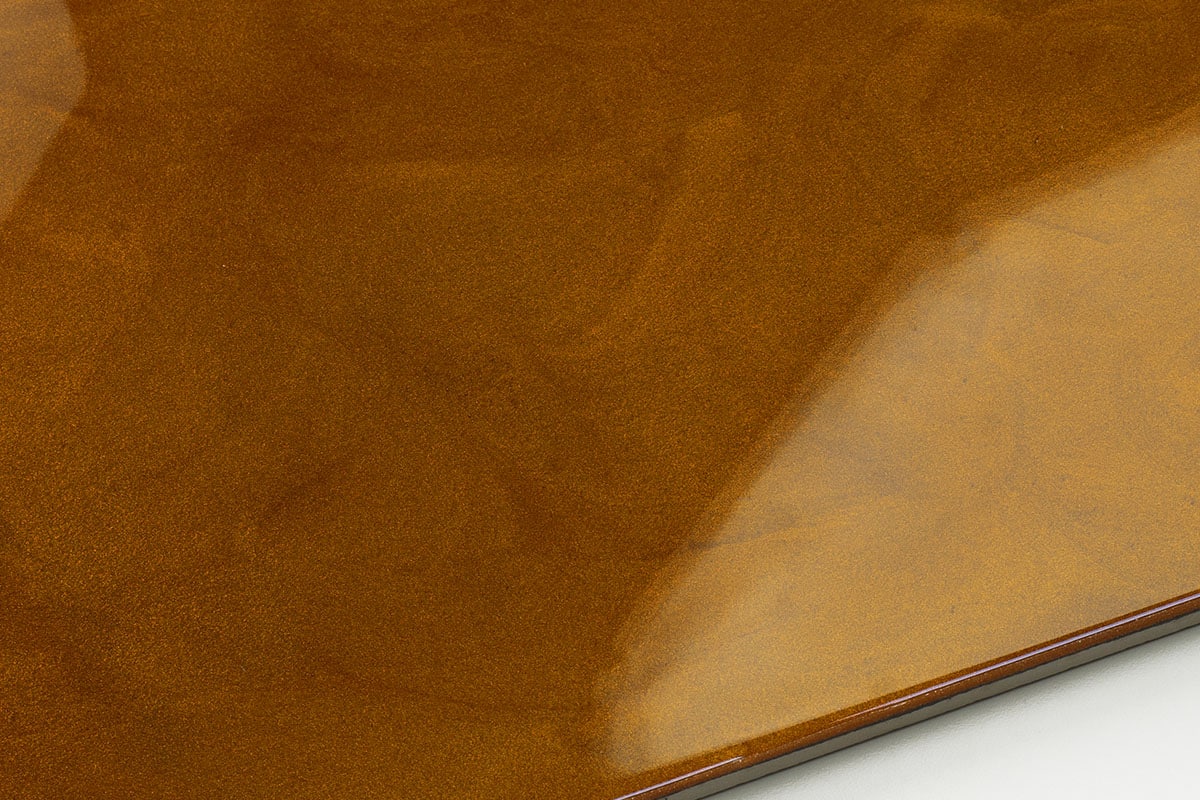
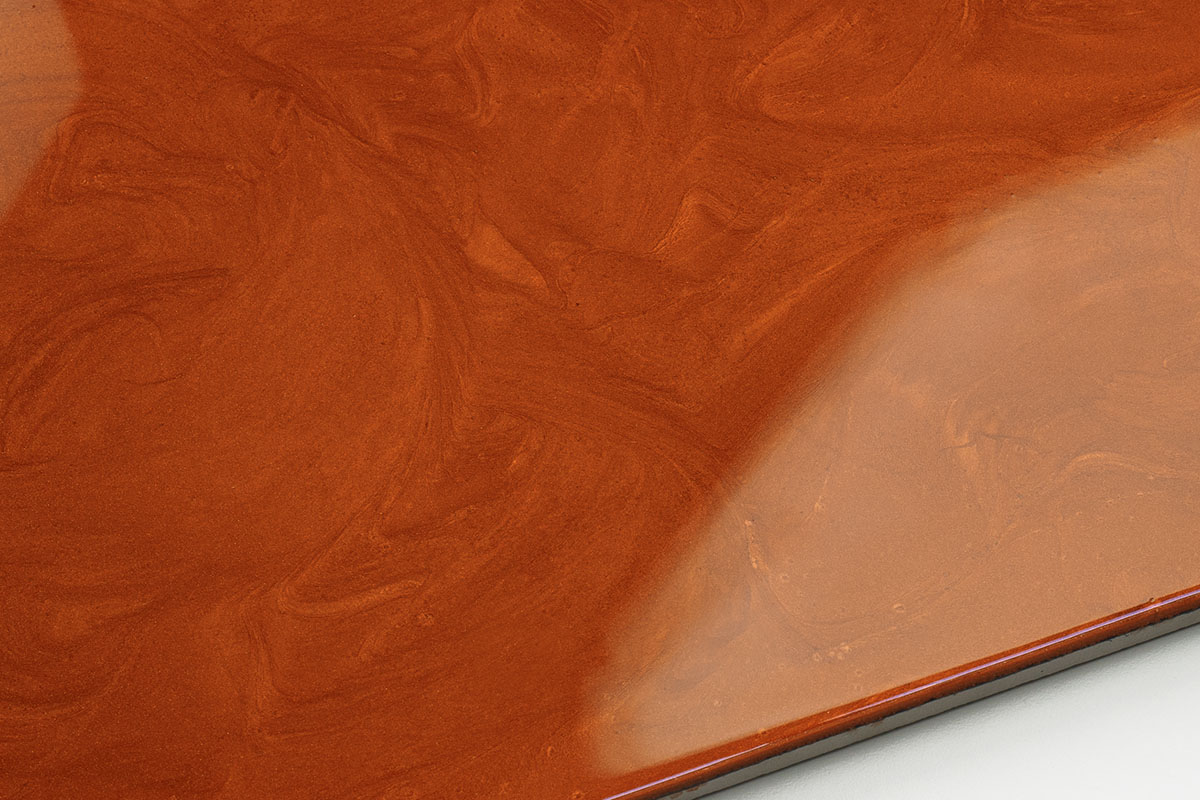
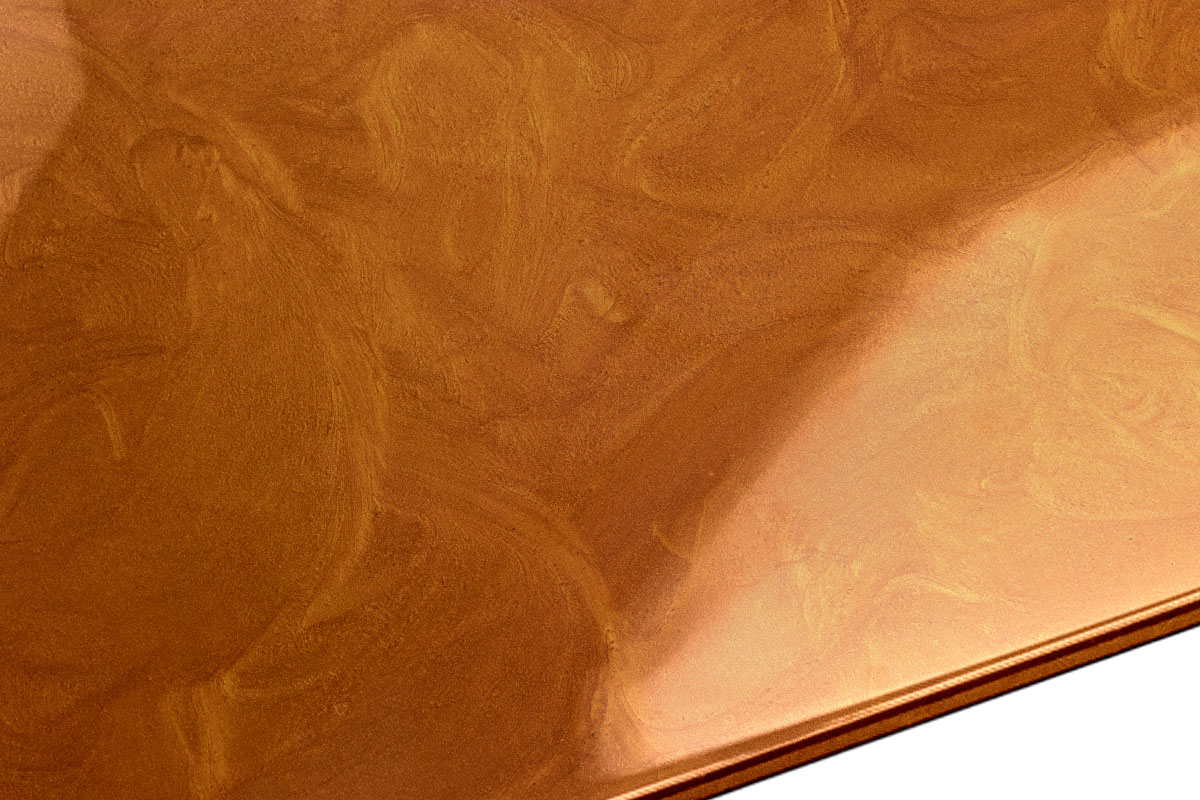
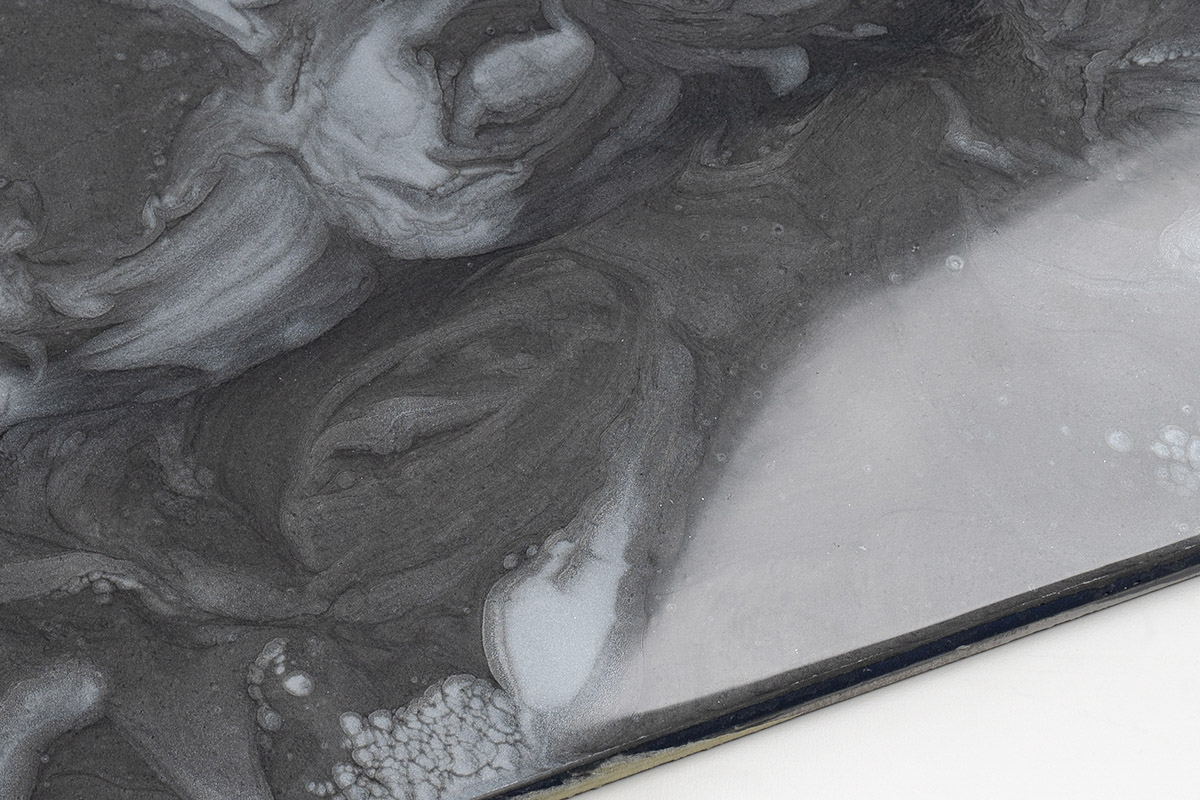
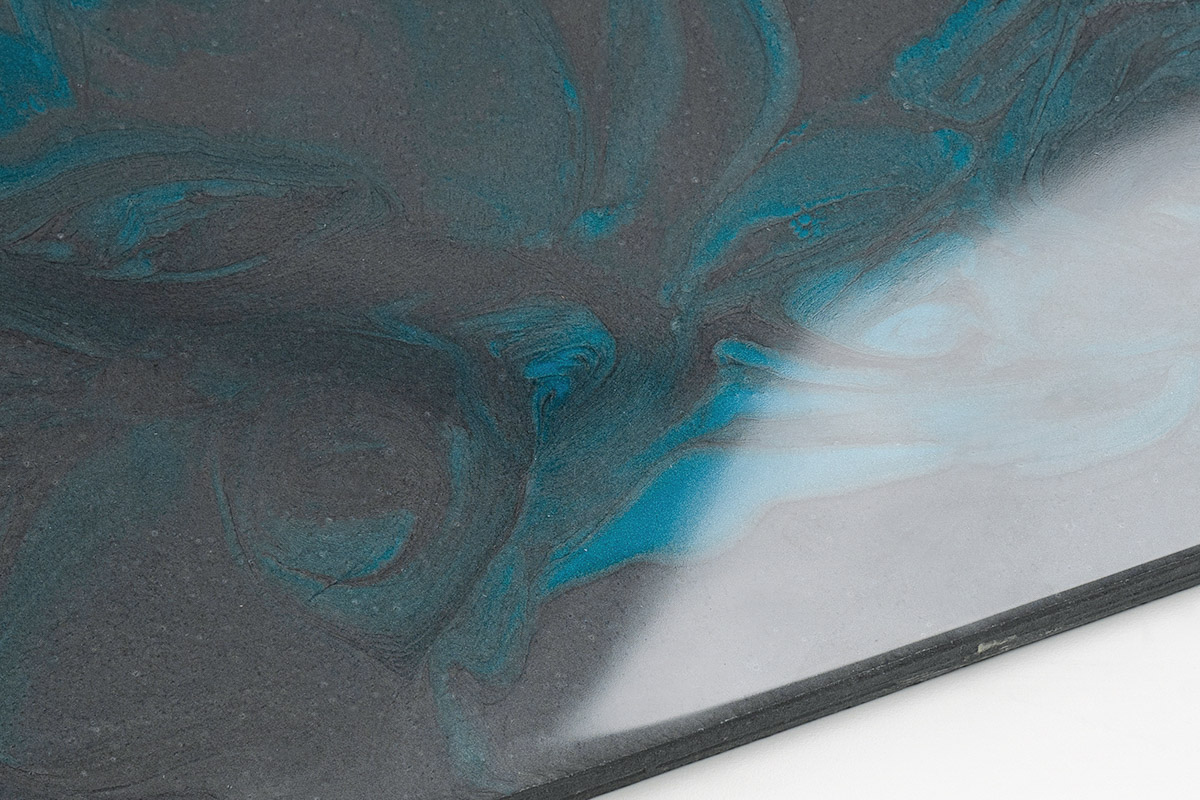
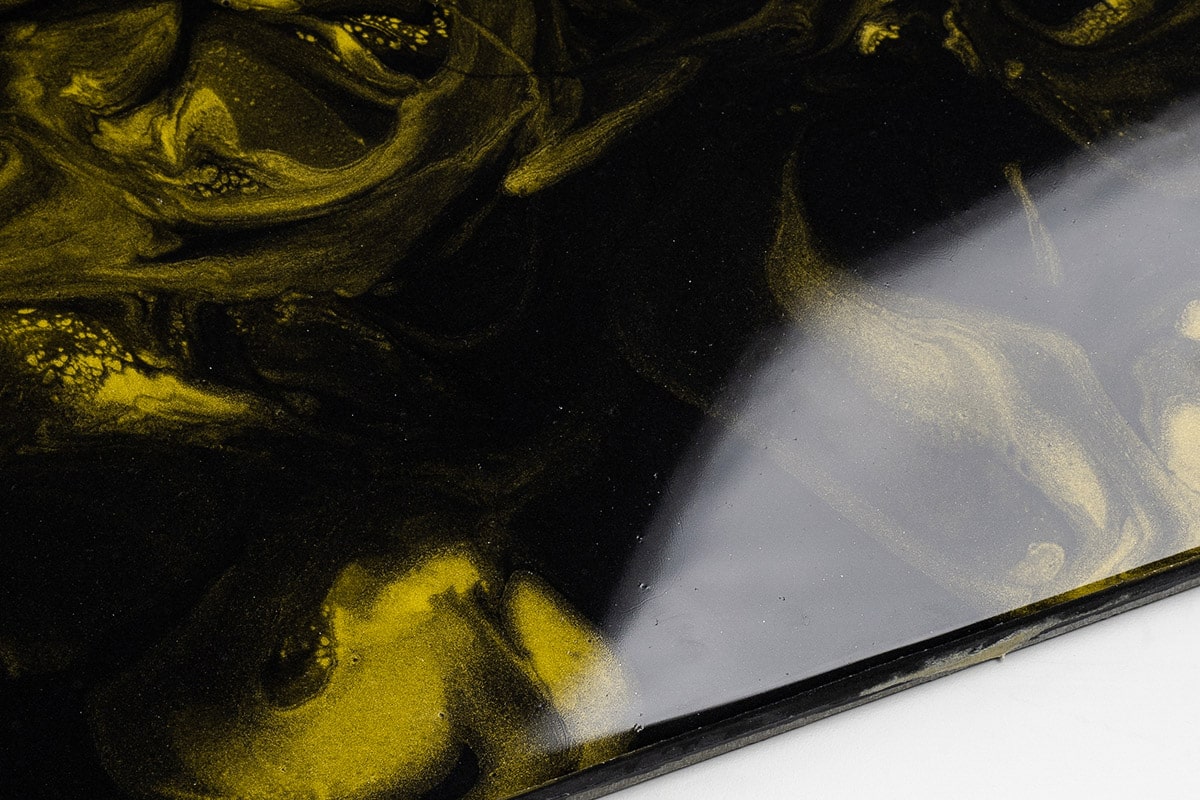
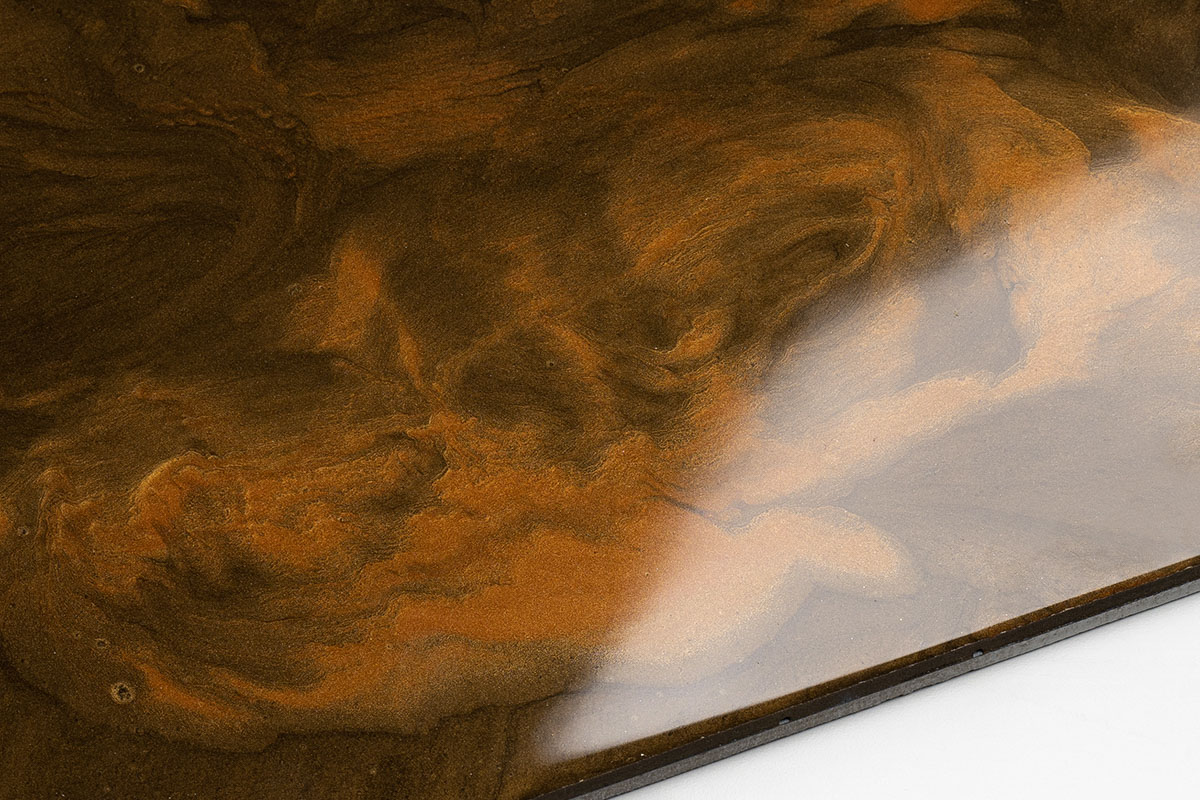
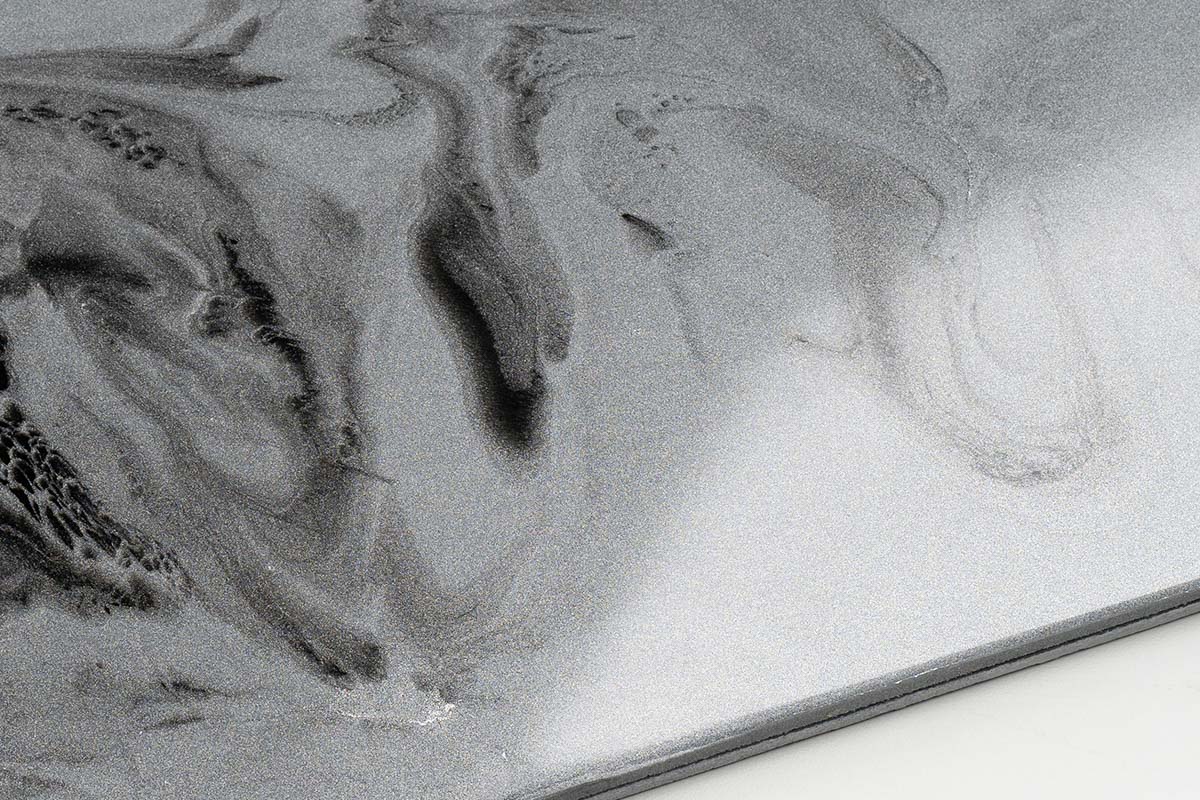
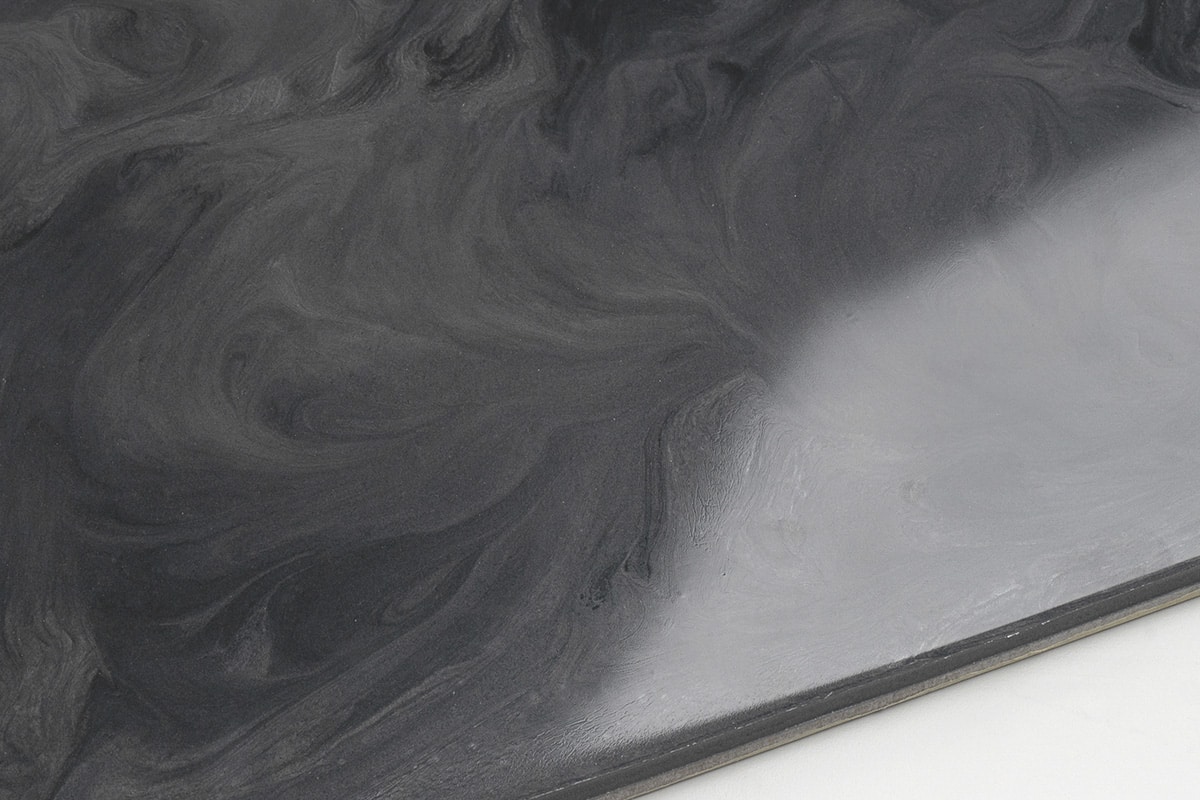
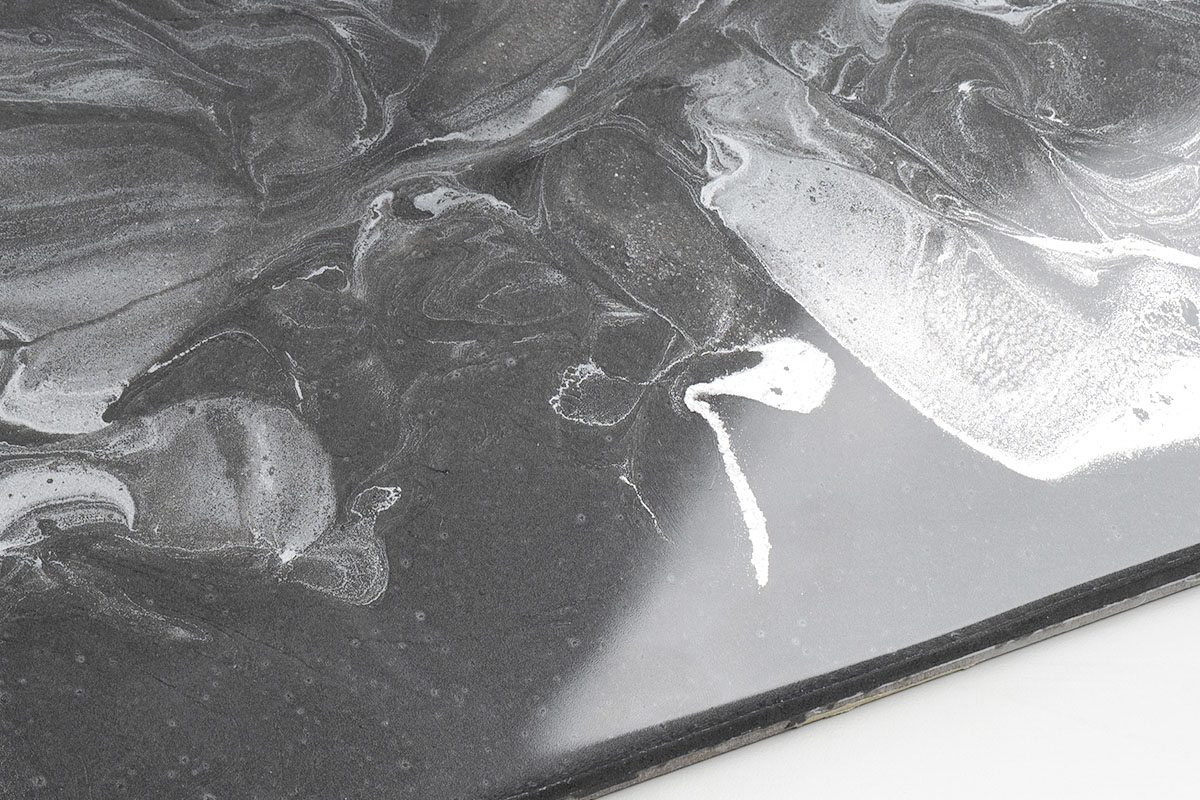
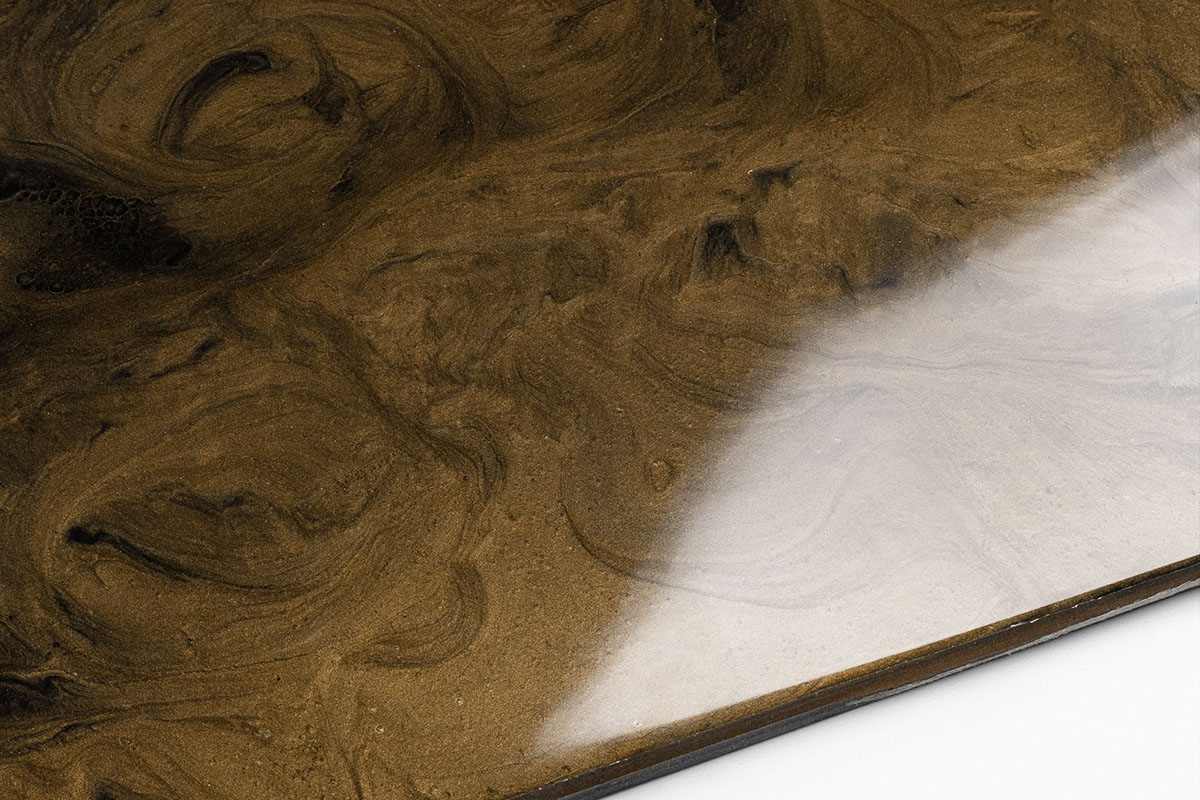
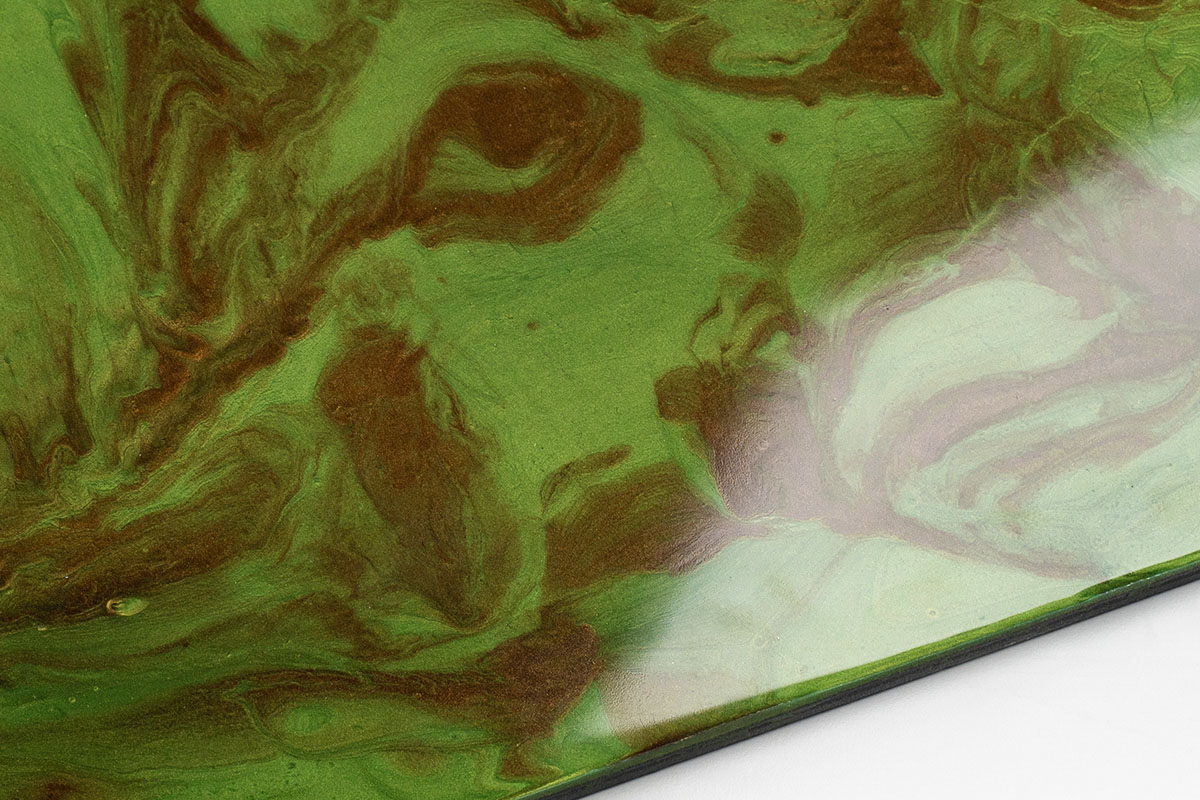
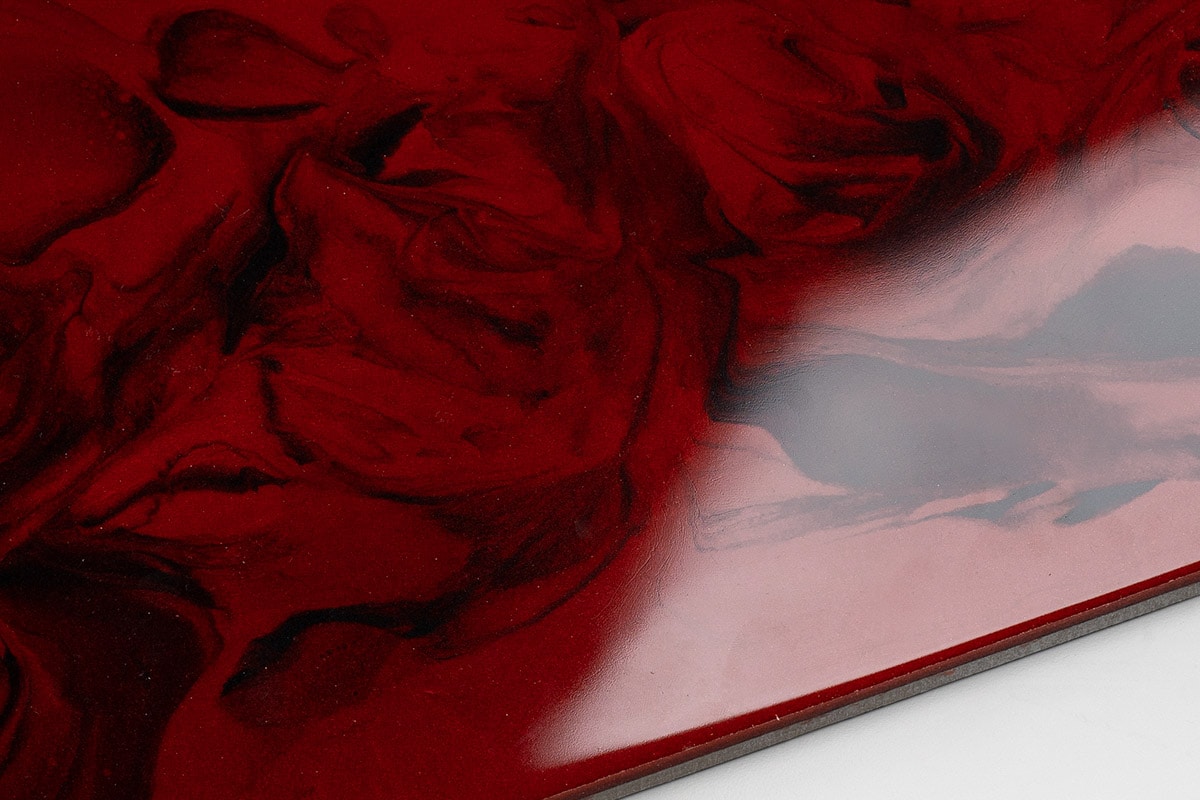
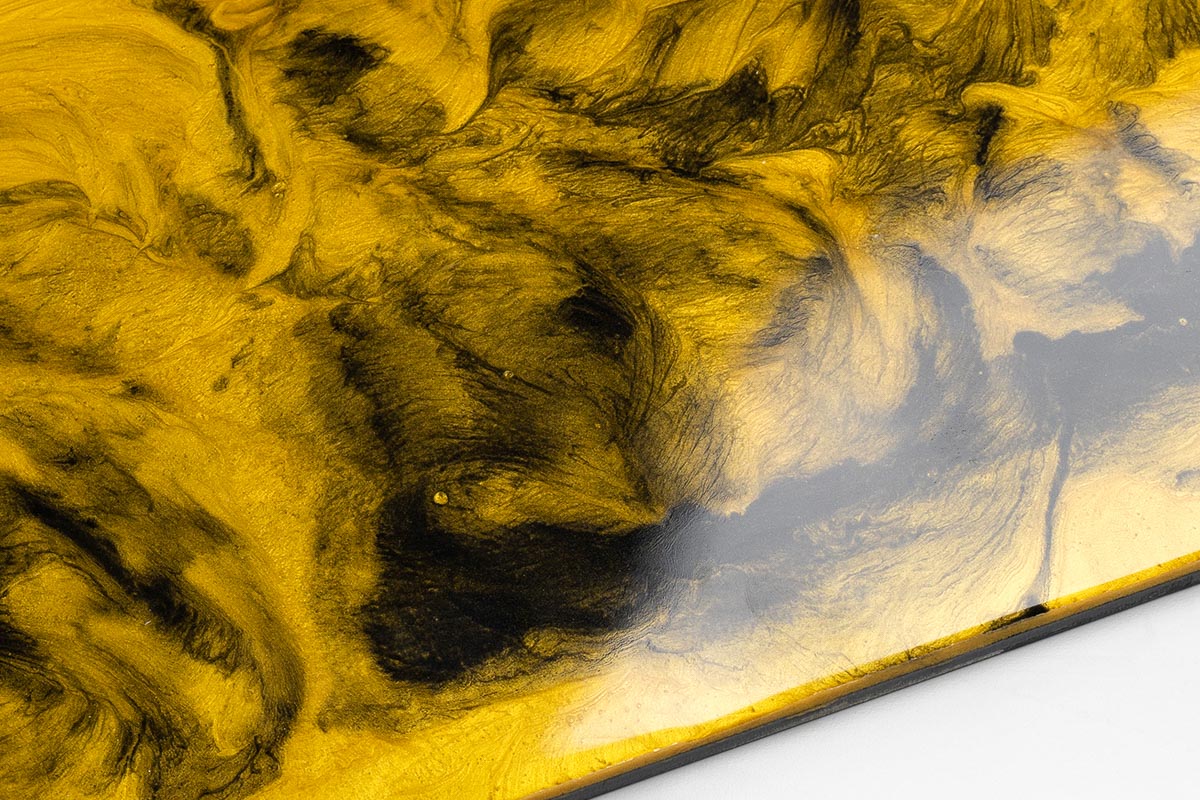
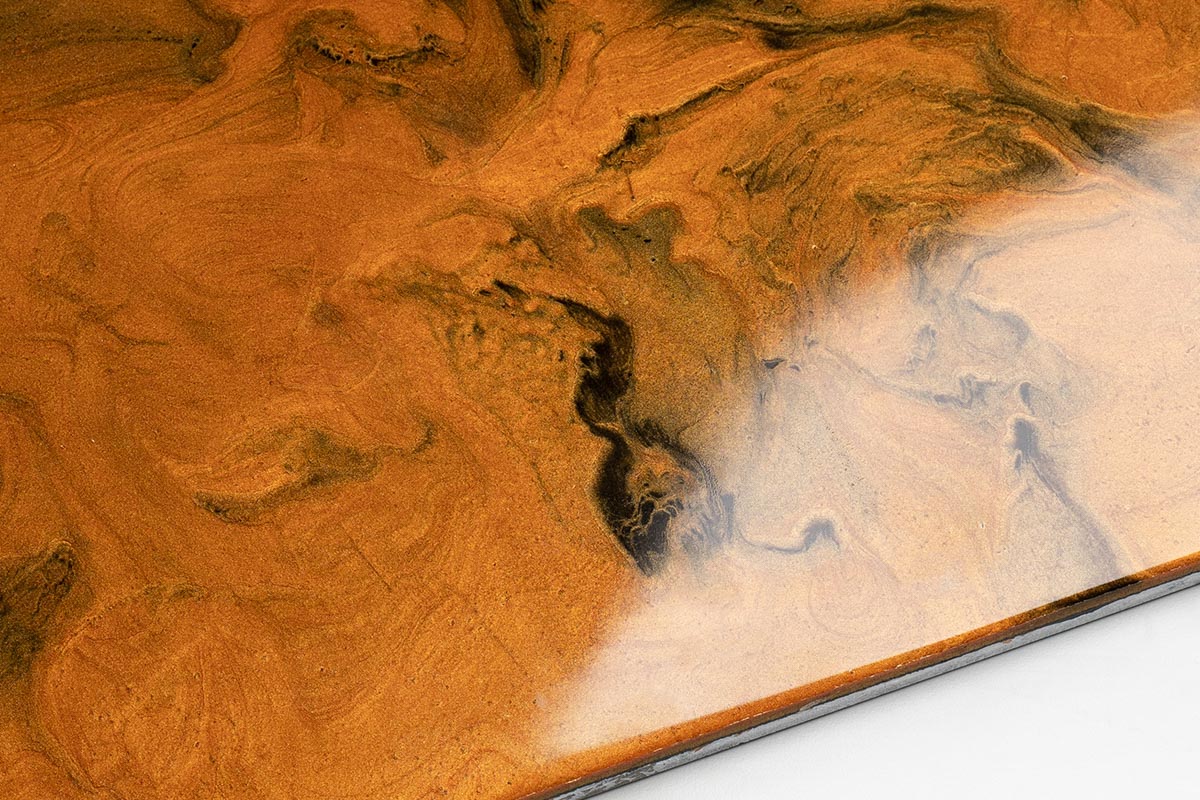
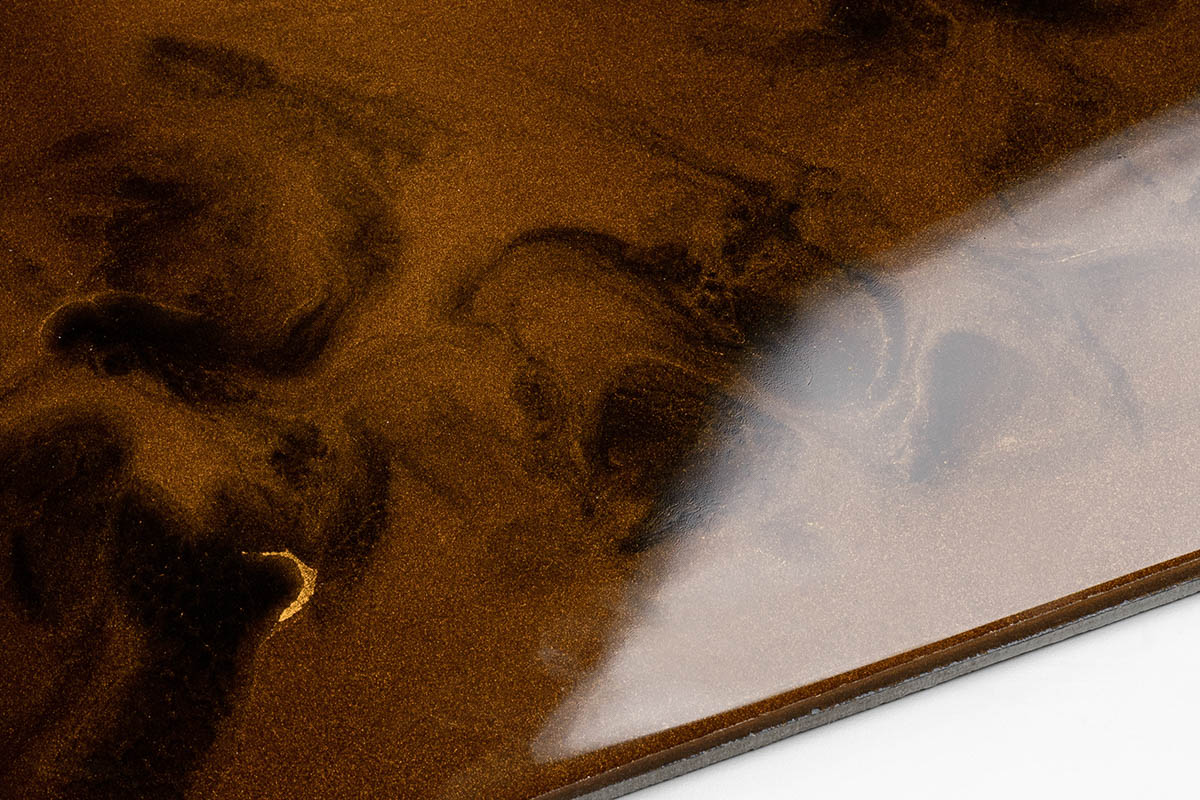
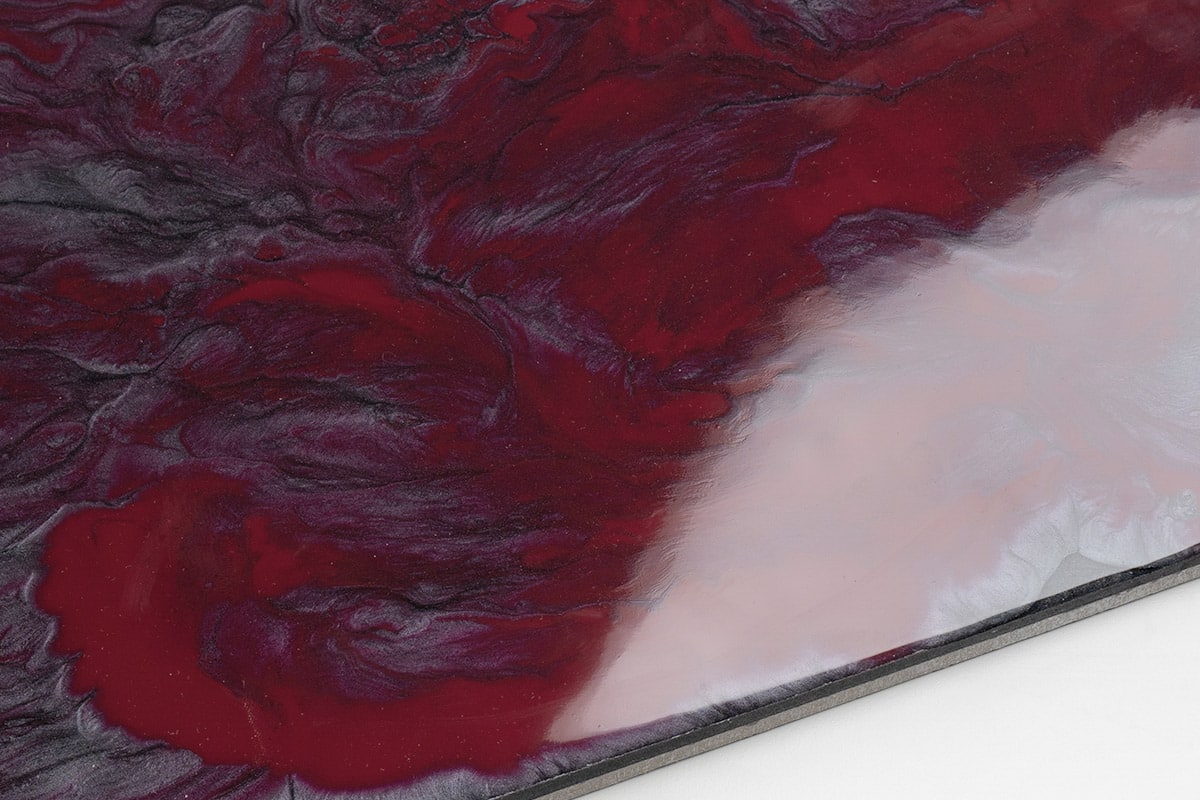
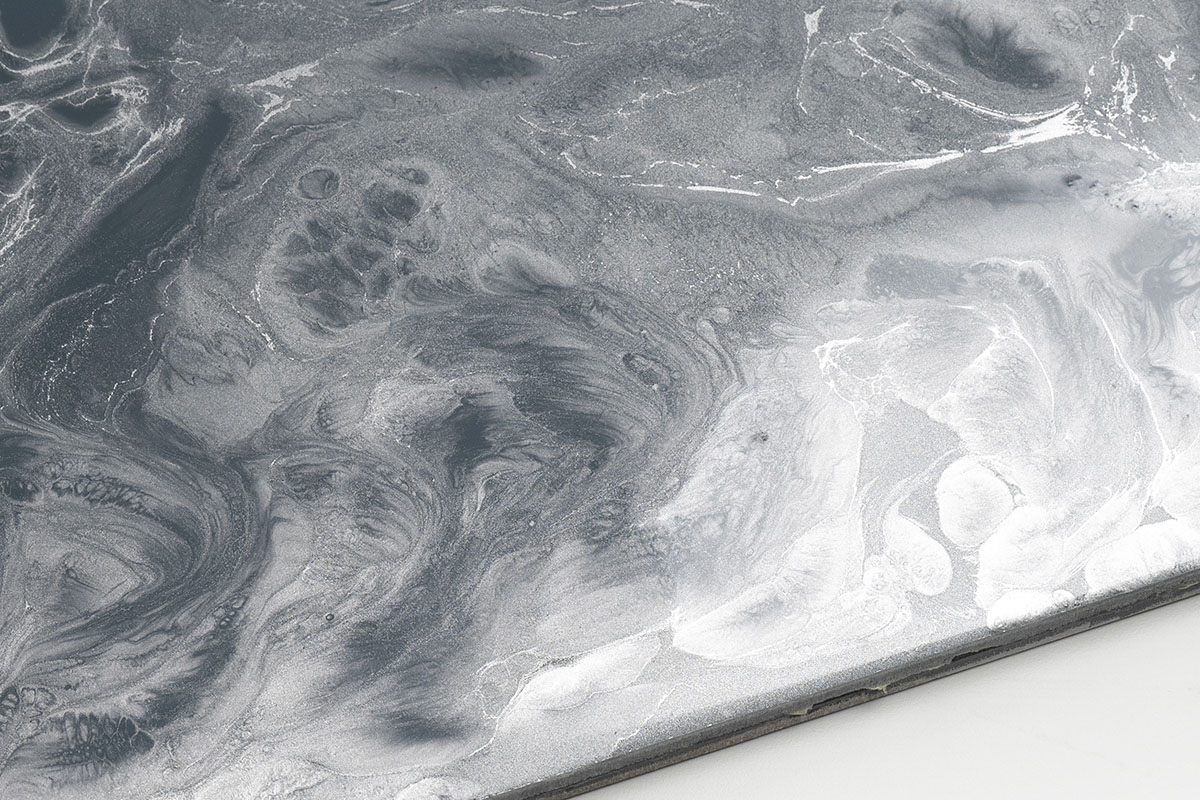
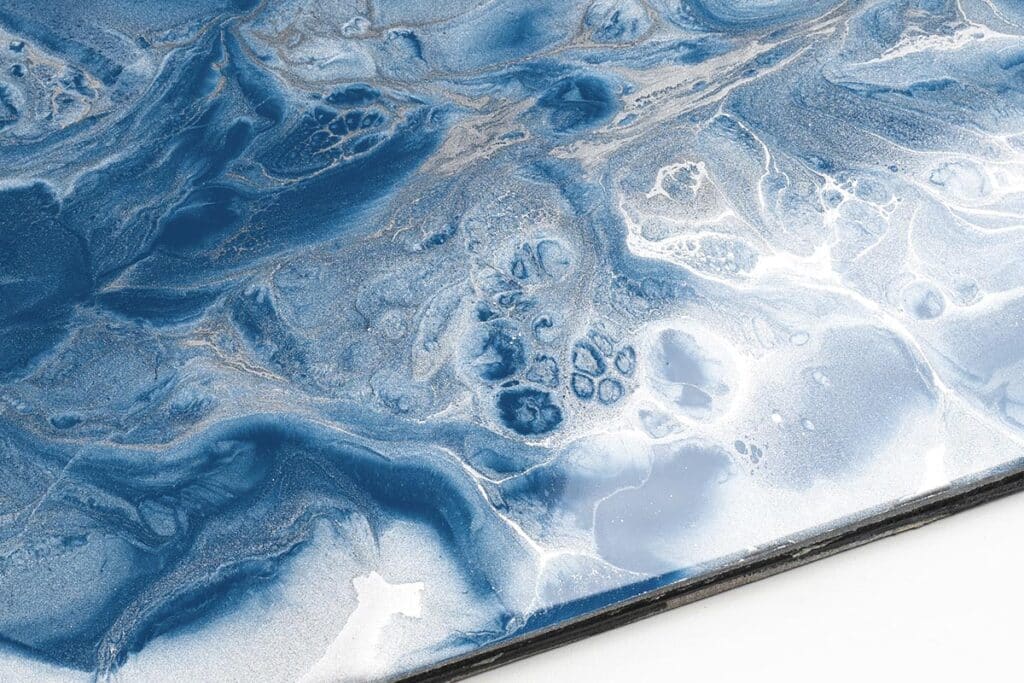
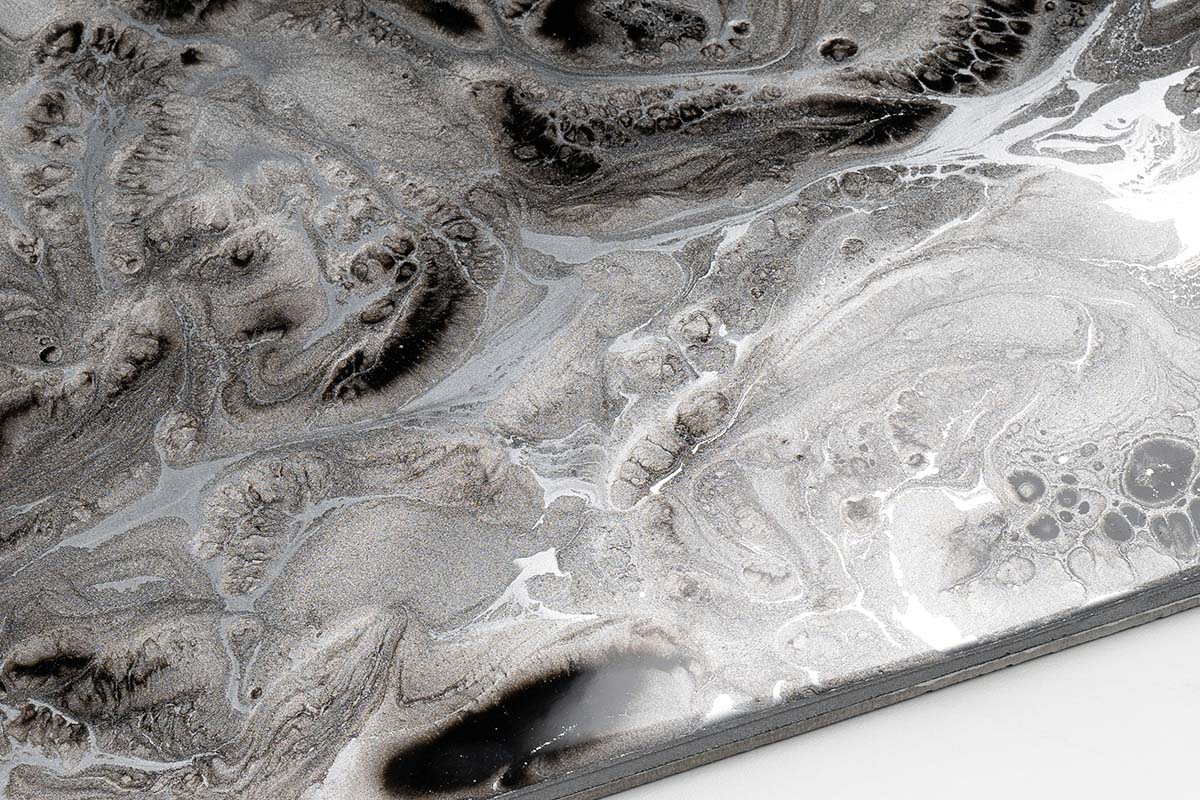
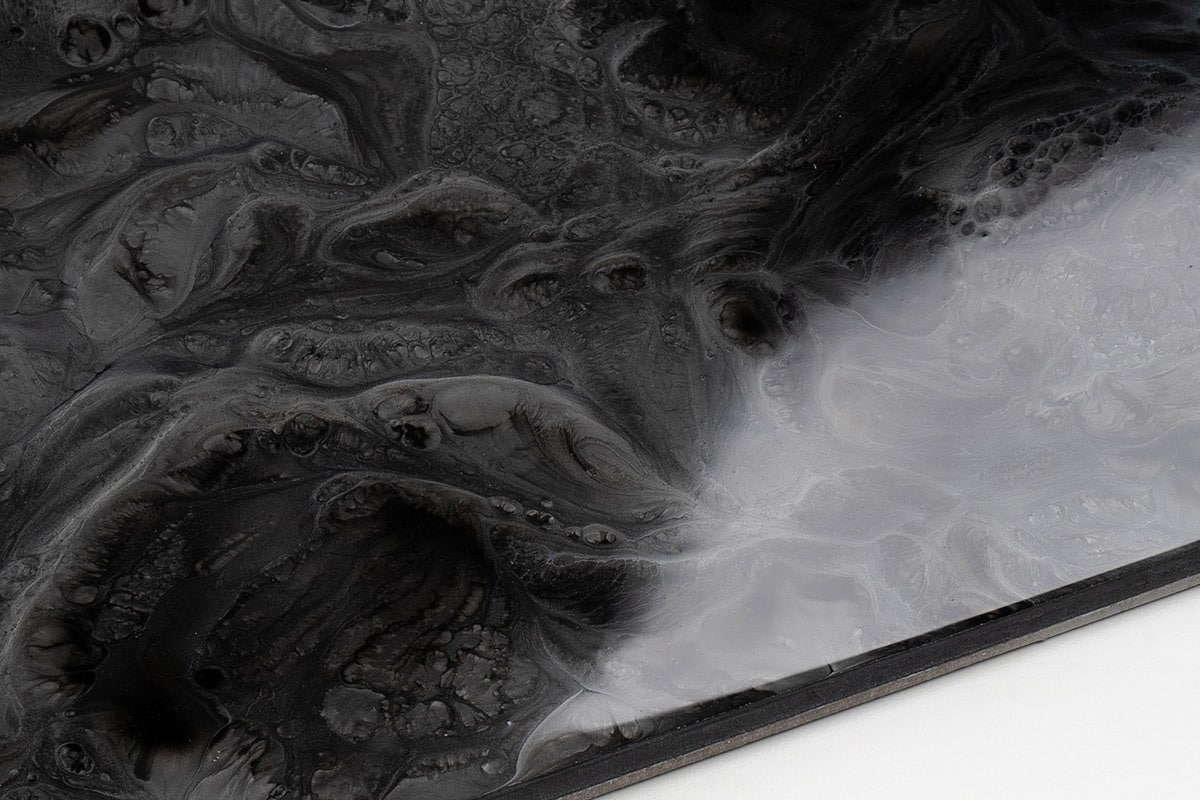
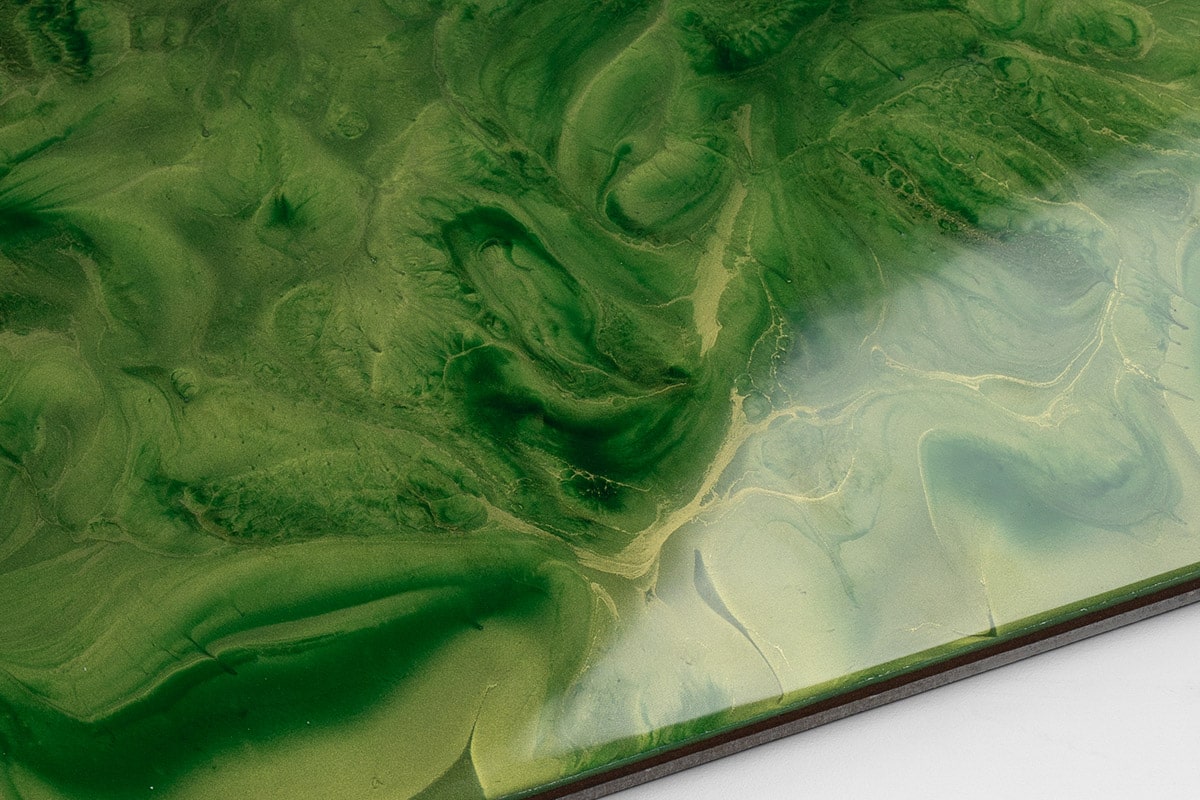
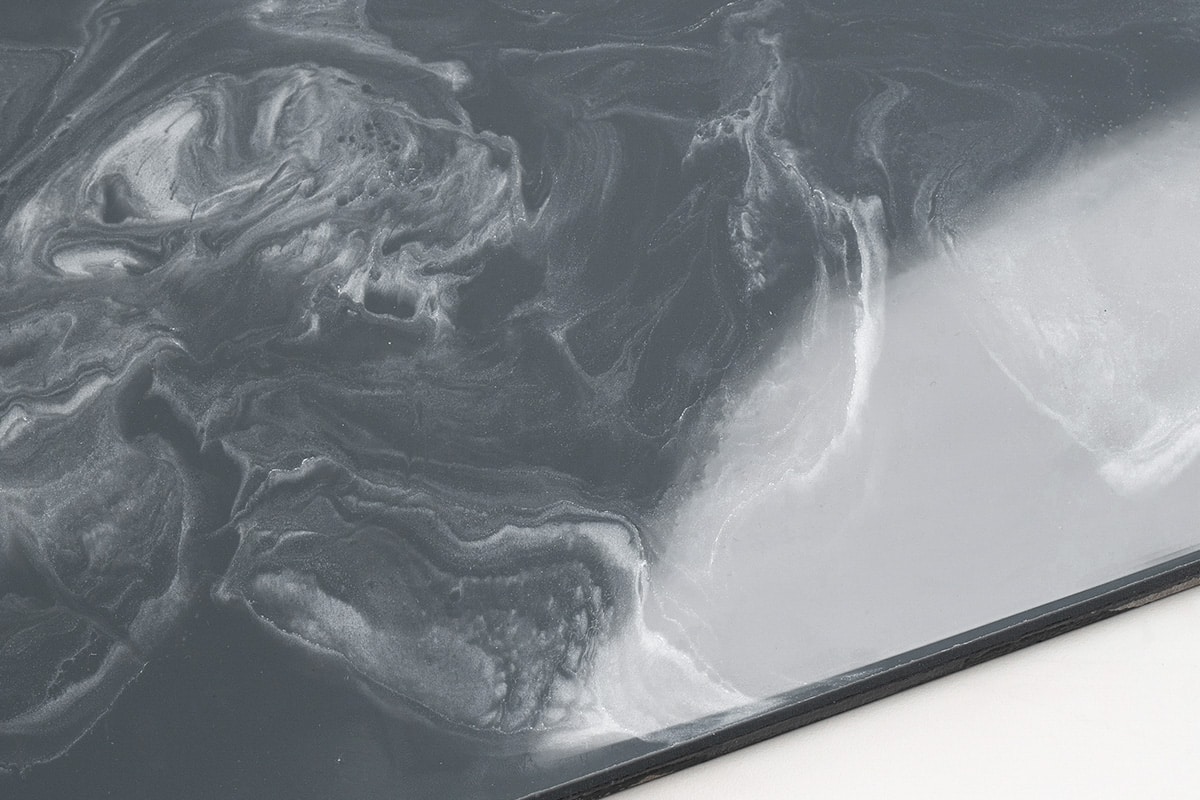
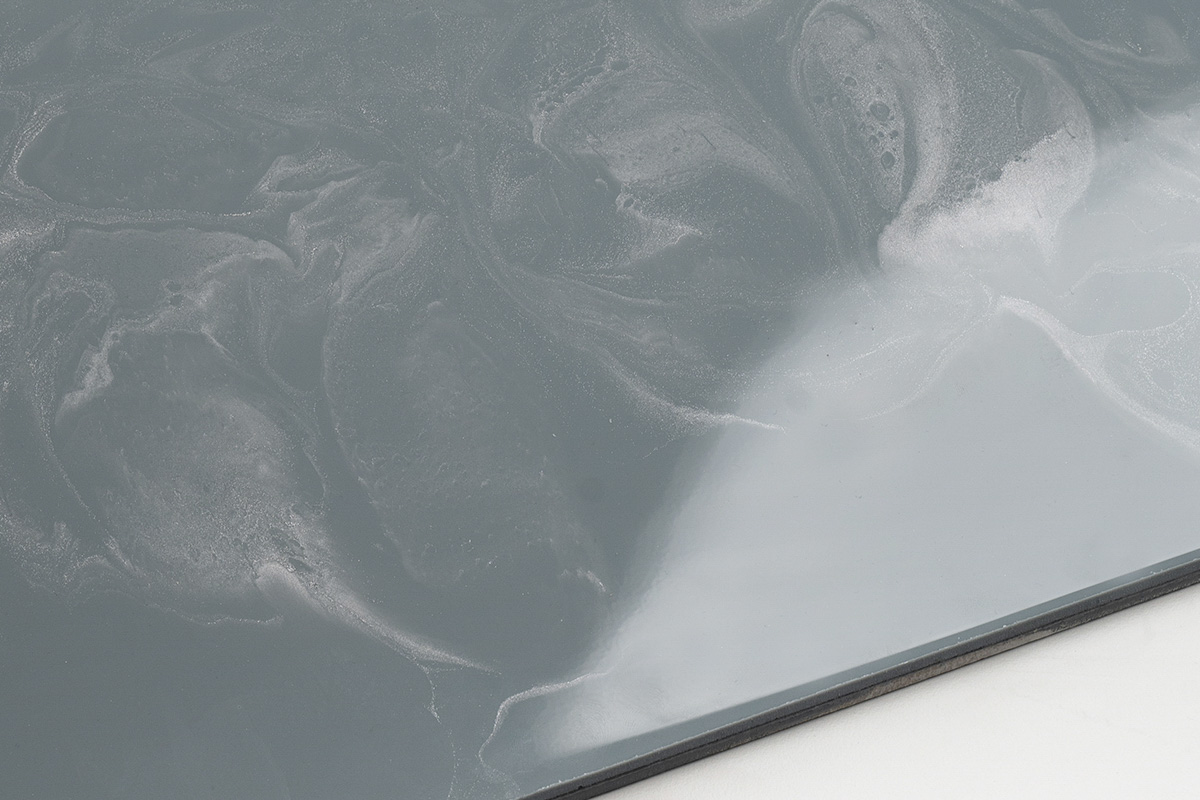
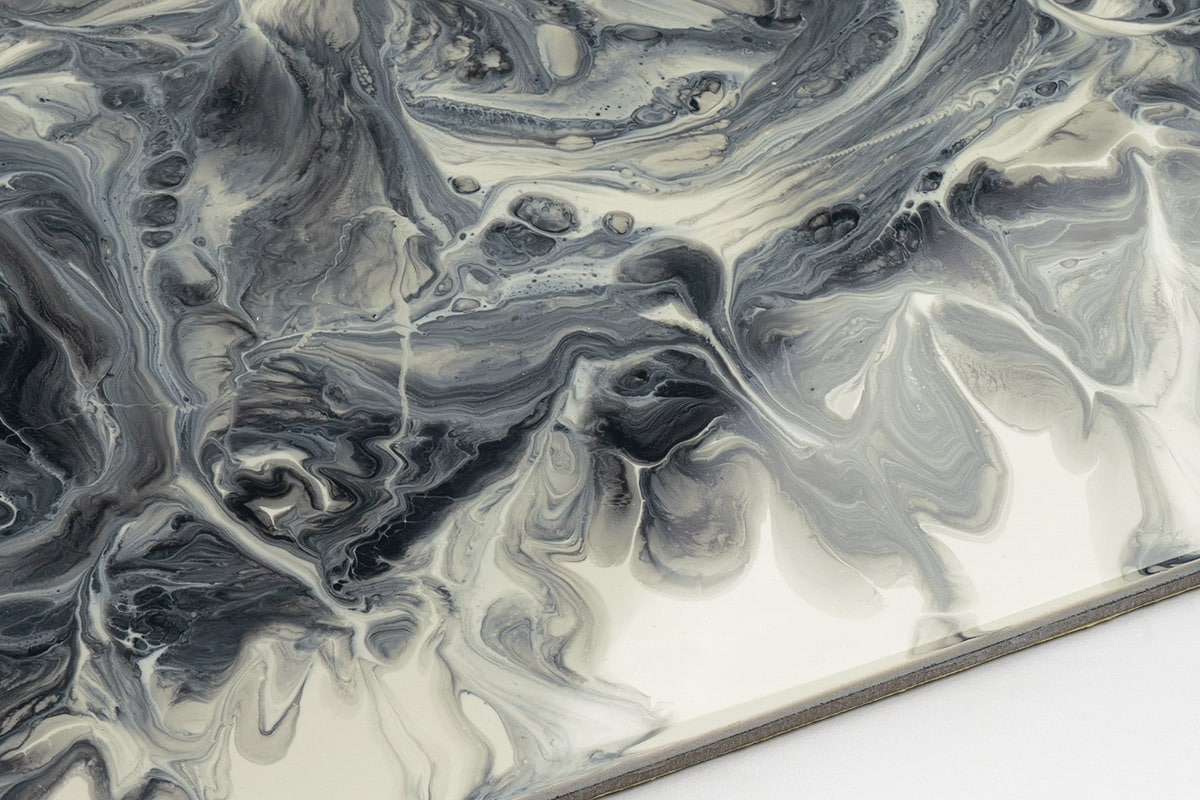
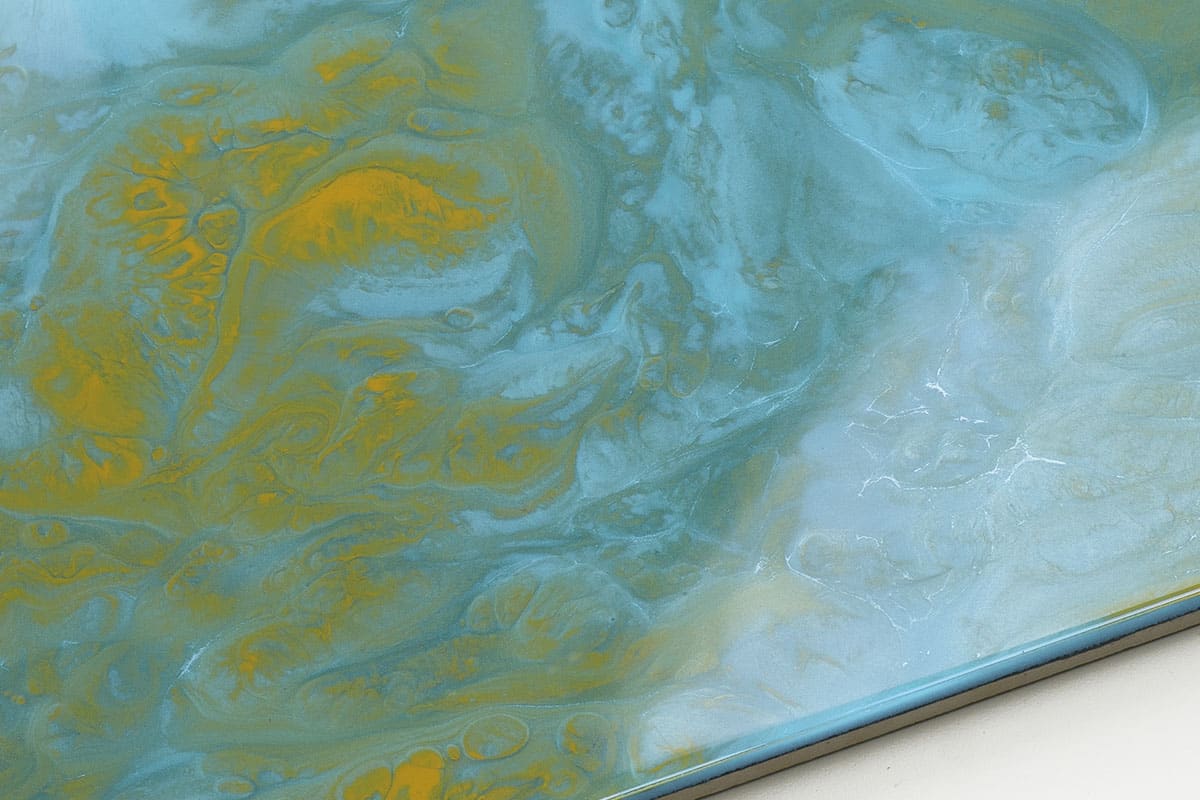
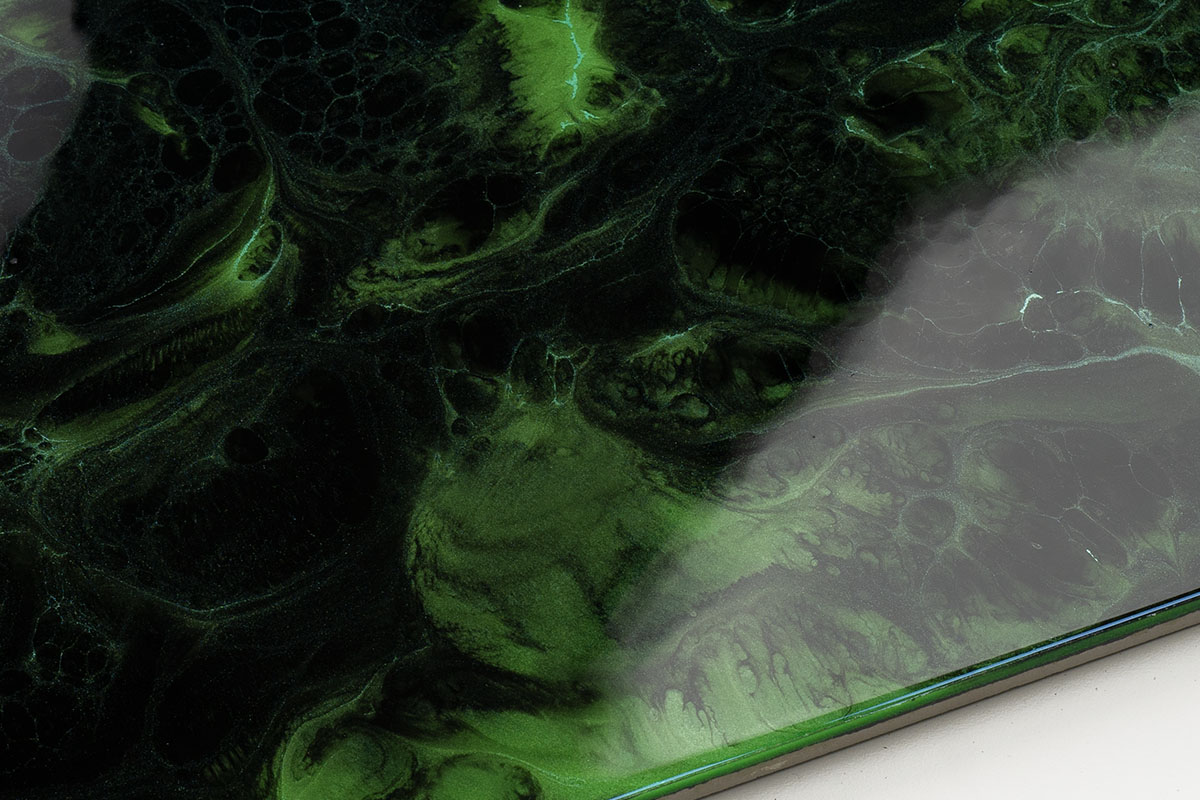
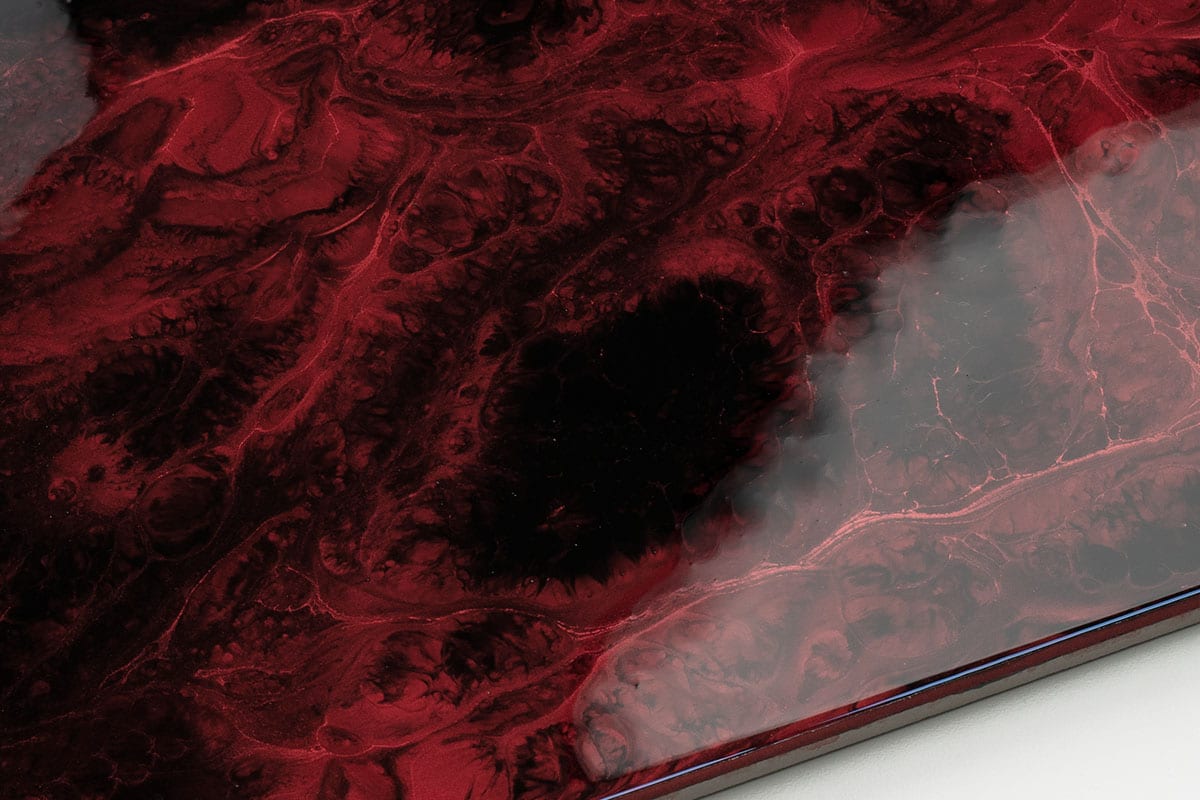
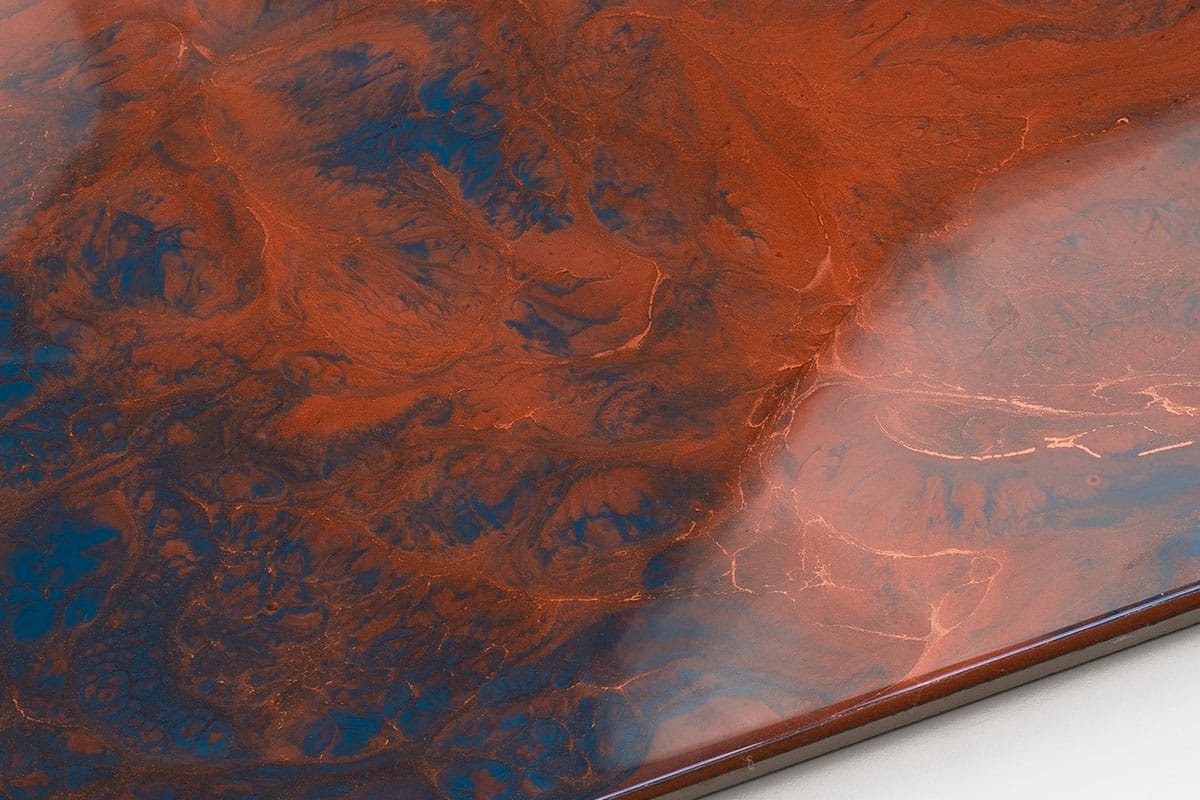
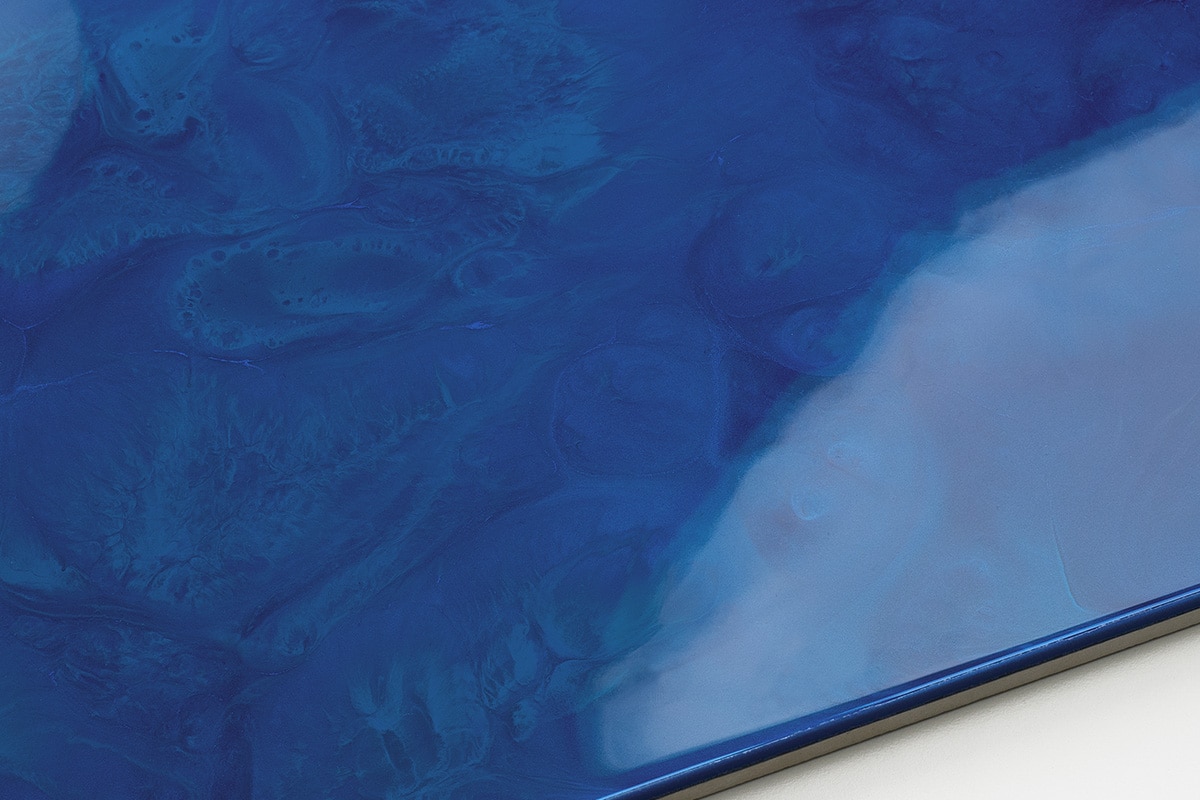
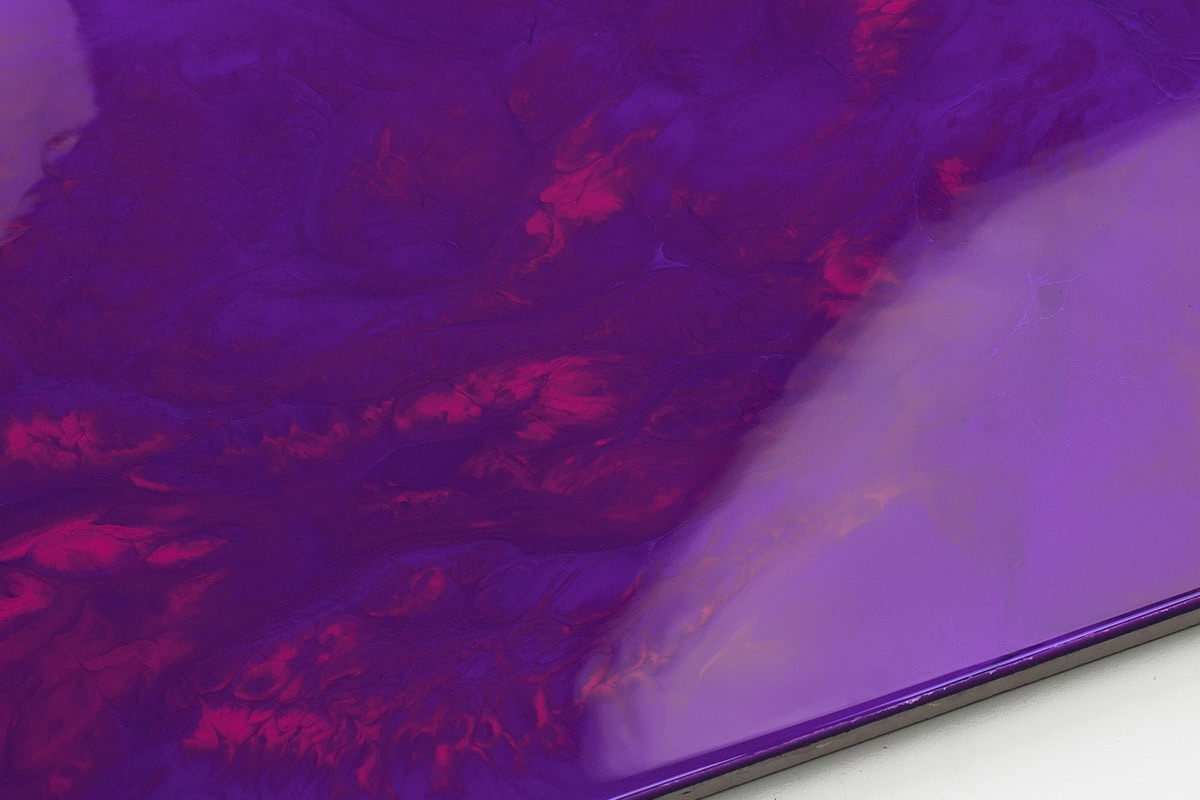
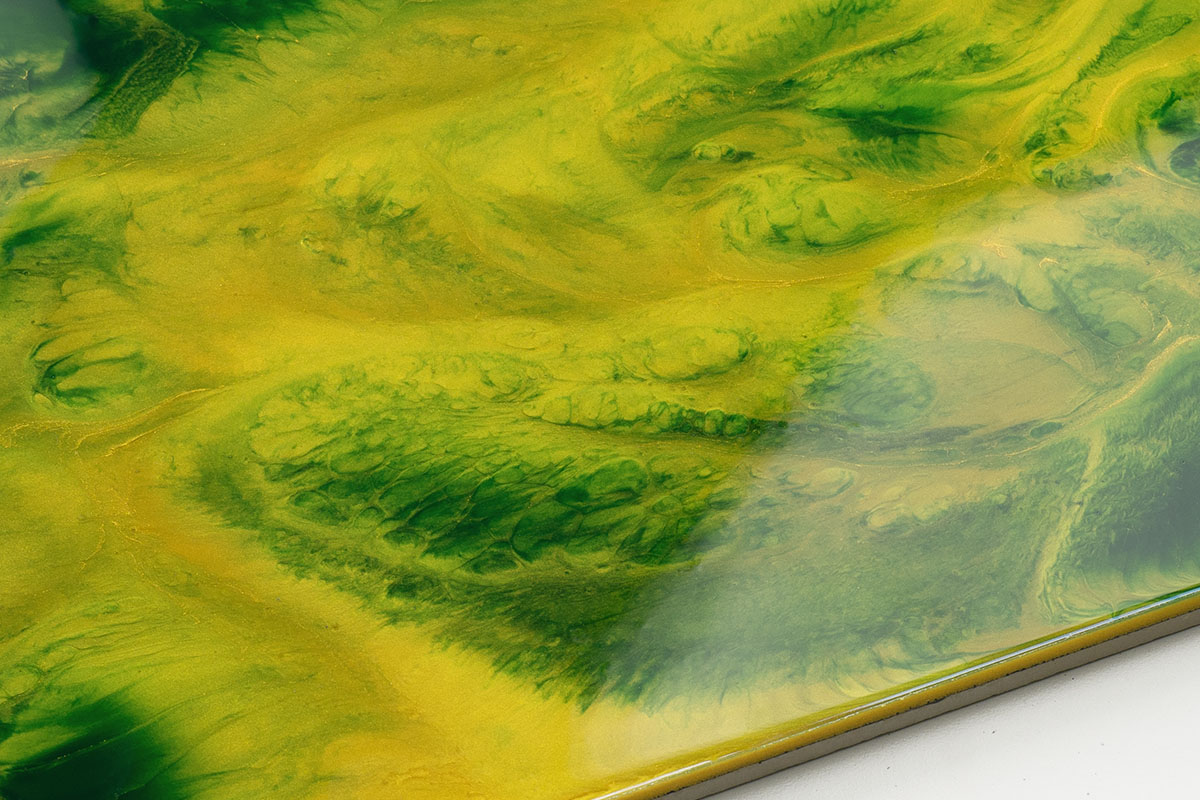
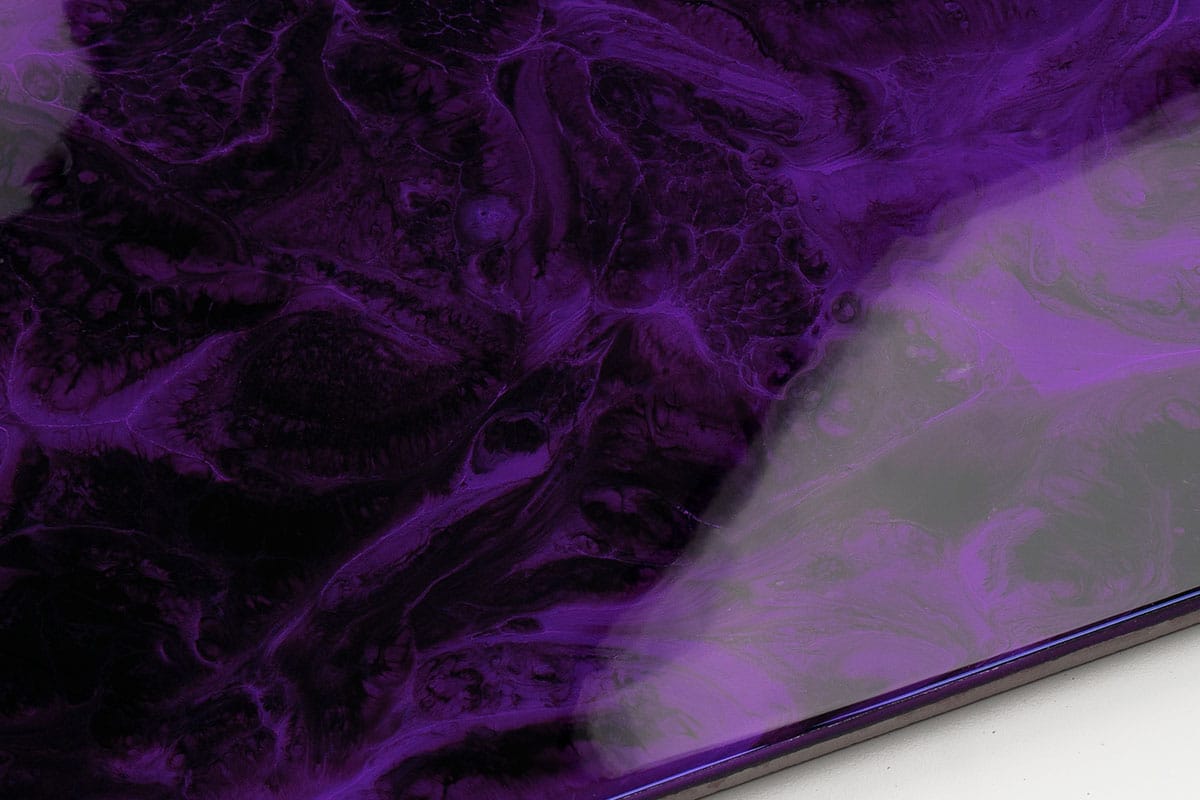
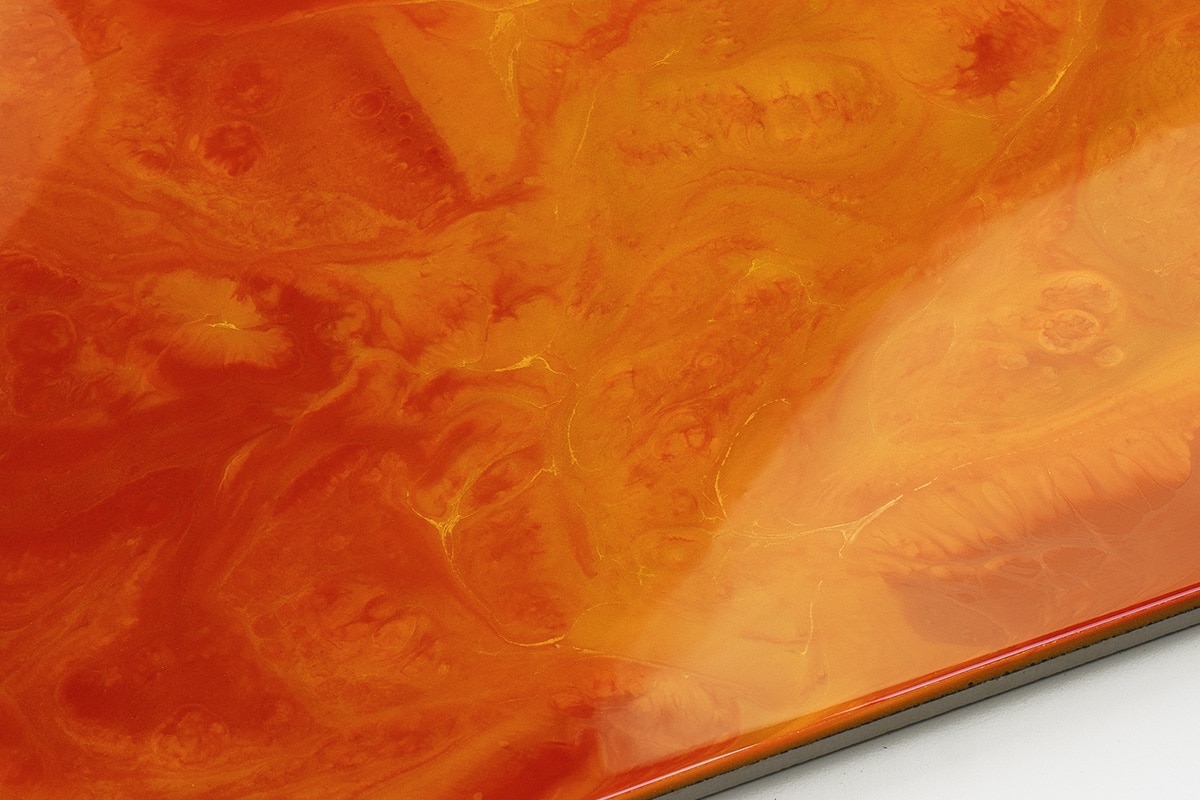
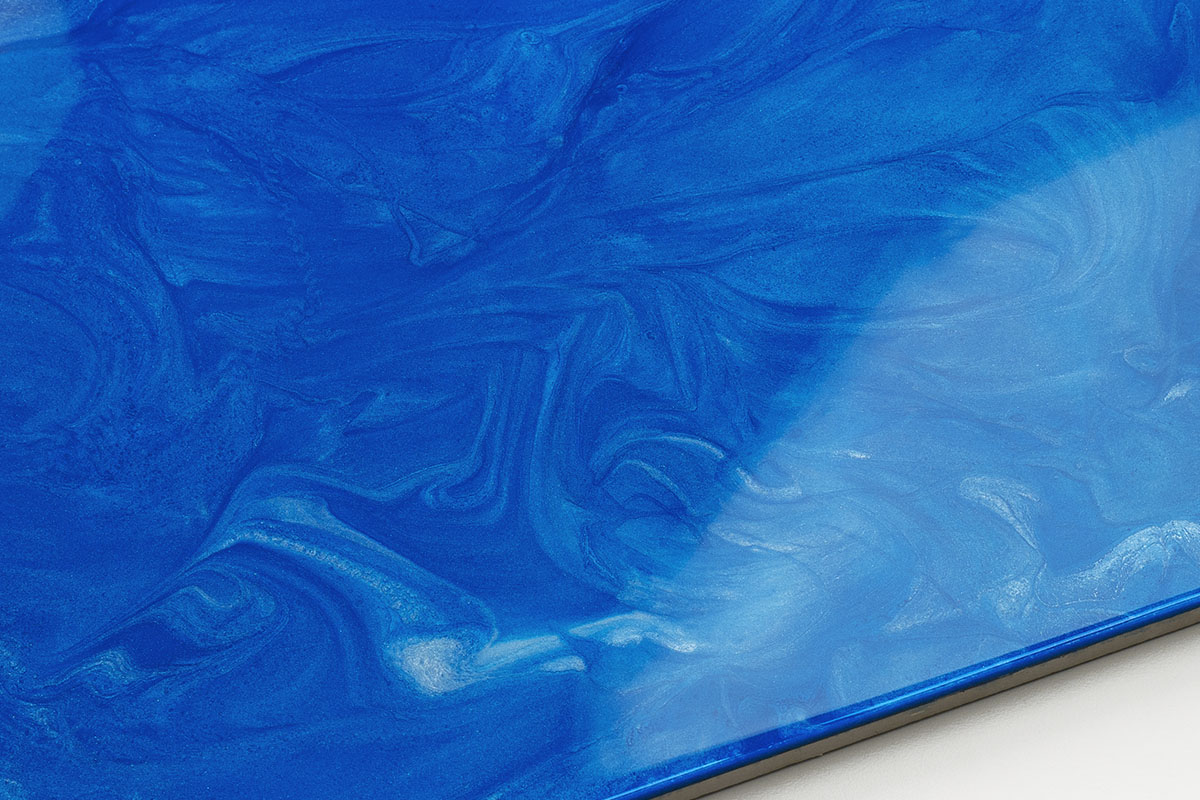
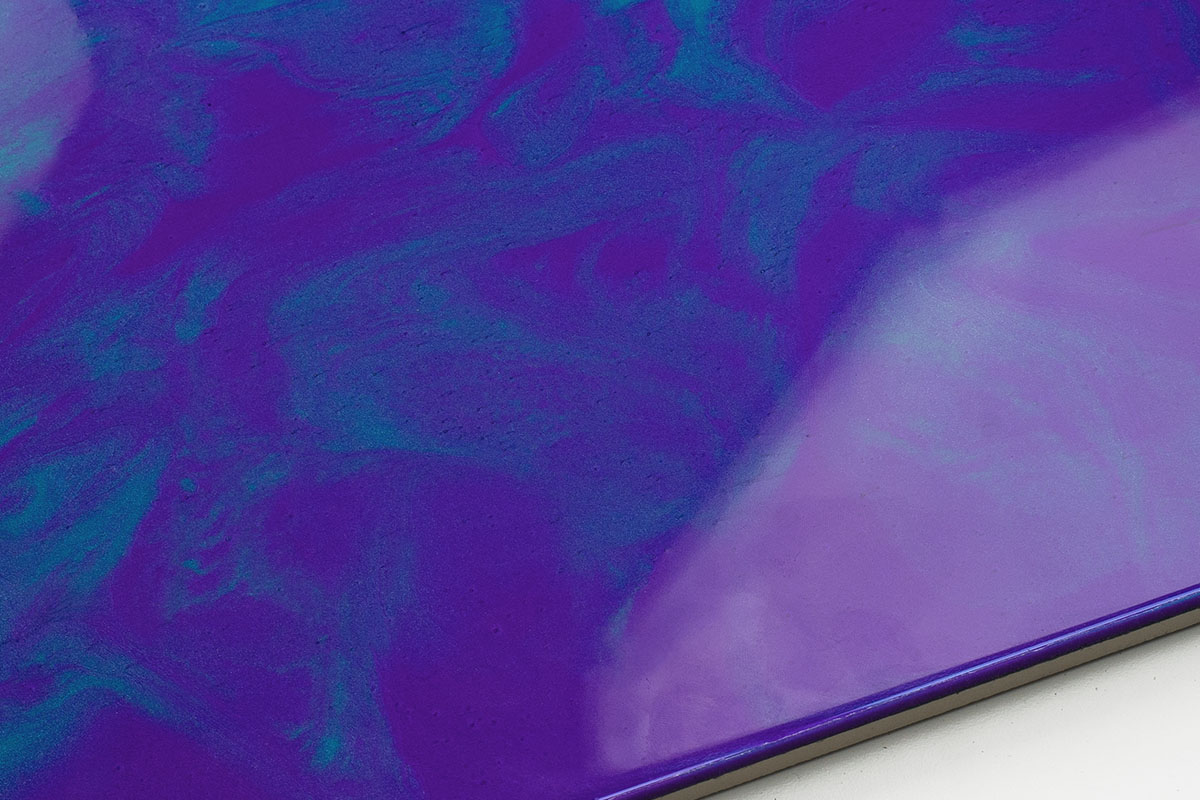
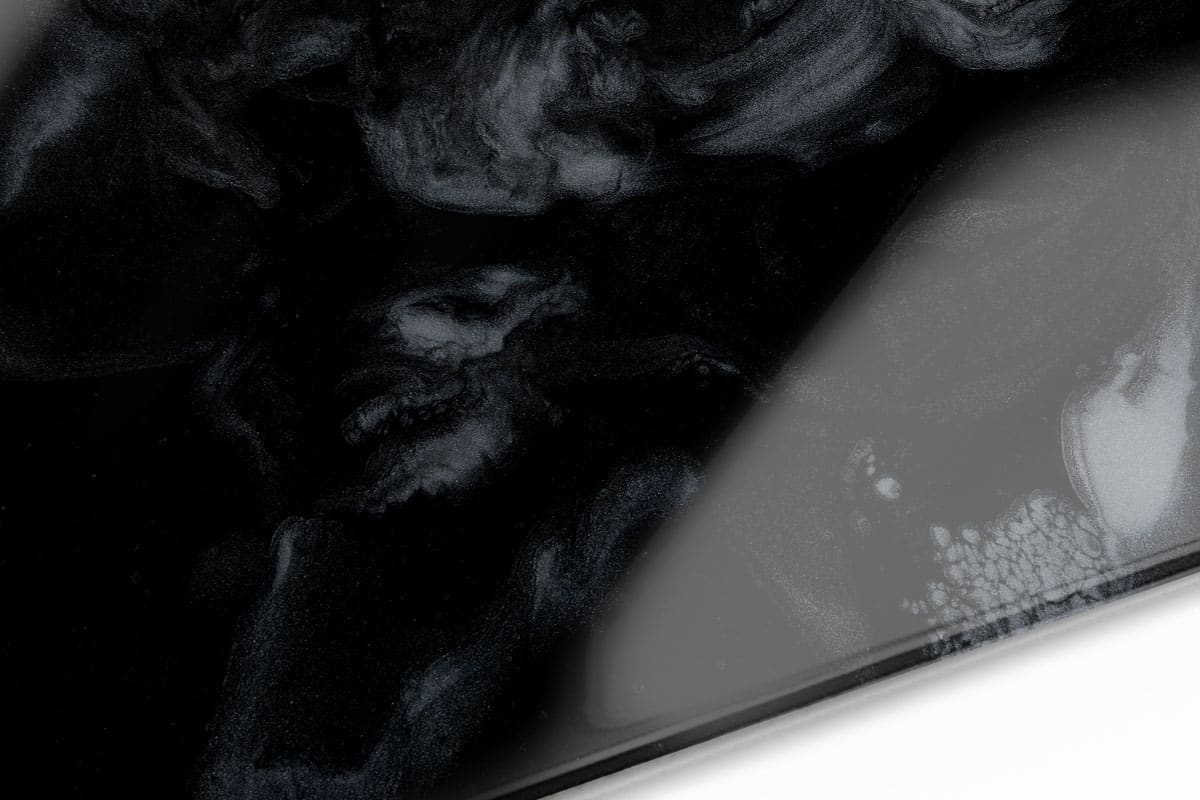
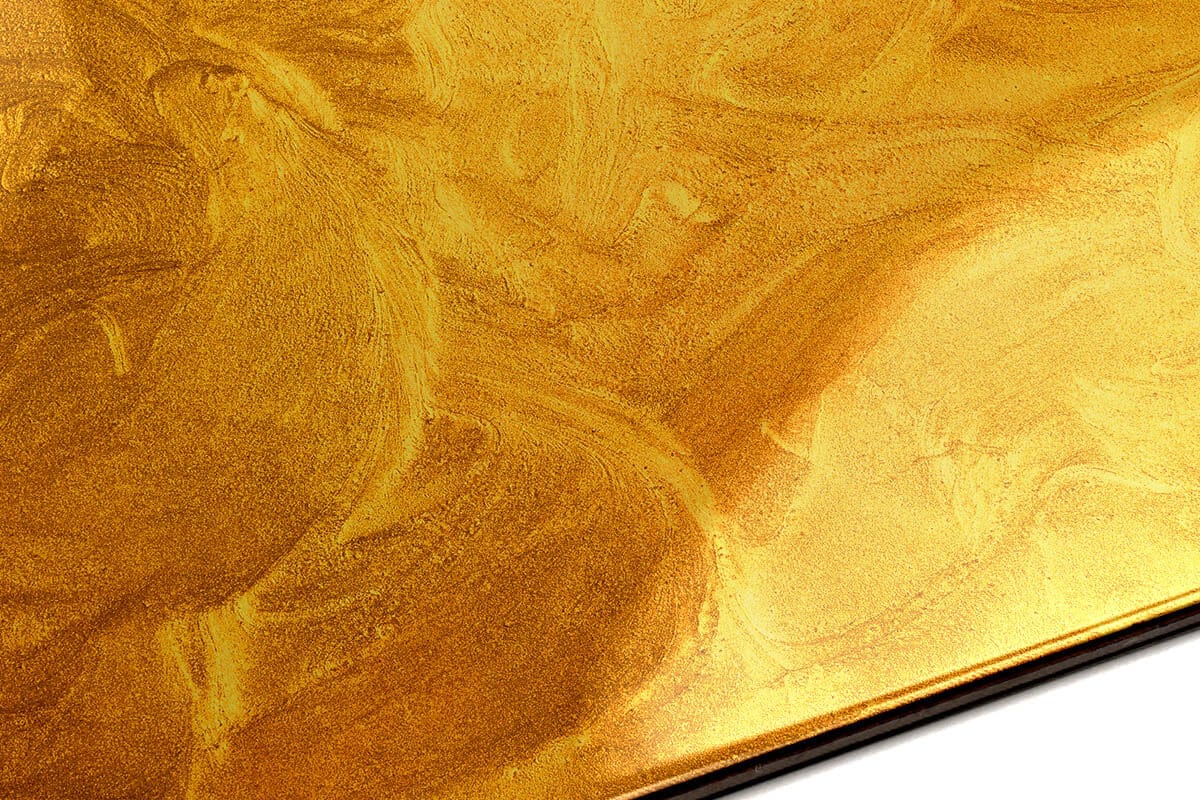
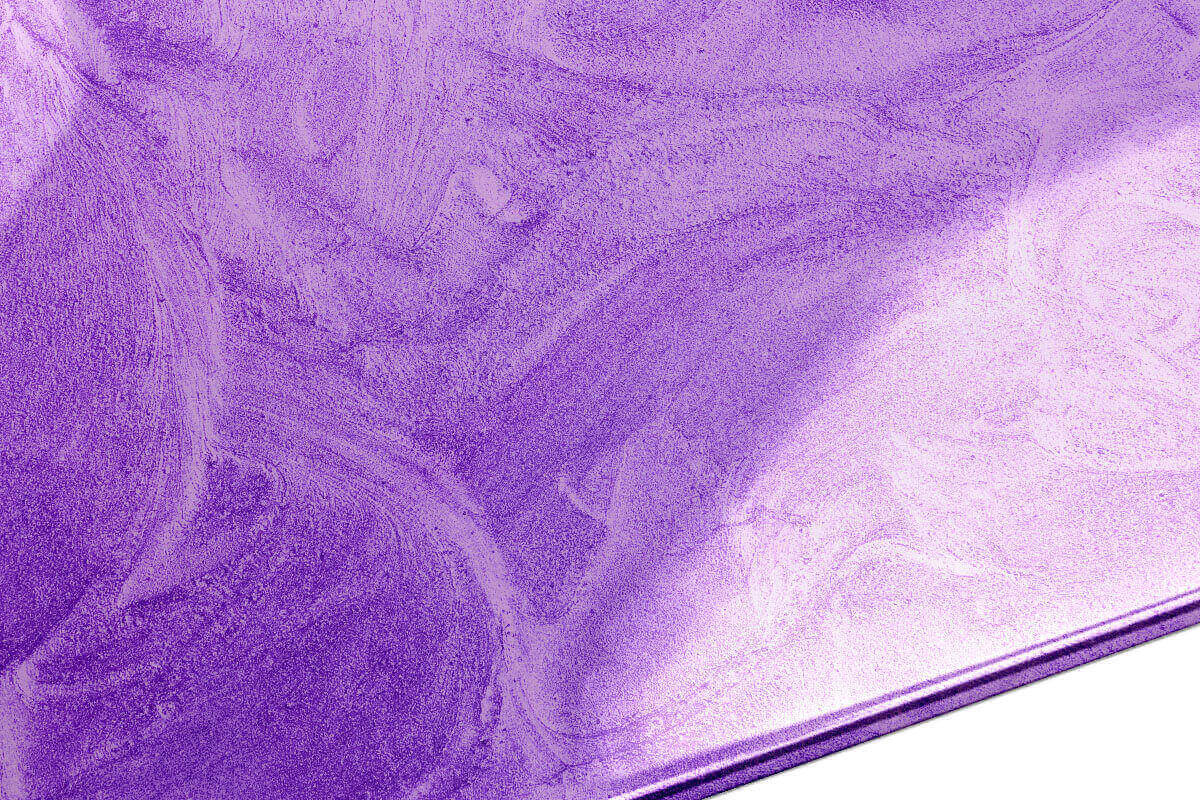
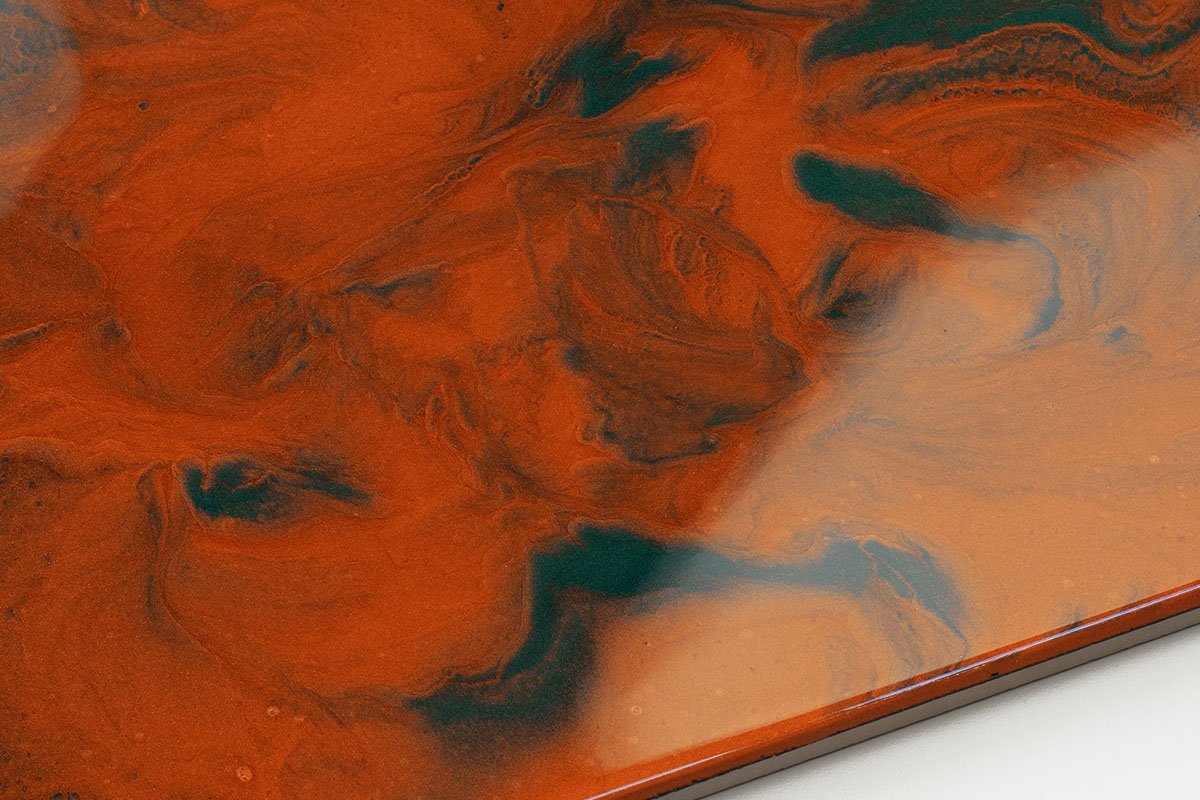
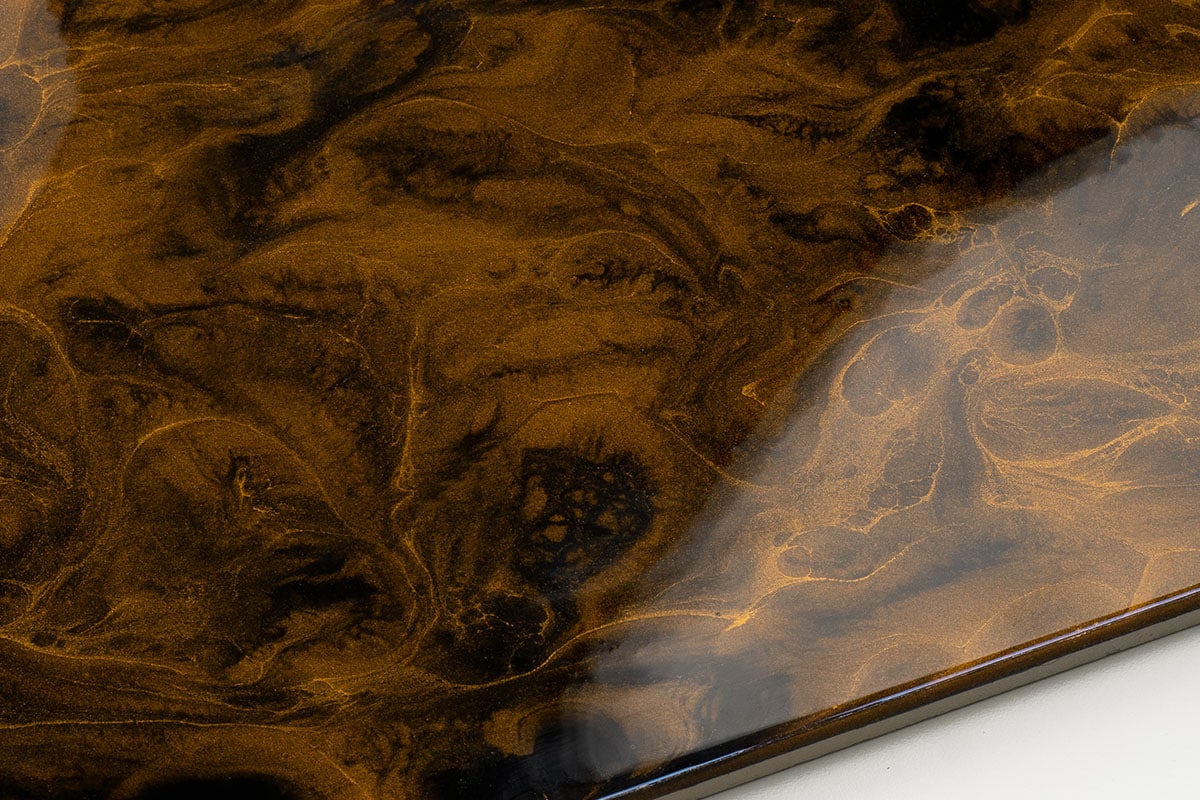
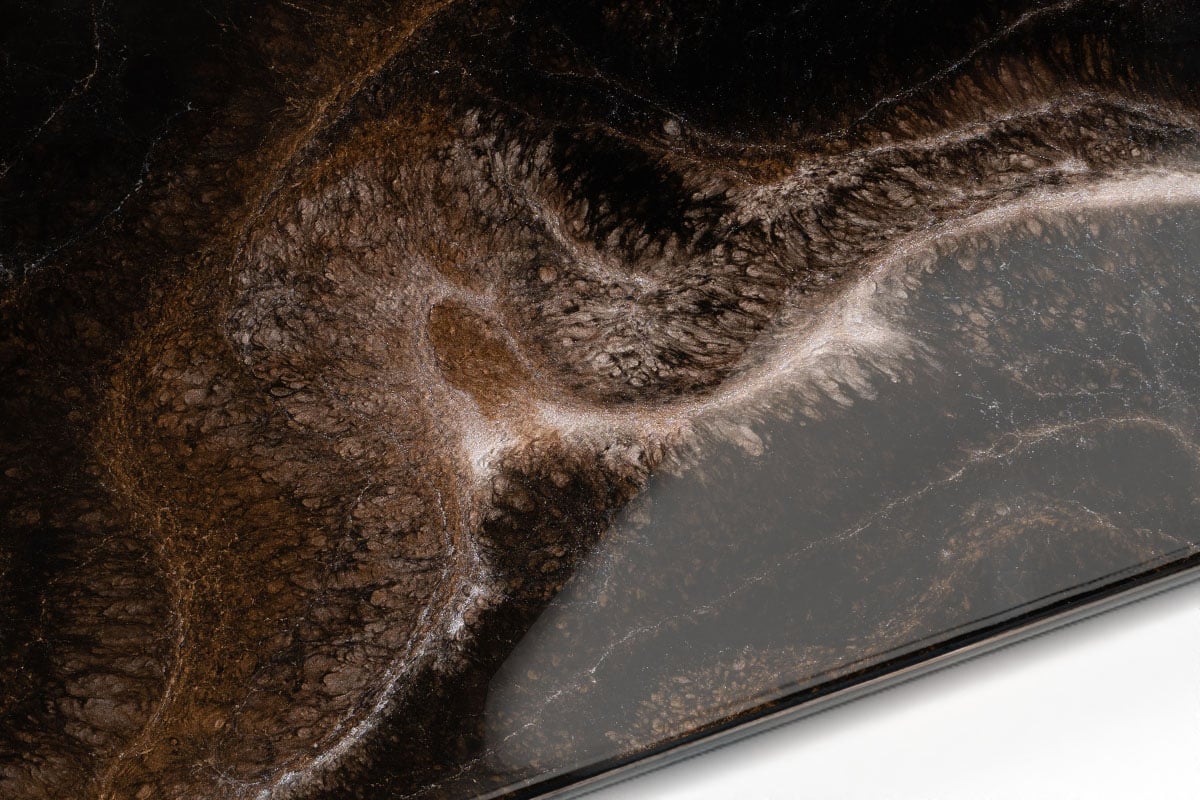
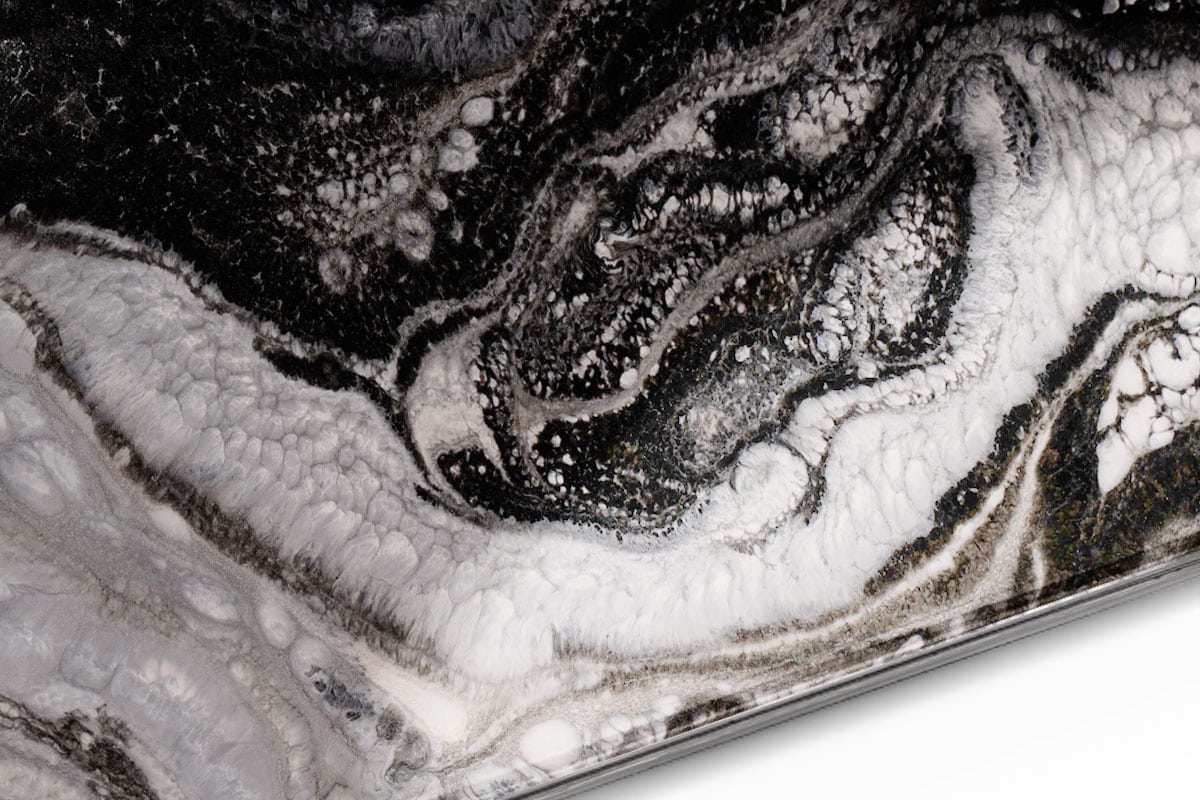
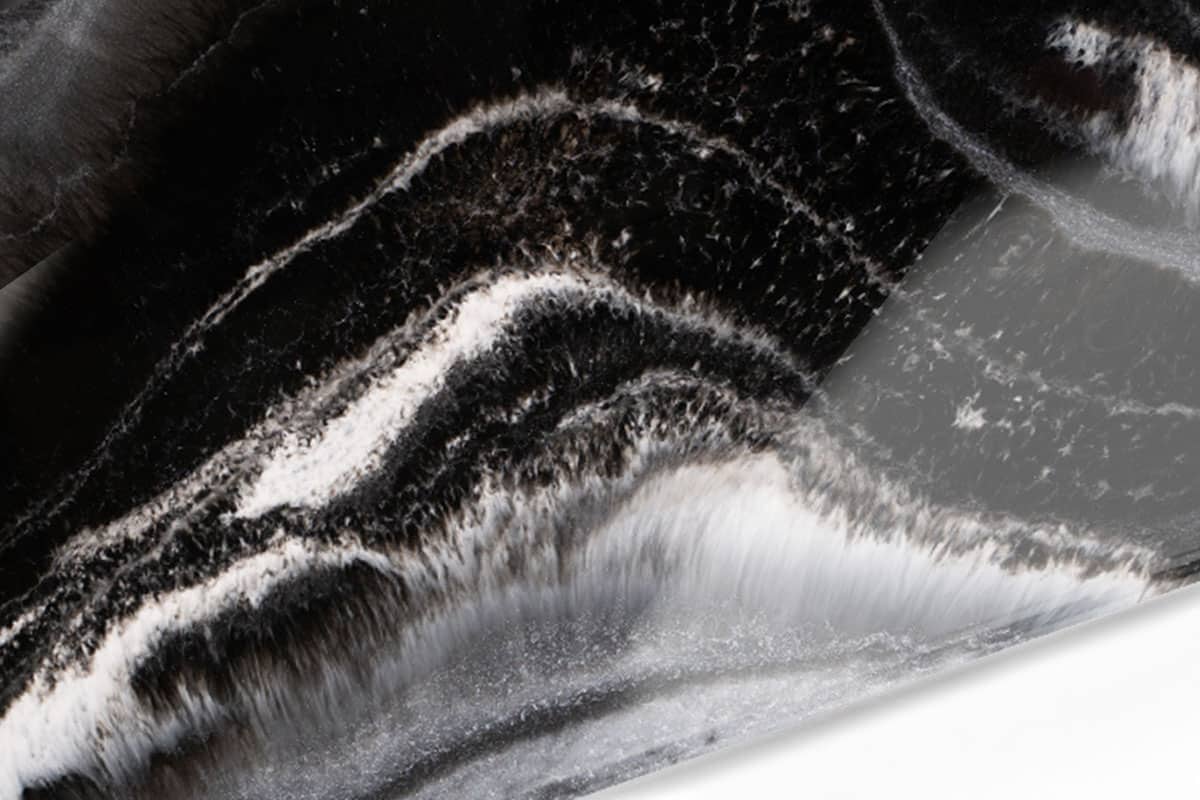
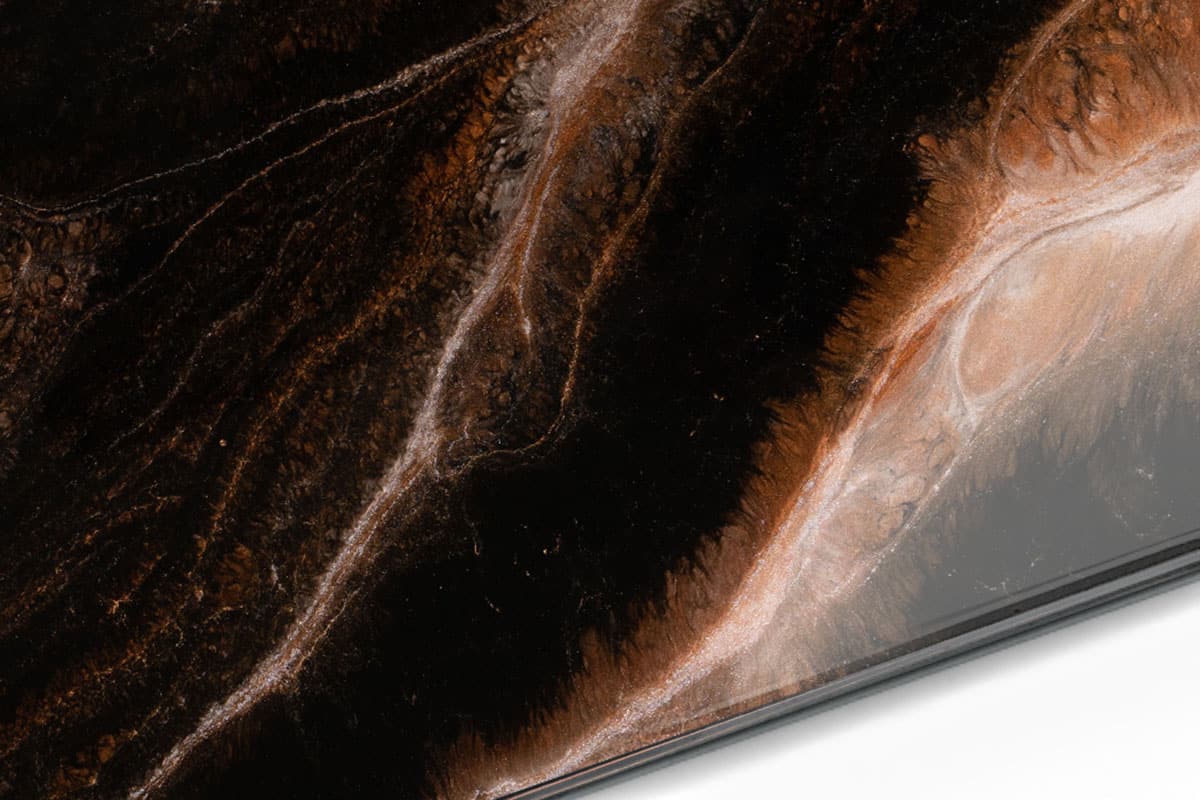
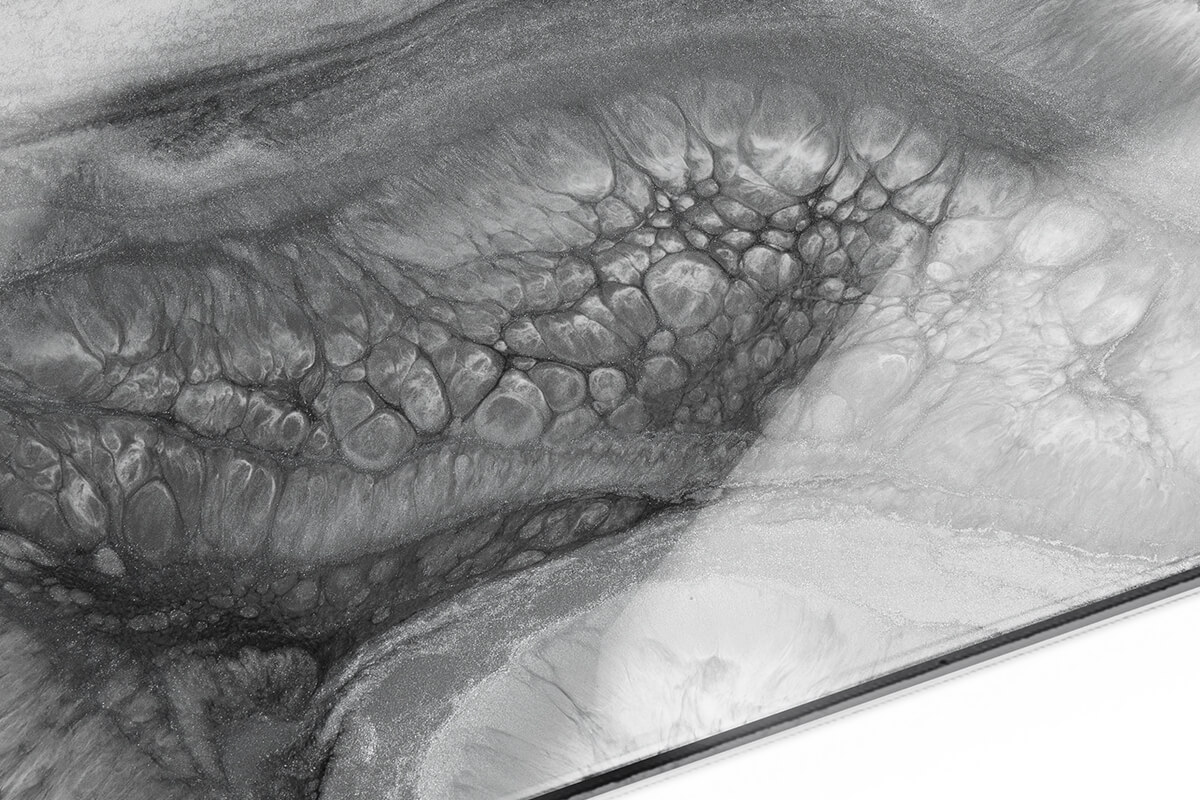
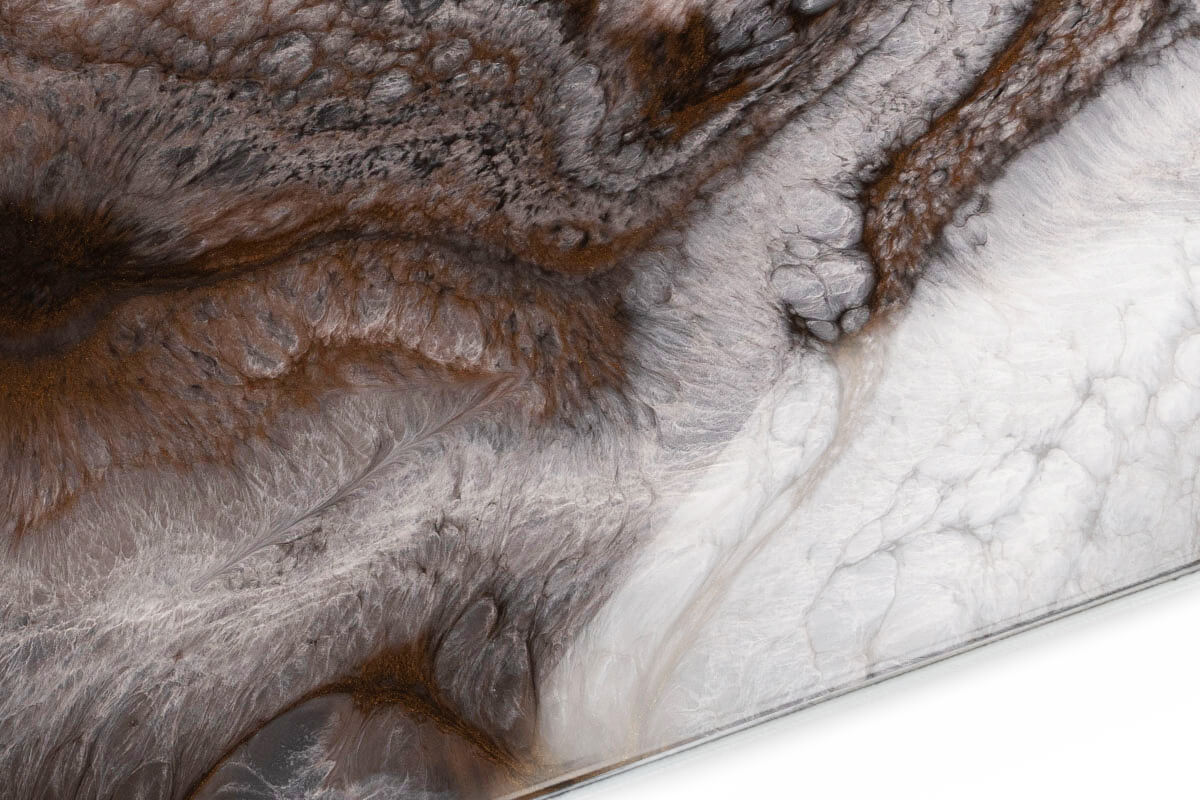
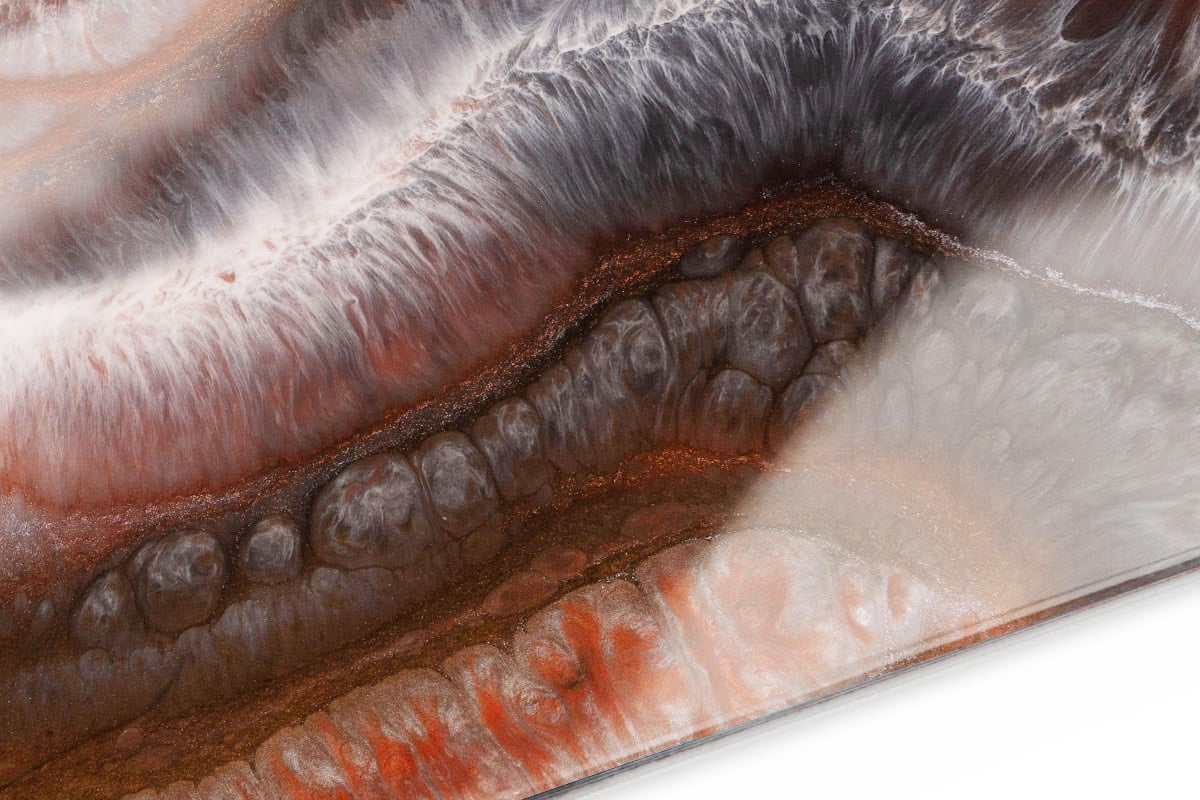
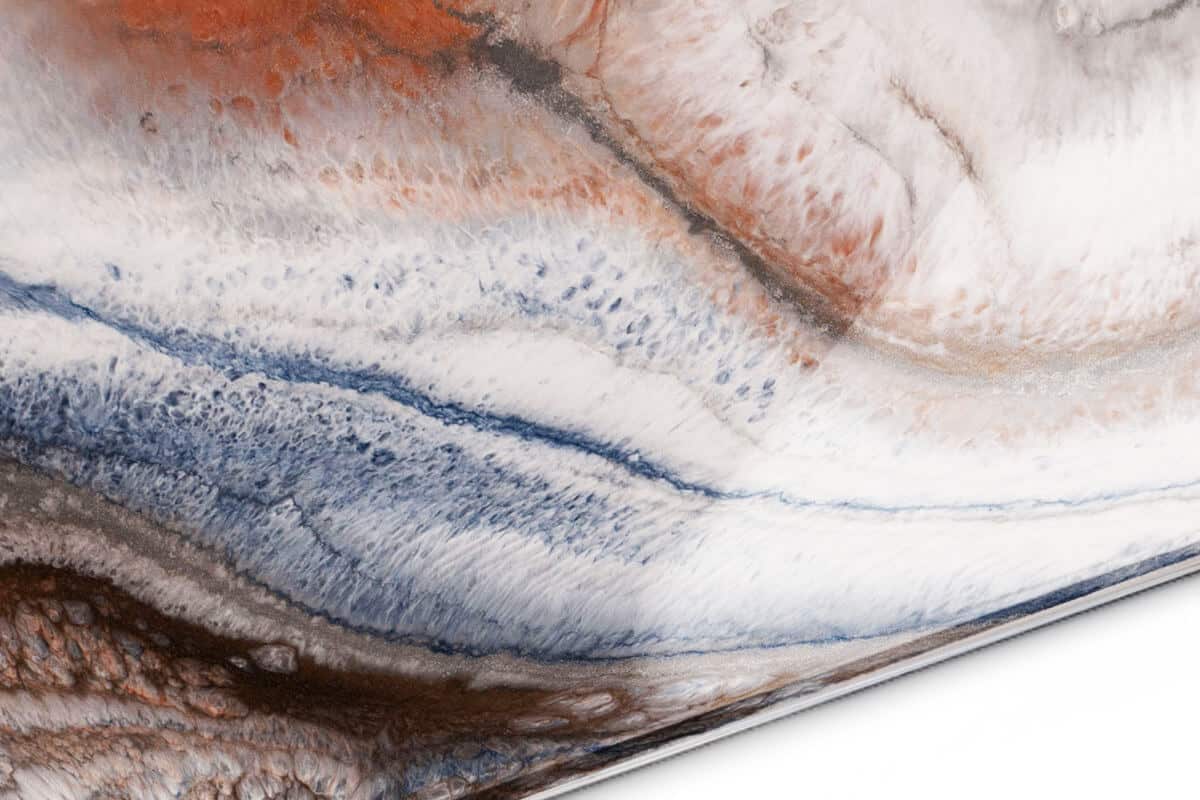
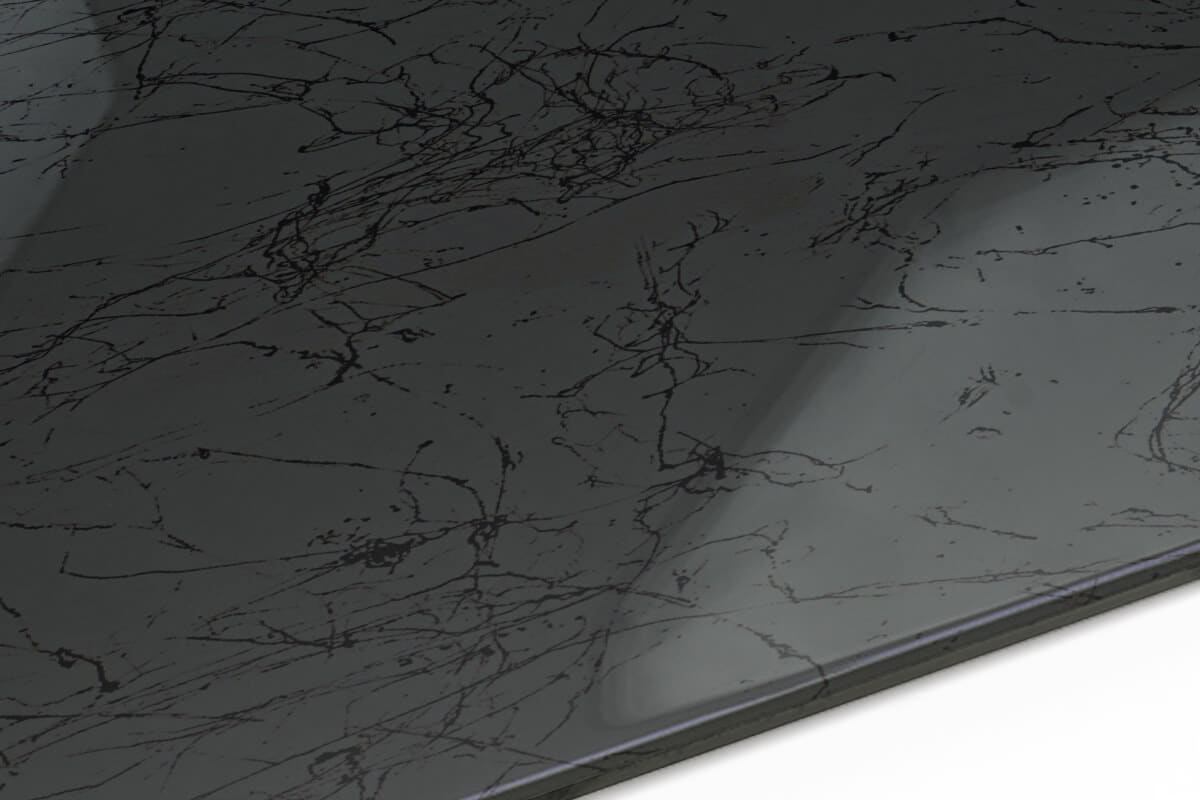
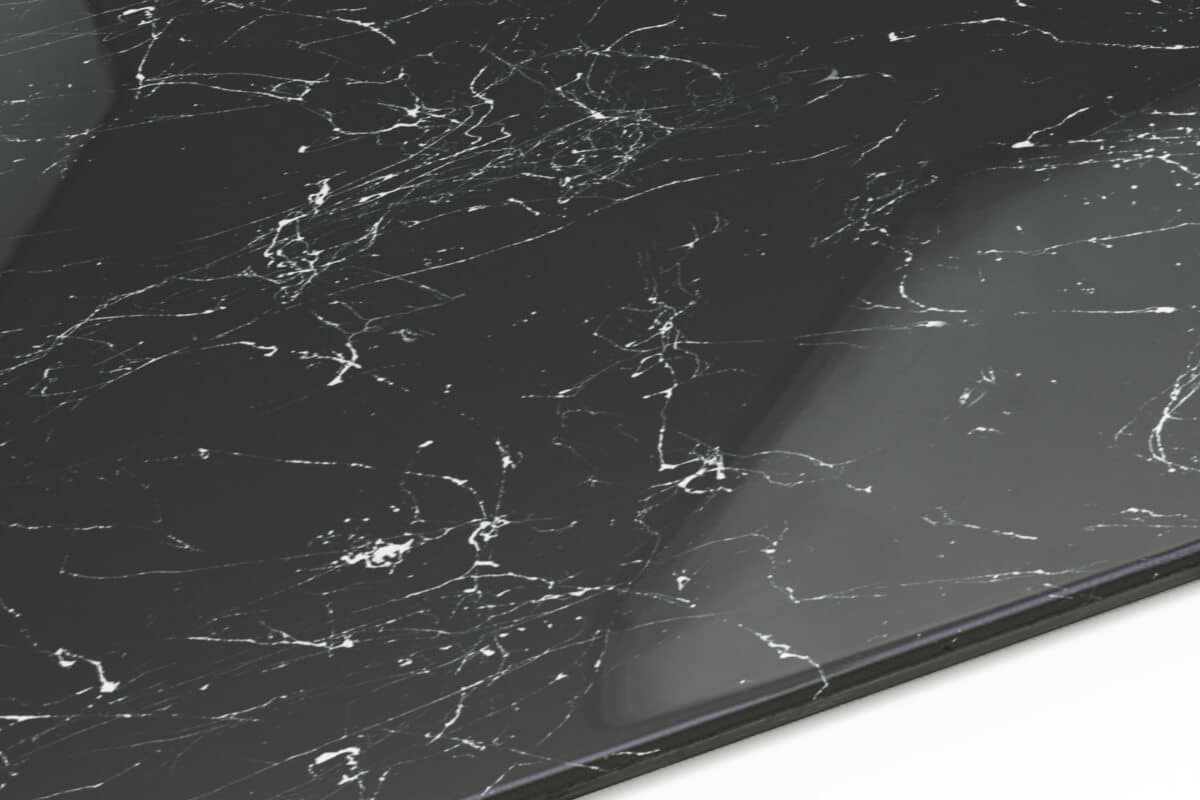
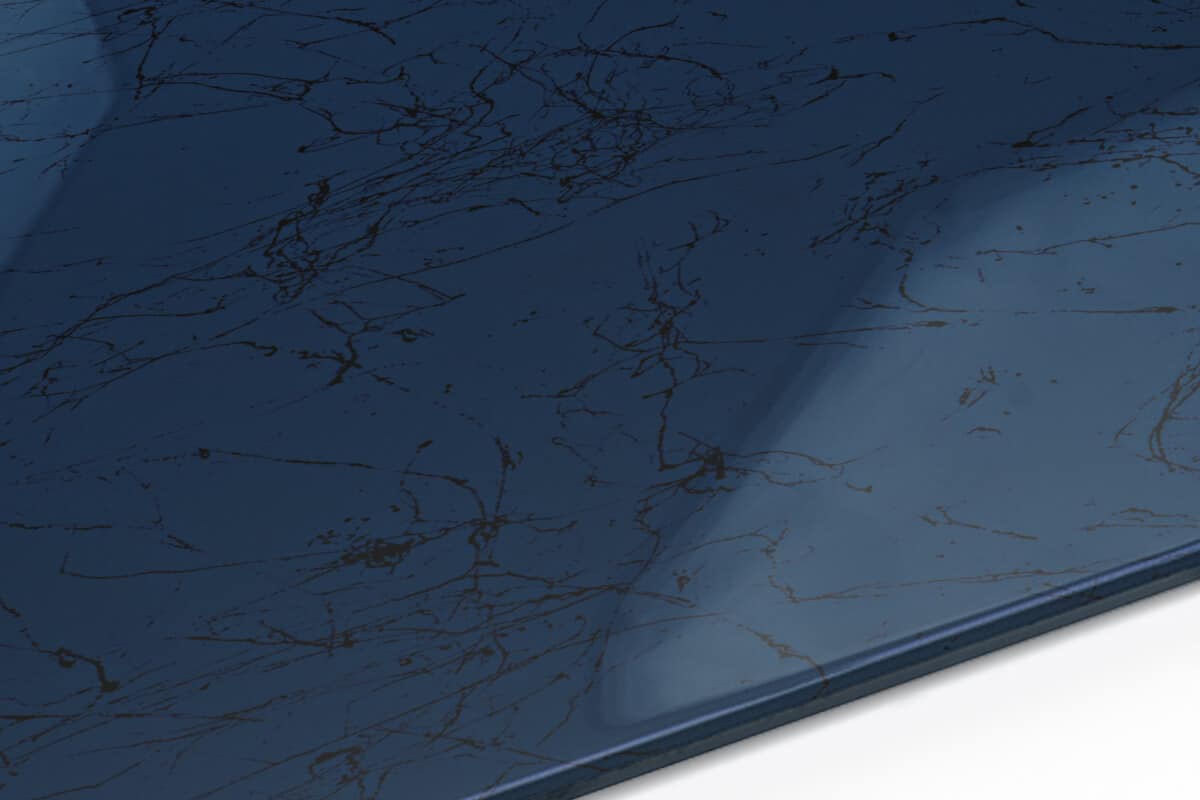
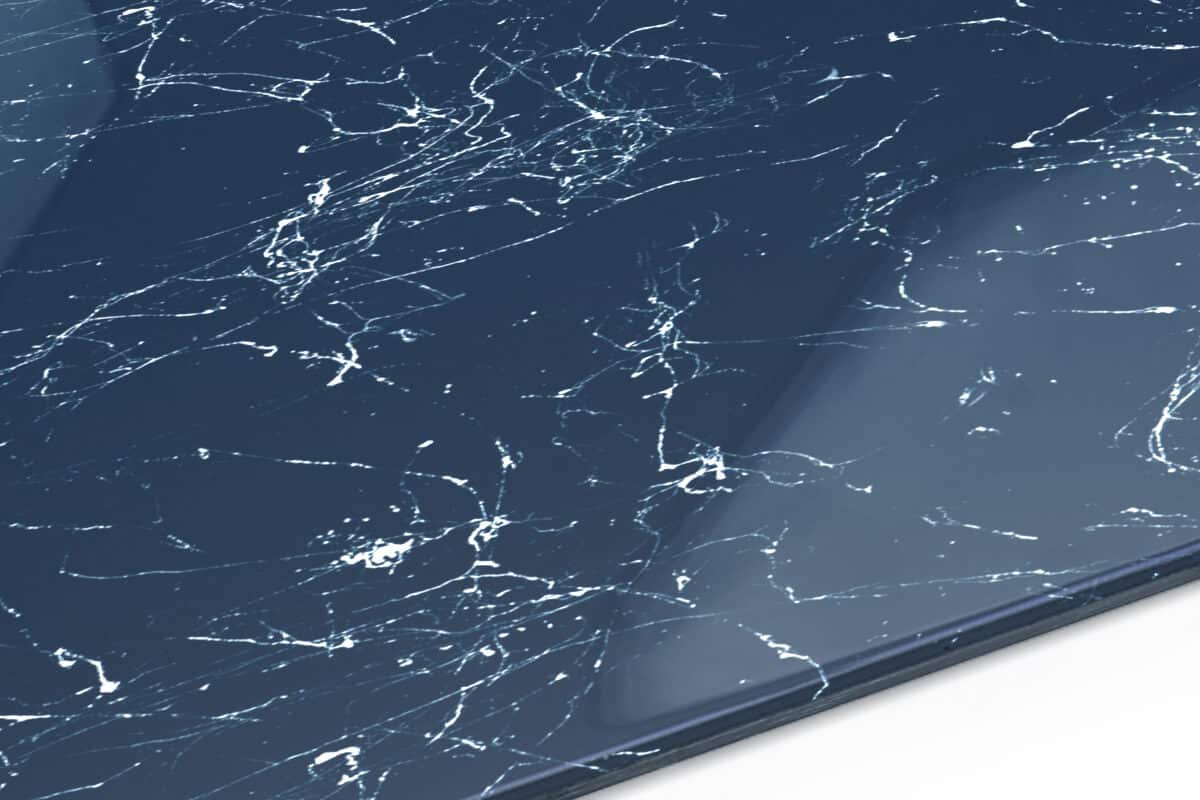
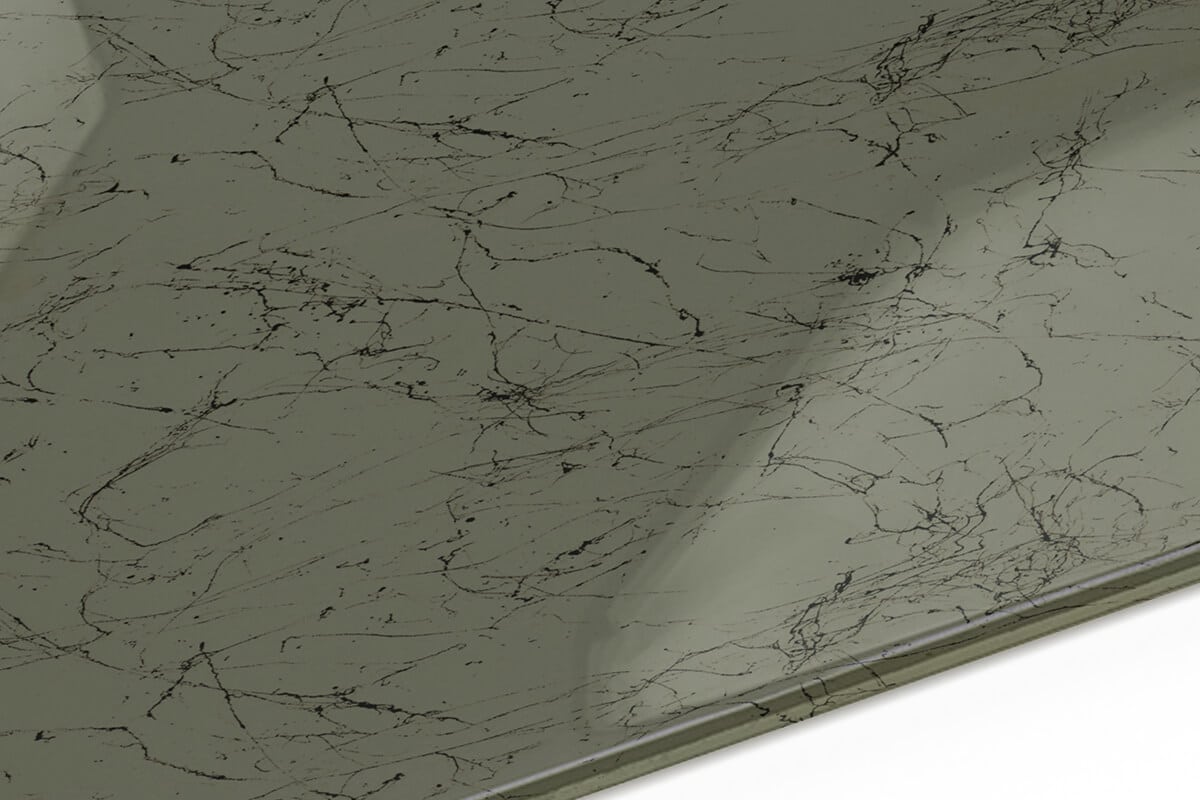
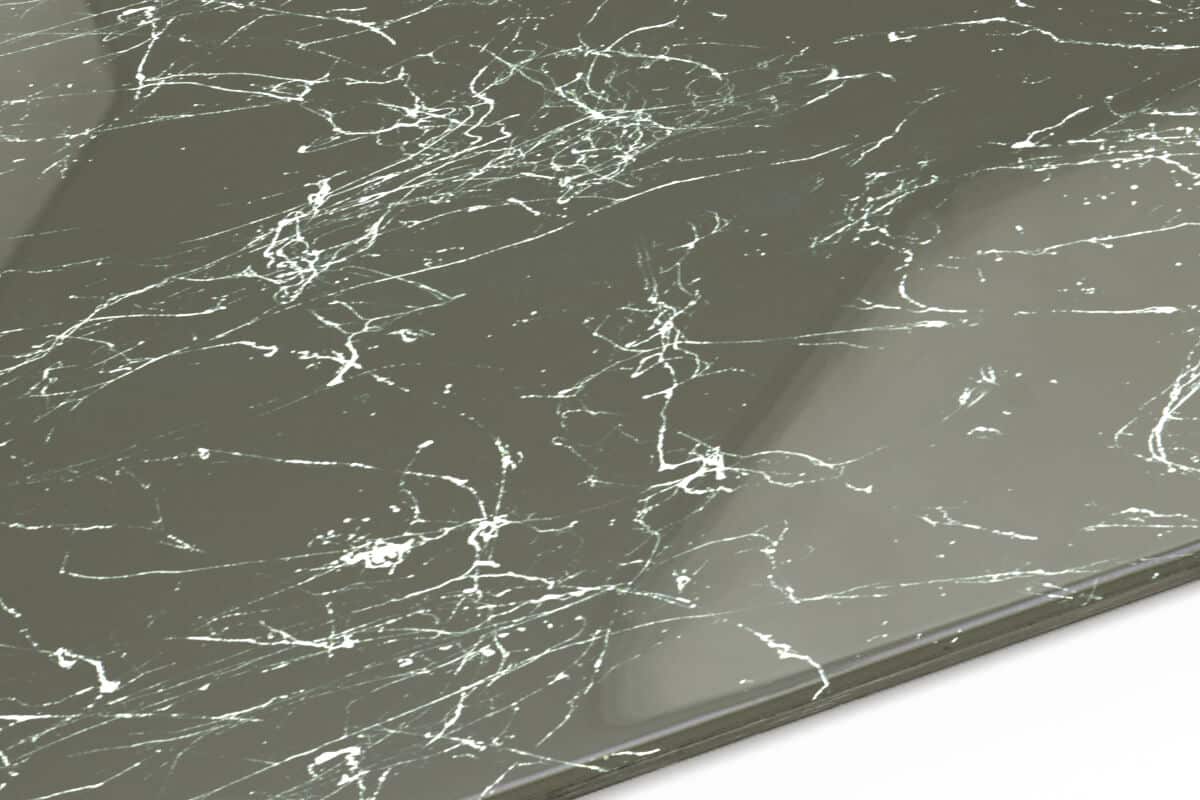
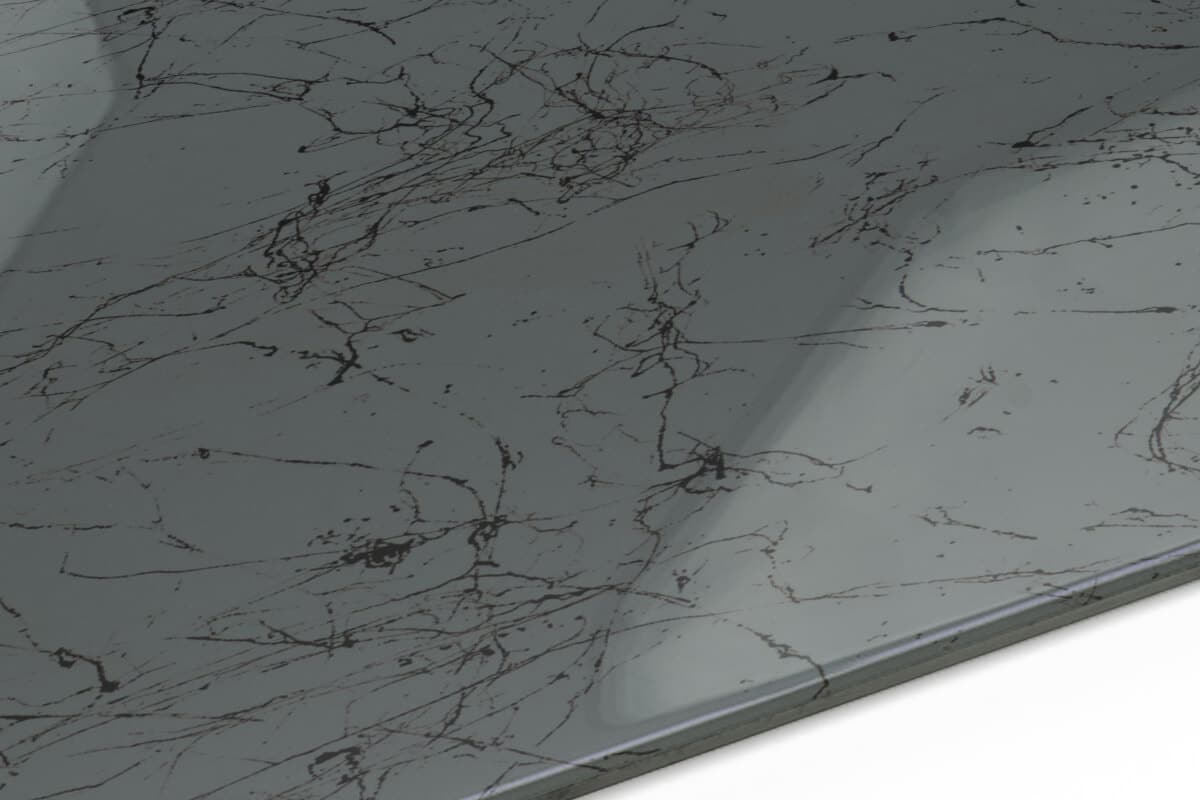
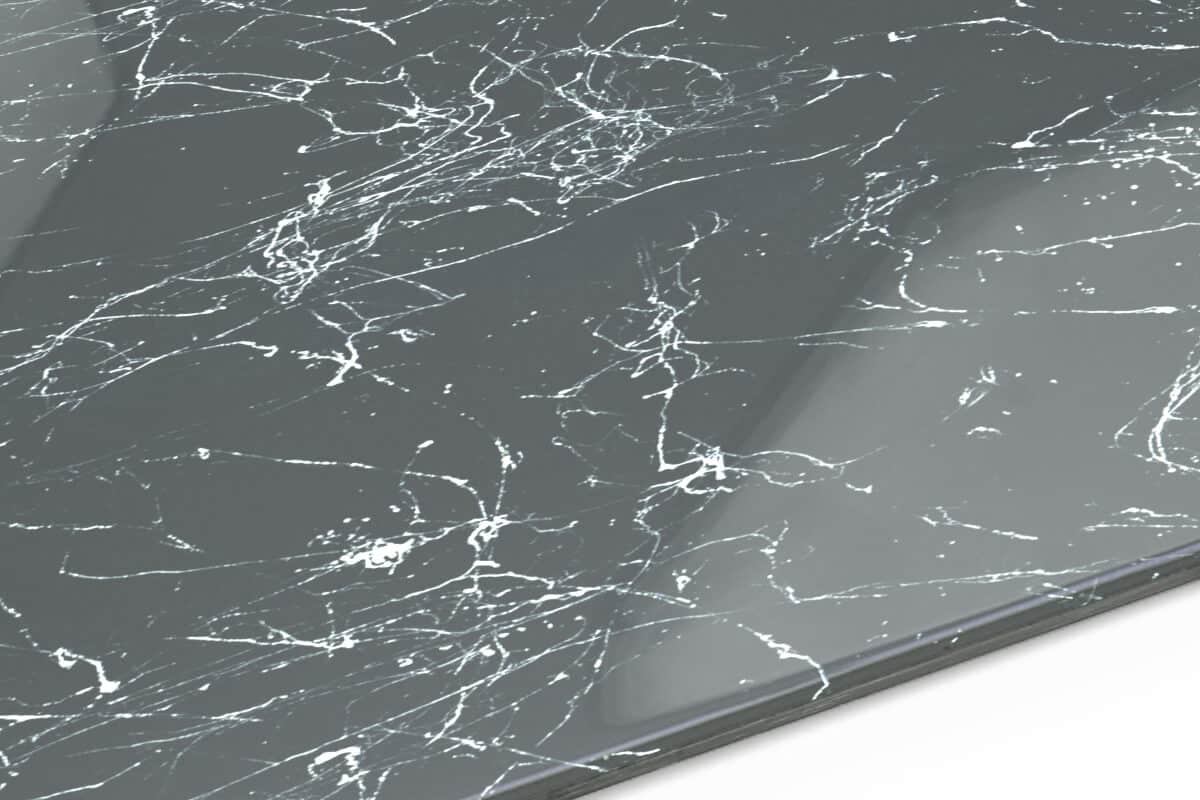
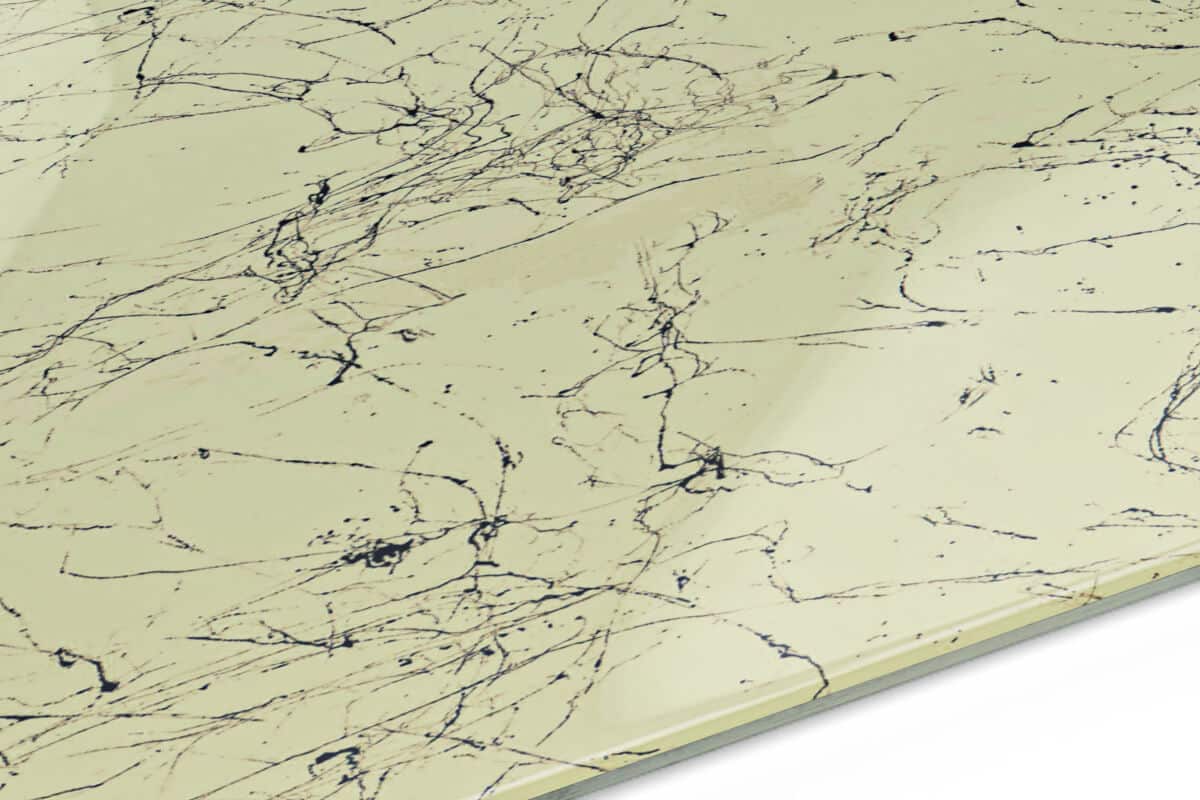
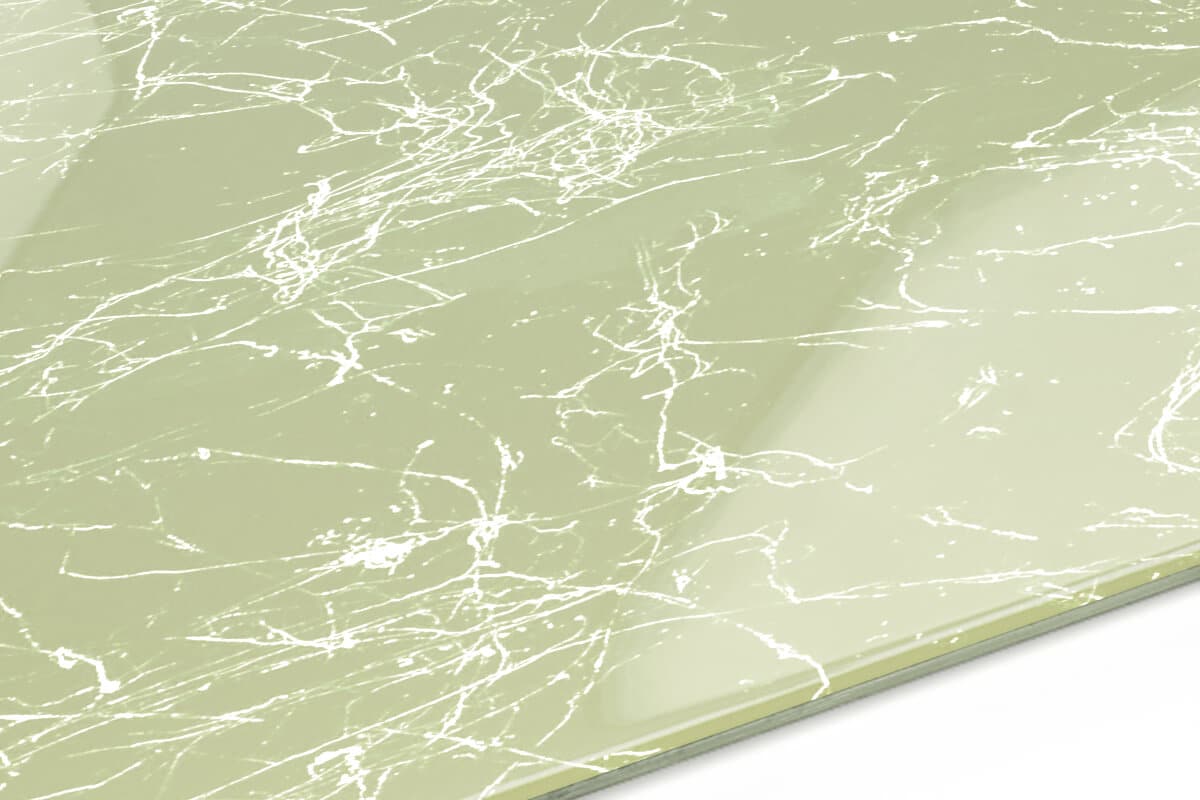
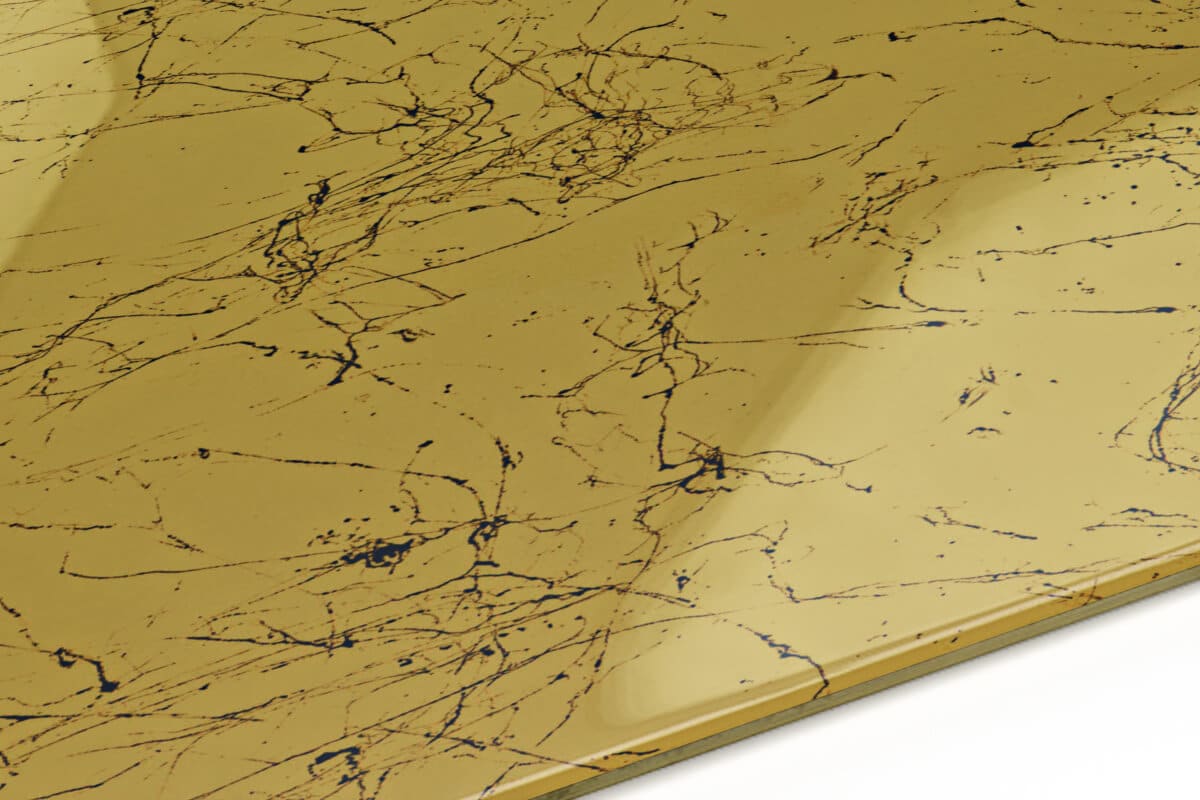
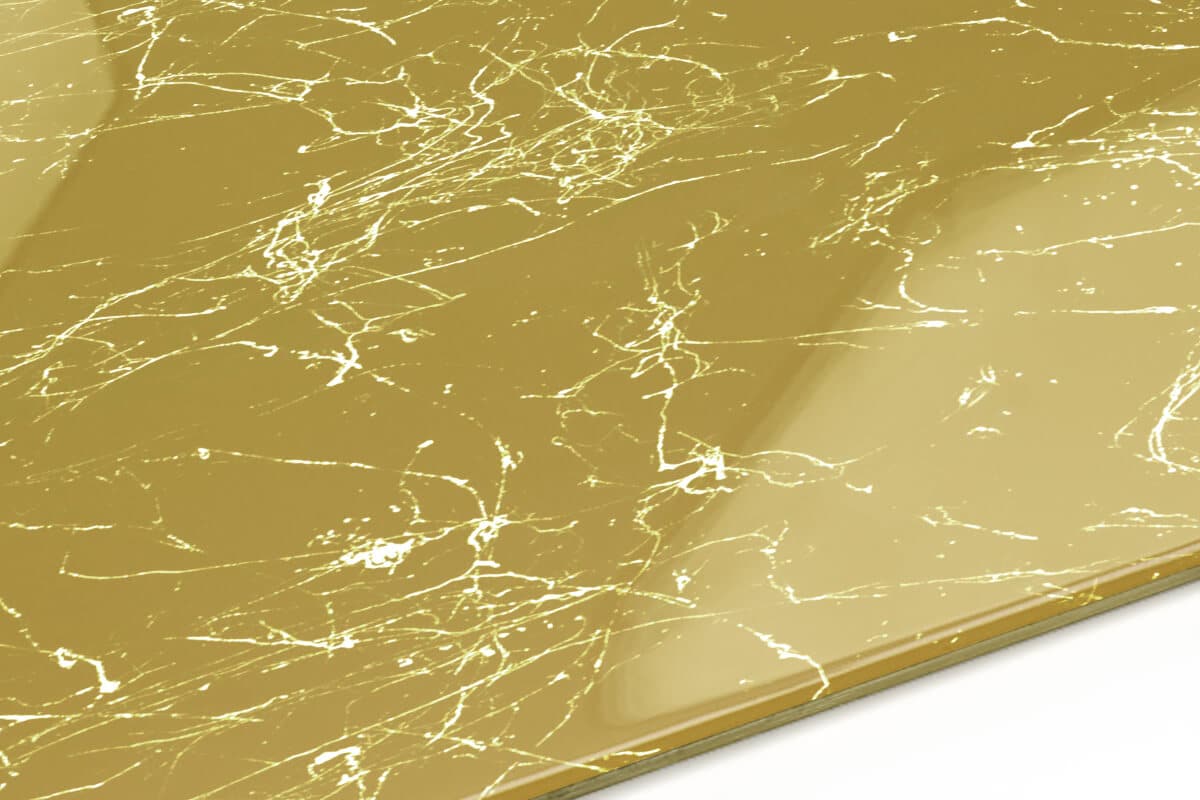
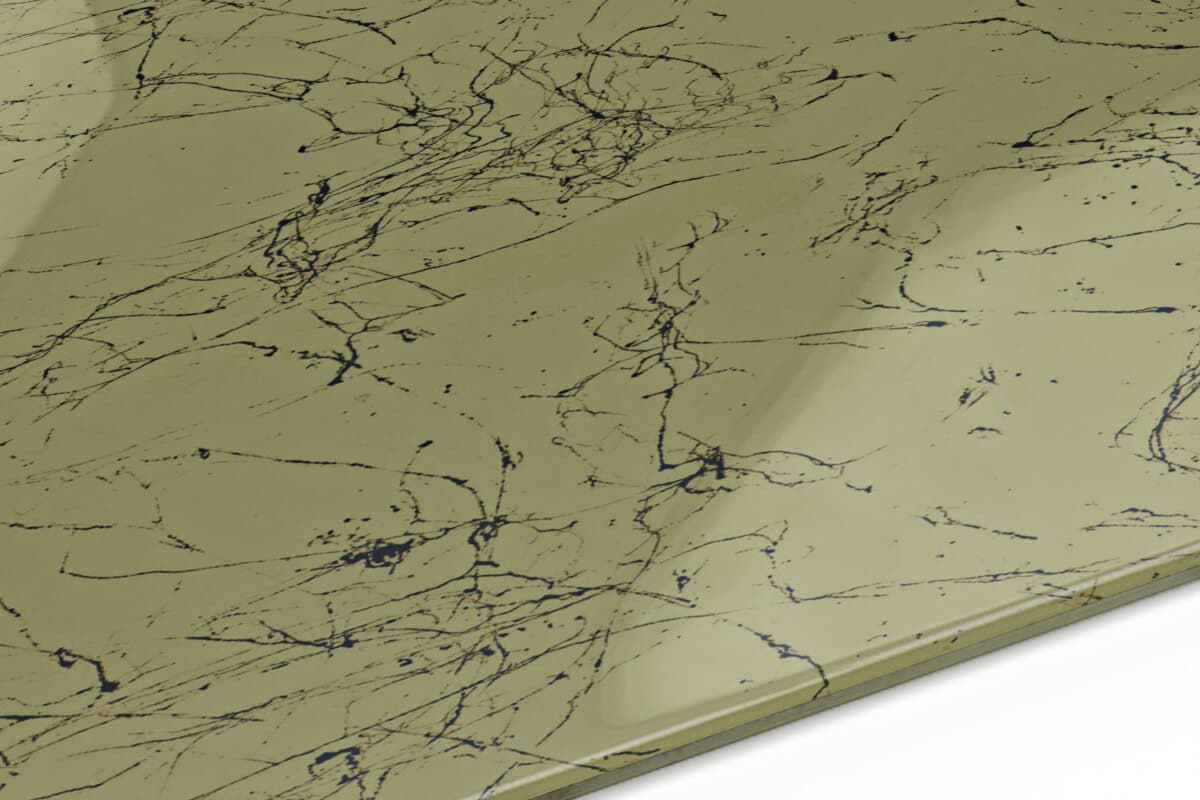
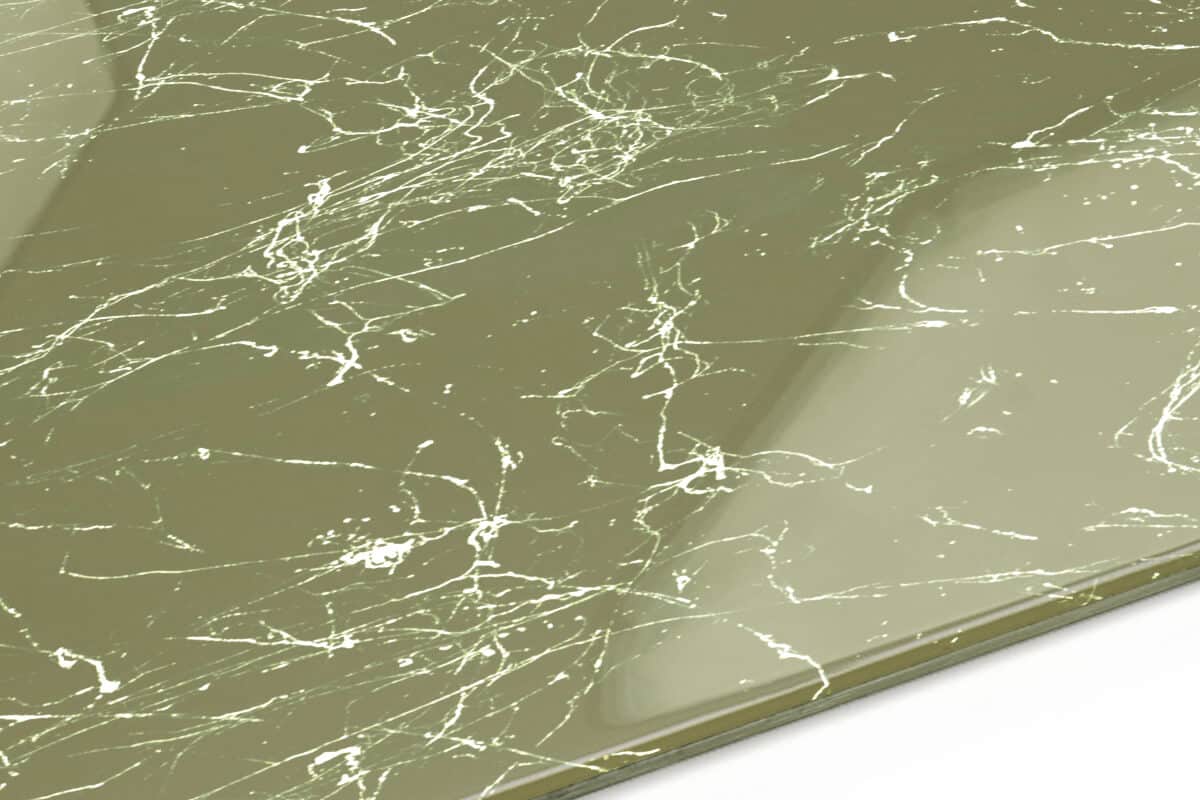
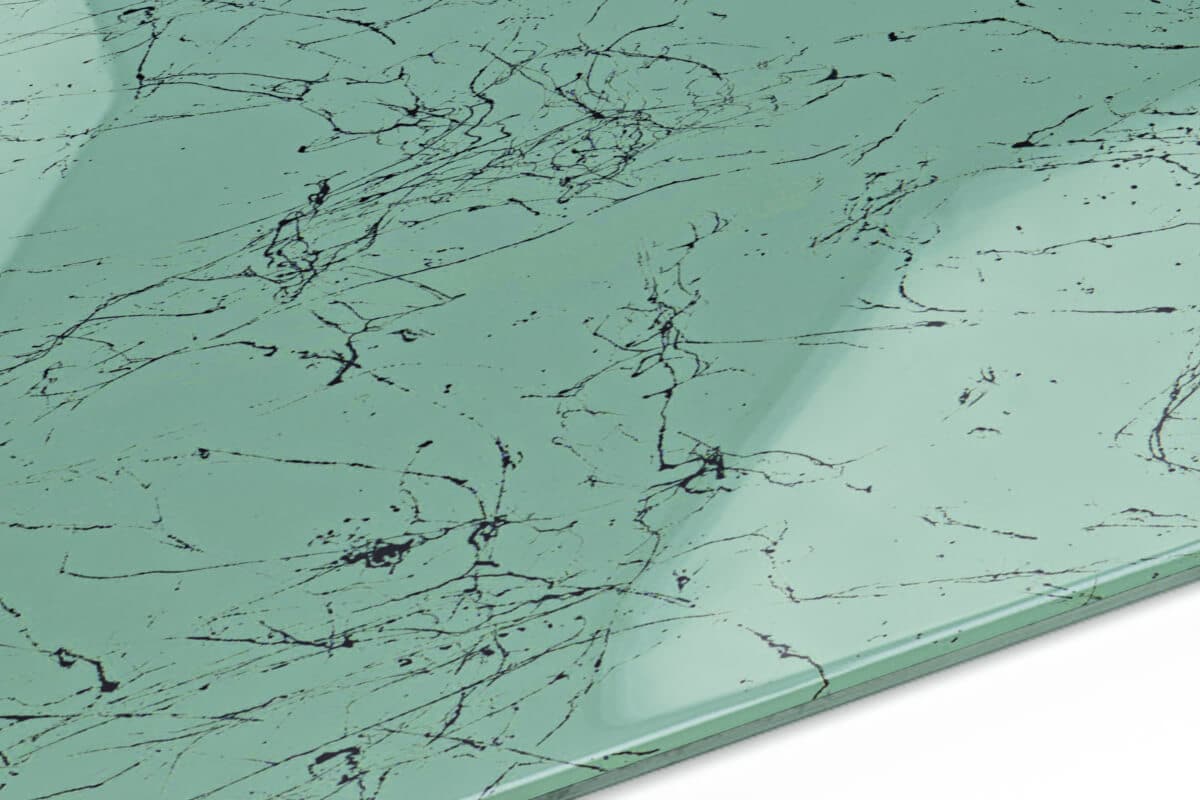
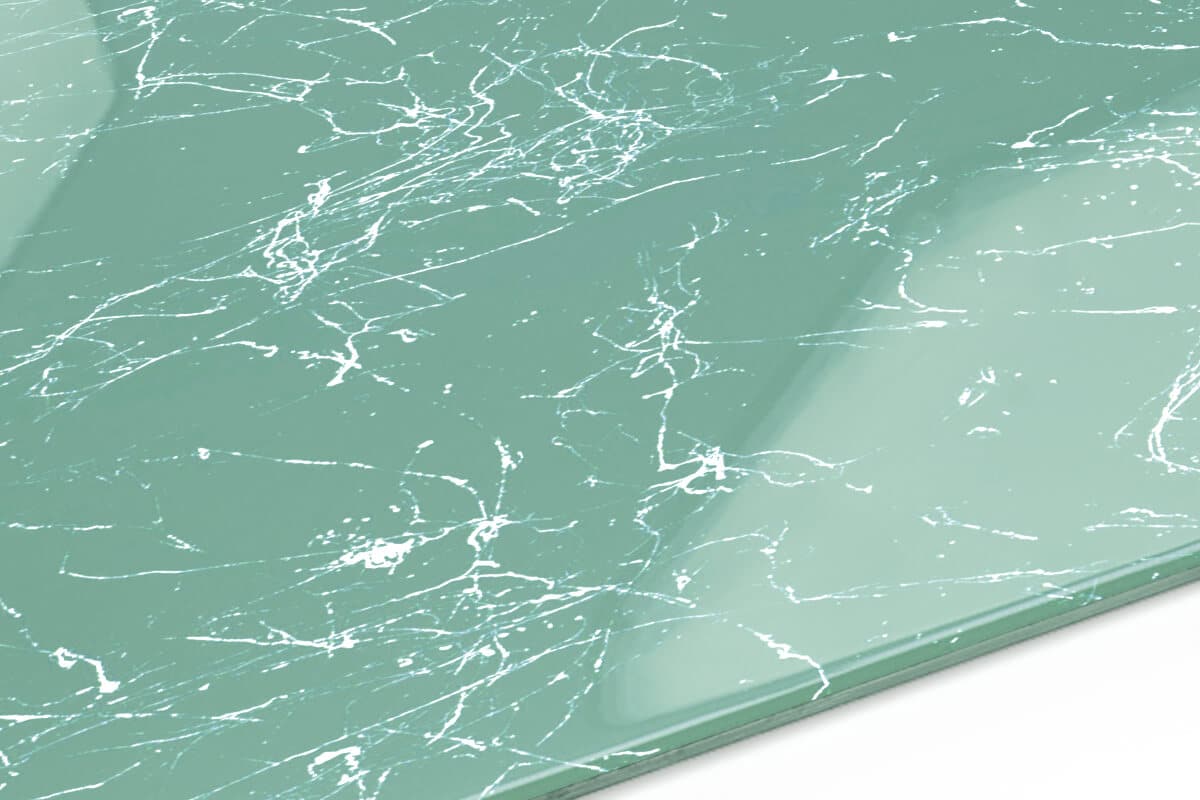
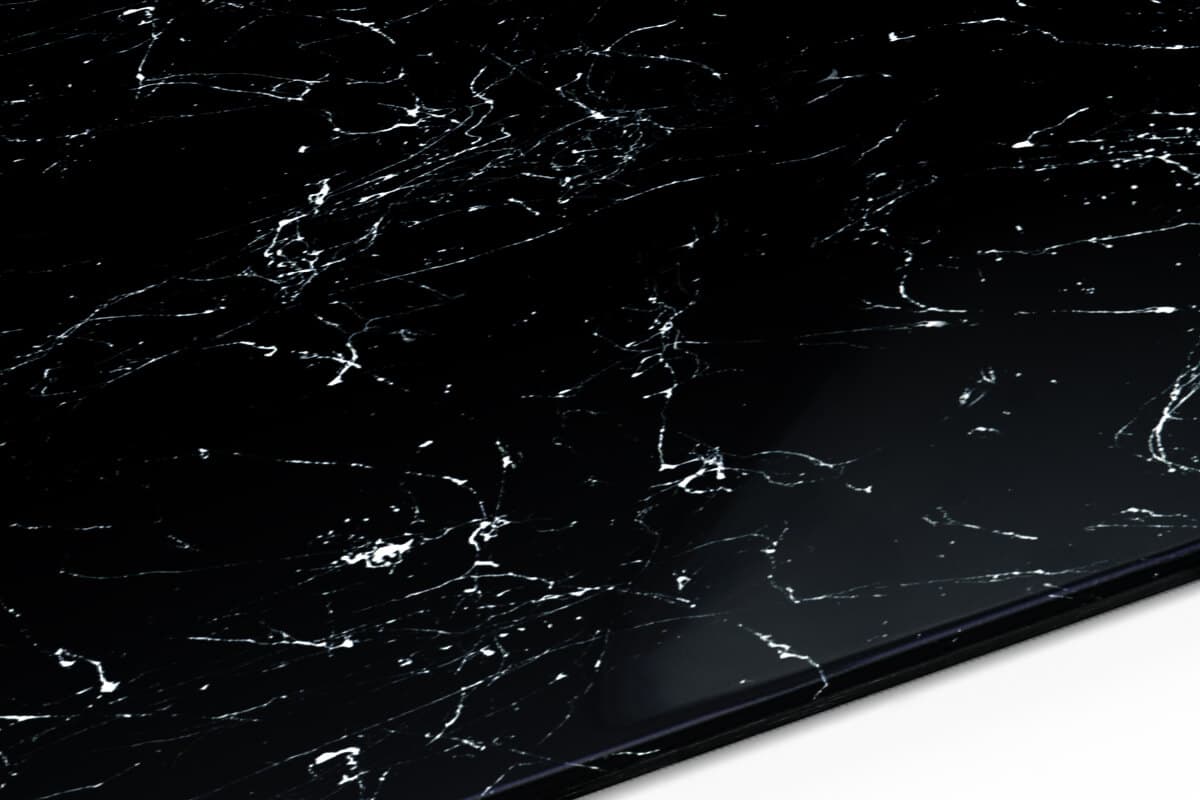
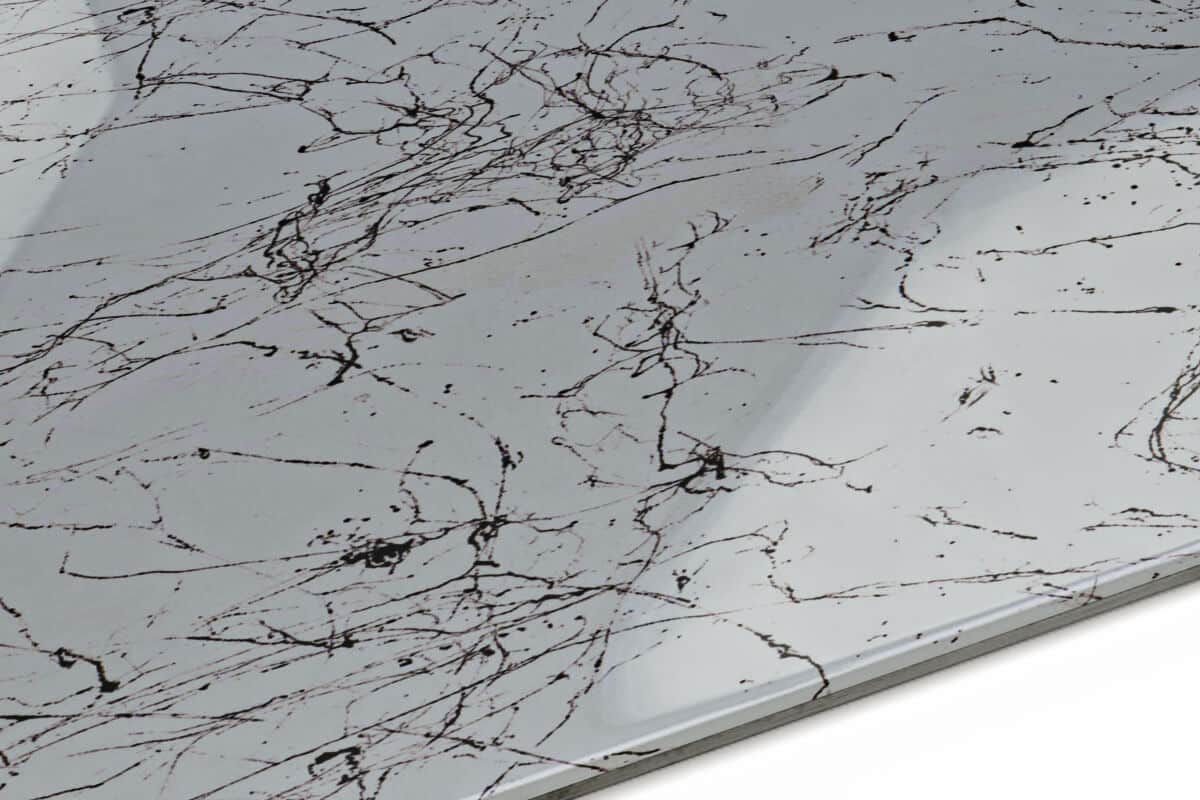
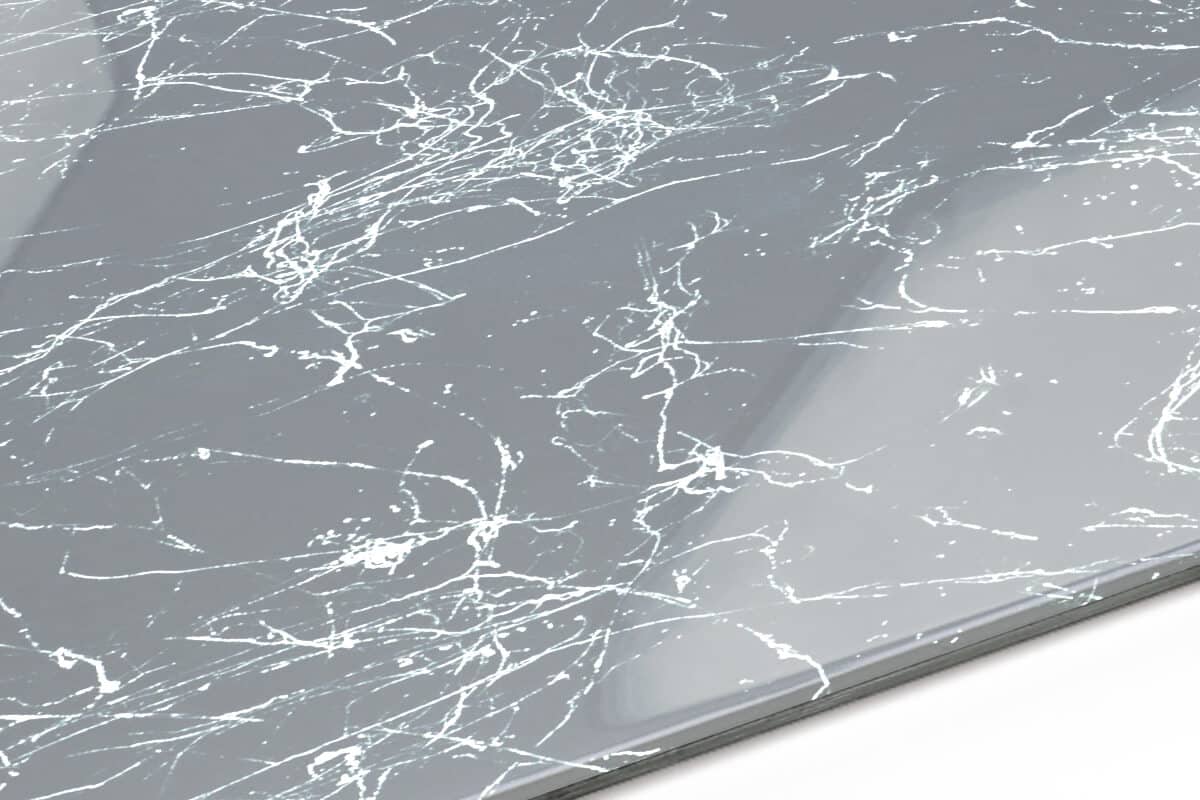
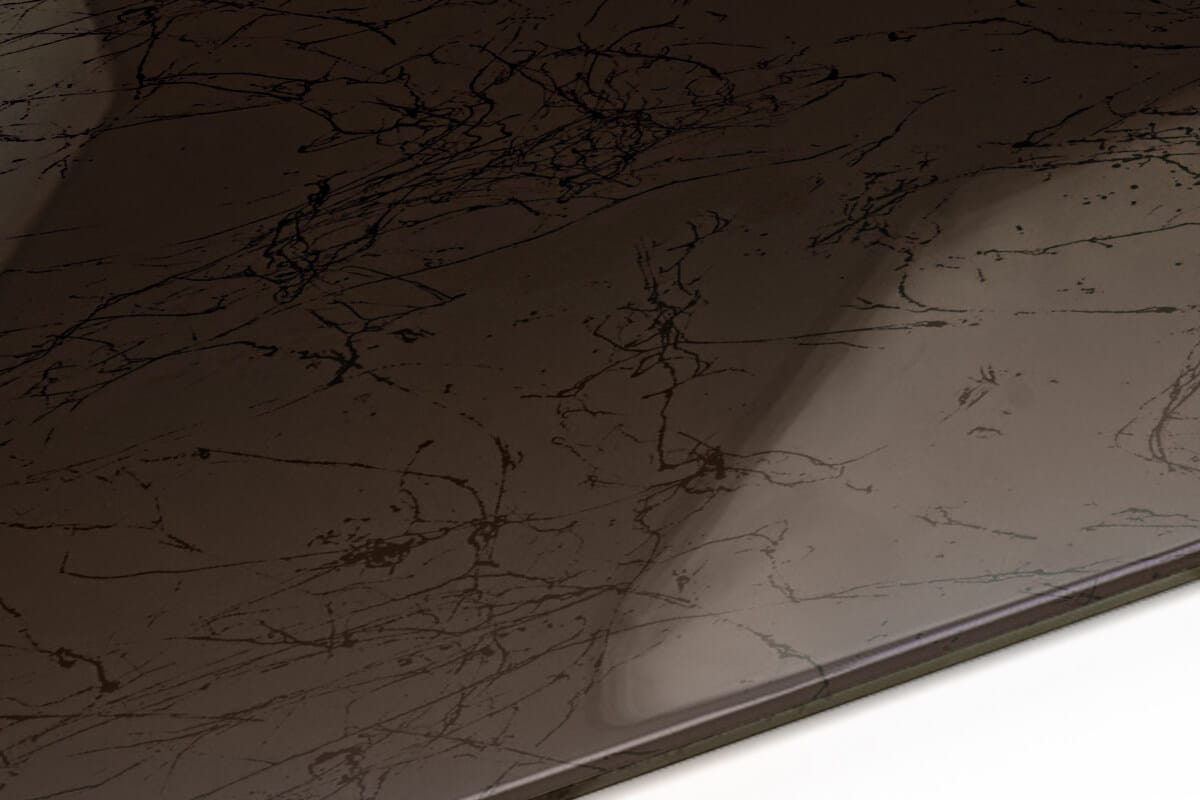
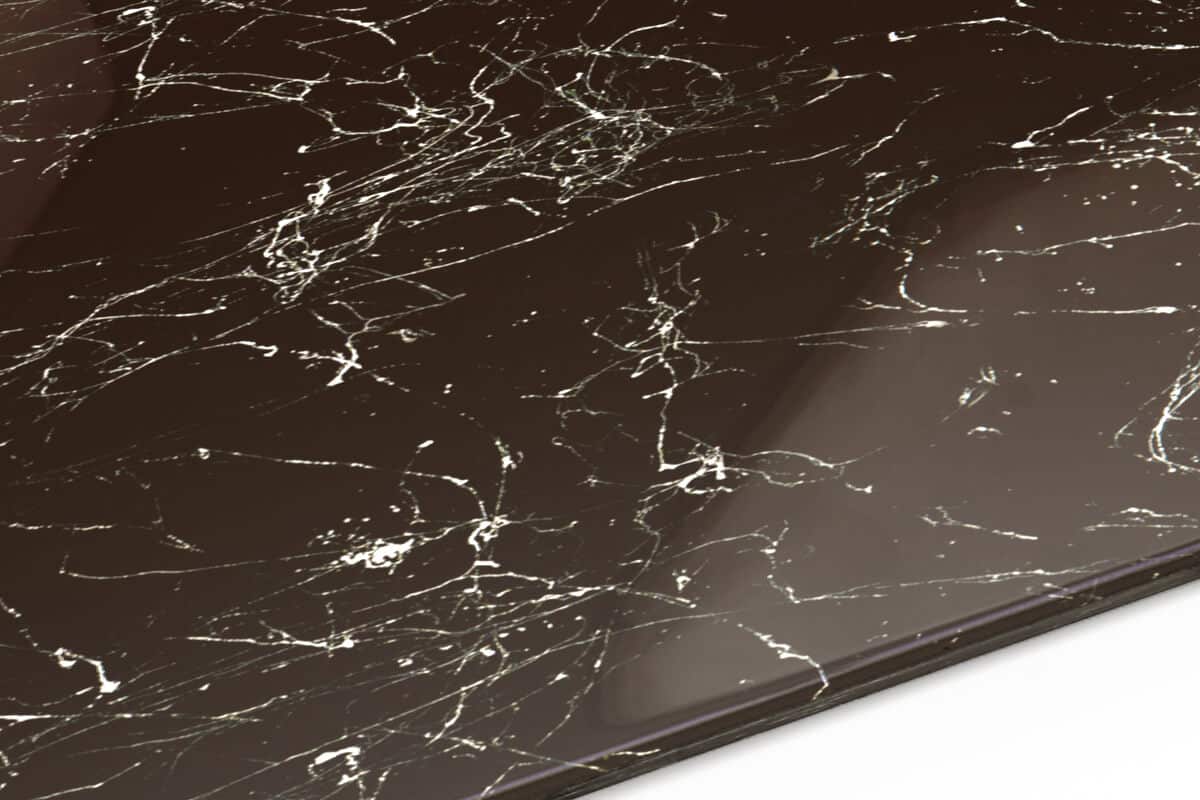
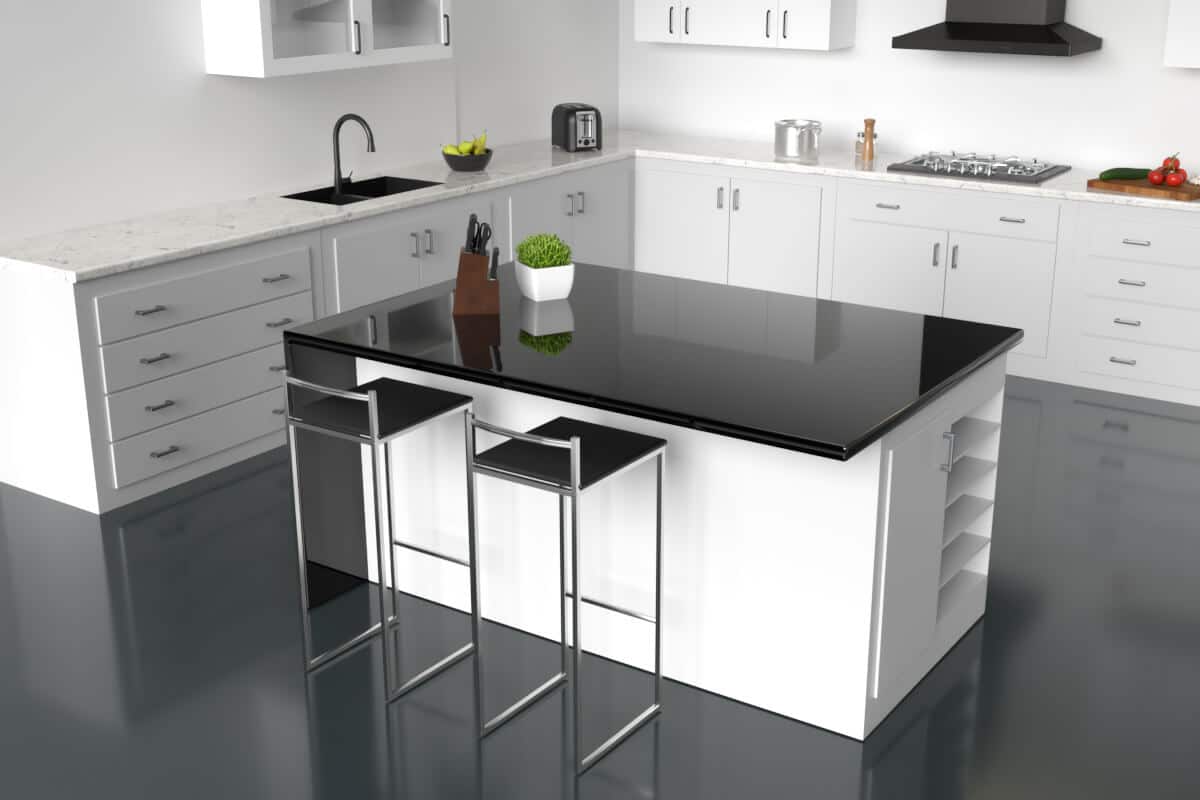
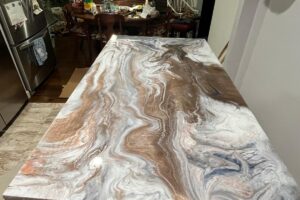
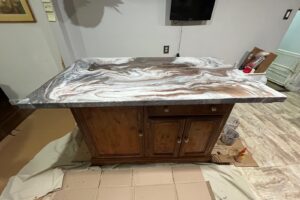
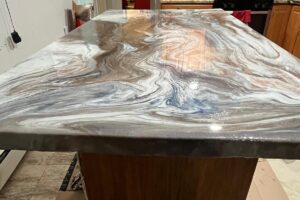
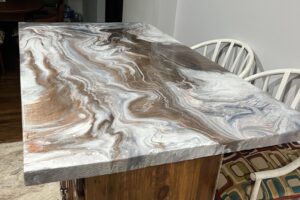
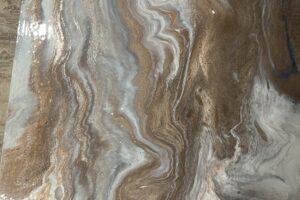
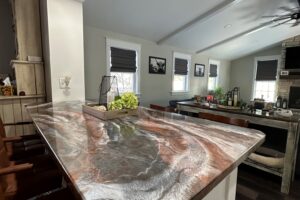
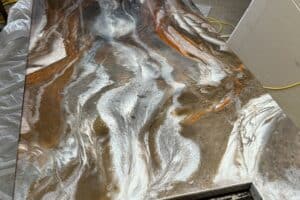
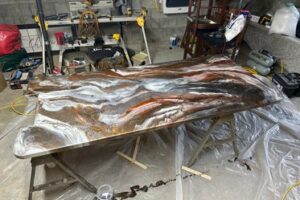
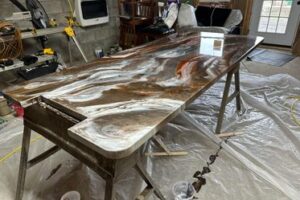
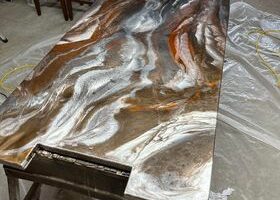
✓ No surprises. You always get the color you see online. We present all our colors in 4K videos and high-resolution pictures so you can see exactly what you are getting.
✓ Professional easy-to-follow step-by-step tutorials.
Get the products you’ve always dreamed of!
✓ The biggest color selection on the market.
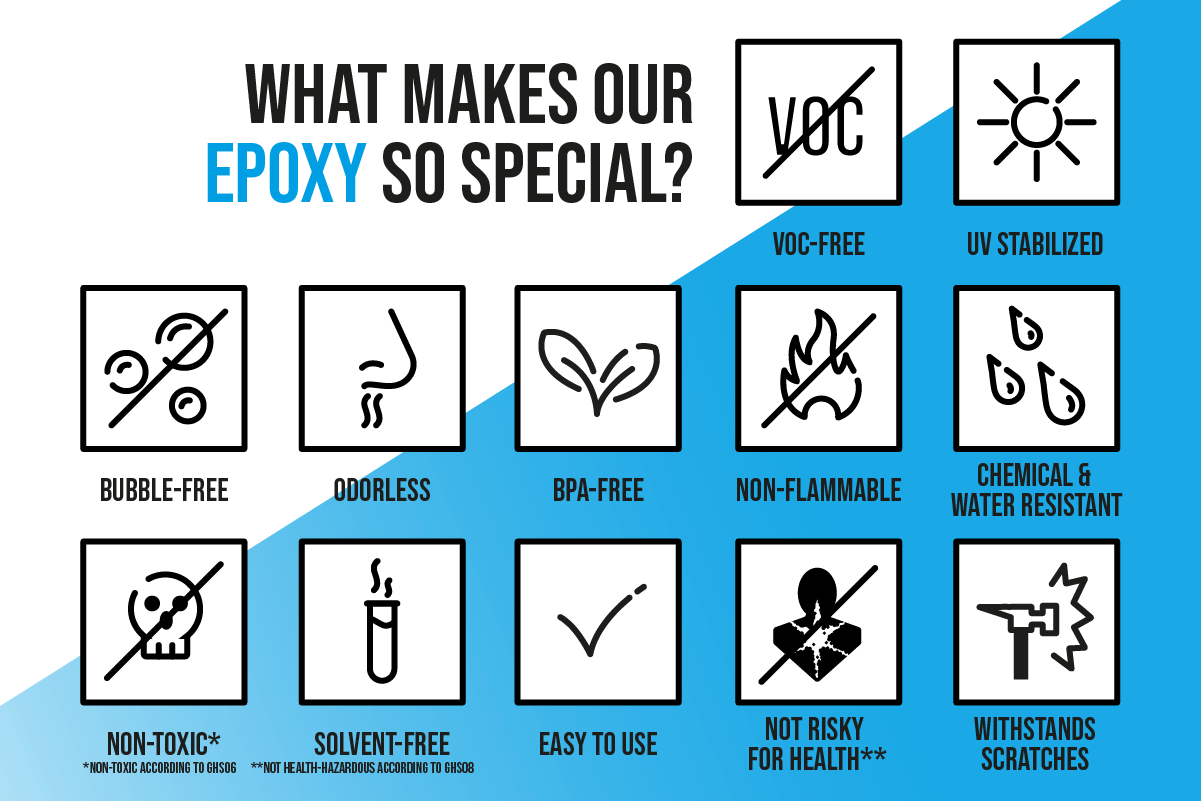
✓ The best epoxy properties across the USA:
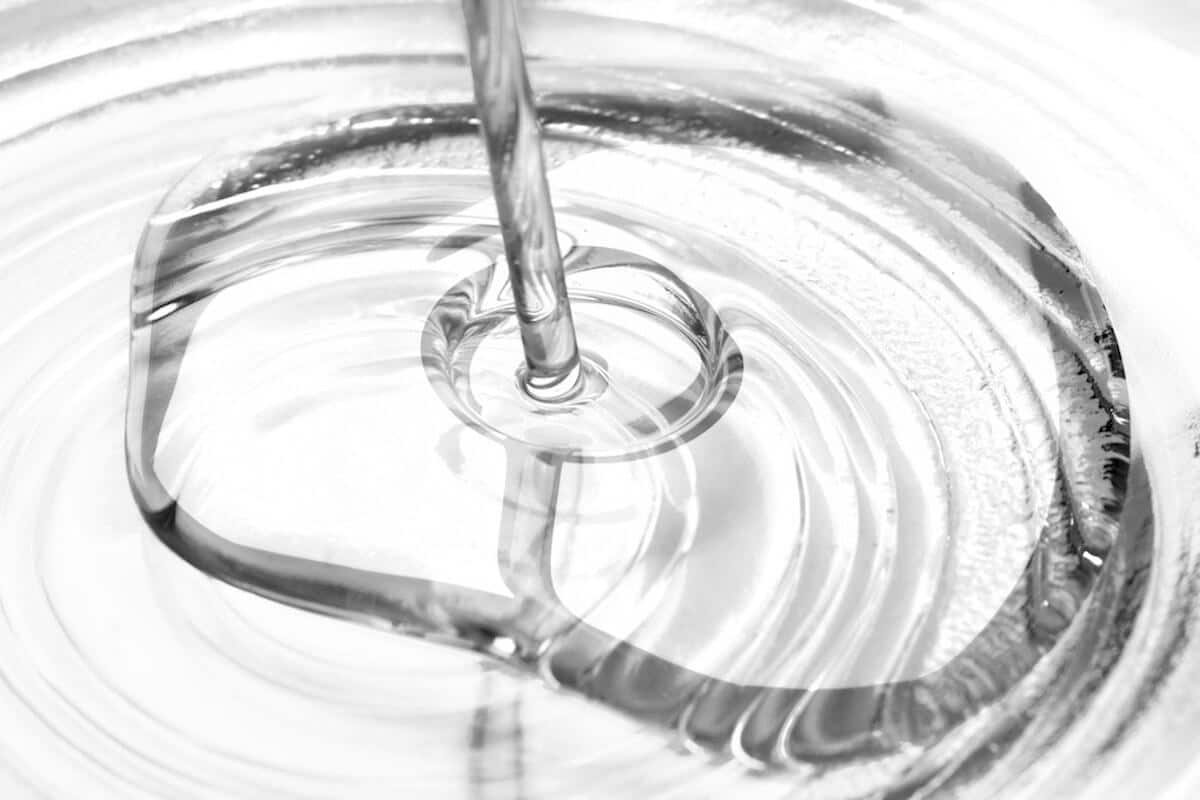
- Bubble Free
- Odorless
- Solvent Free
- BPA Free
- Easy to Use
Instructions for Primer
- For application, we recommend a room, surface and epoxy temperature of minimum 60°F.
- The surface should be dust-free, even and as watertight as possible. Unevenness and slopes should be levelled in advance with leveling compound.
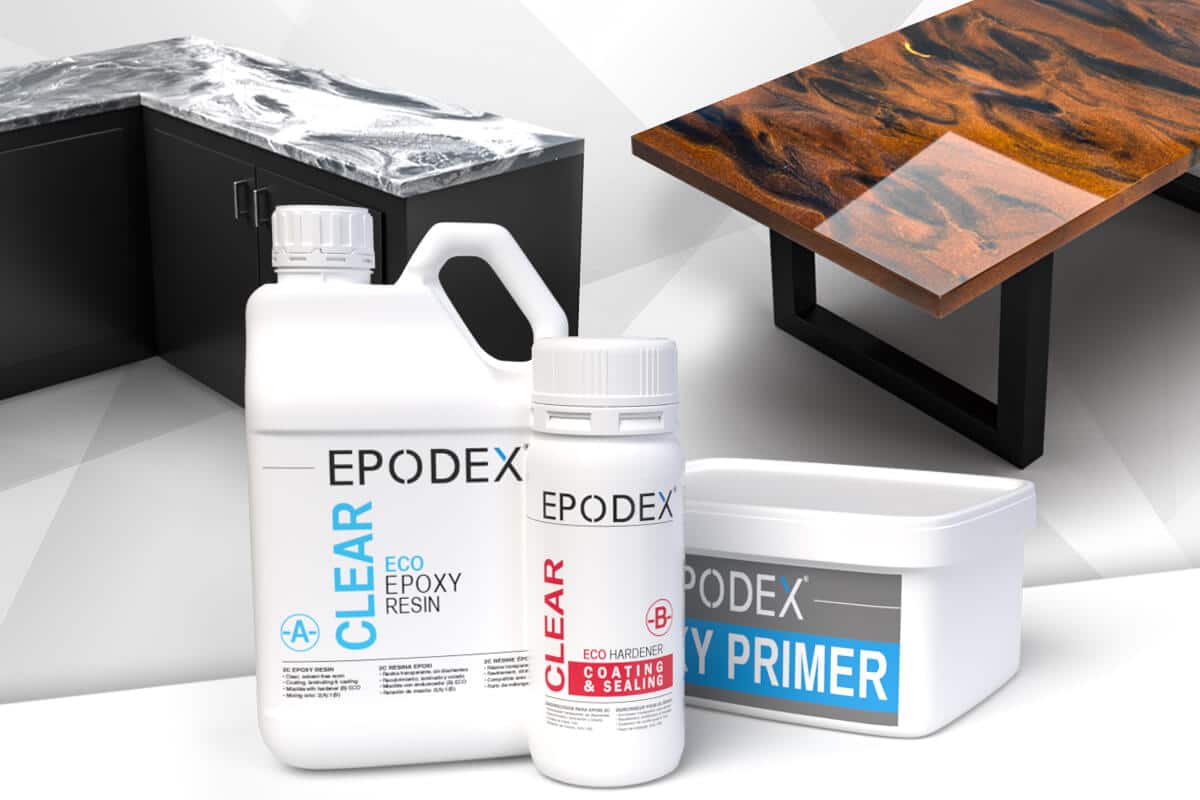
- Start with our EPOXY PRIMER. This primer is included in the scope of delivery (except clear kit).
- Stir the primer with a stir stick.
- Transfer the material into a paint tray.
- Roll the material thinly onto the desired surface with a roller.
- Let the primer dry for about 8-12h.
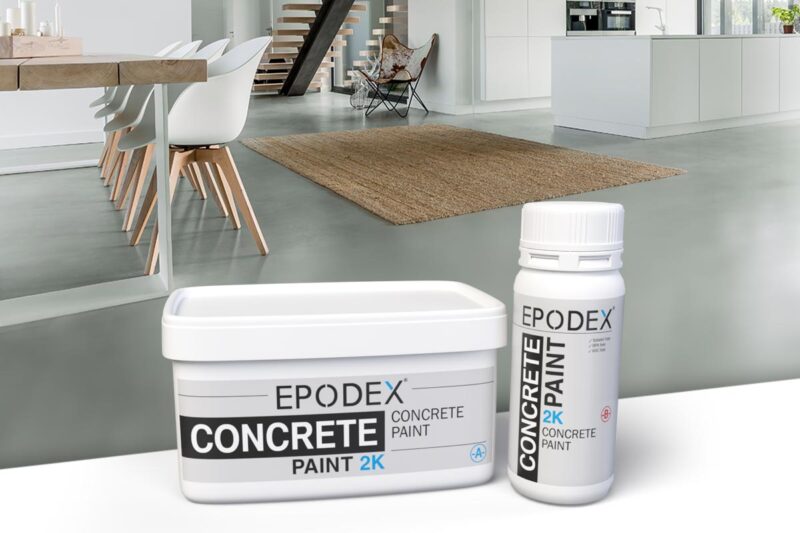
- If you have selected a Marble kit, apply the marble effect spray and let it dry.
Instructions for Main Coat
- Tape the edges of your counter or table with our EPODEX masking tape so that no epoxy run down the edge.
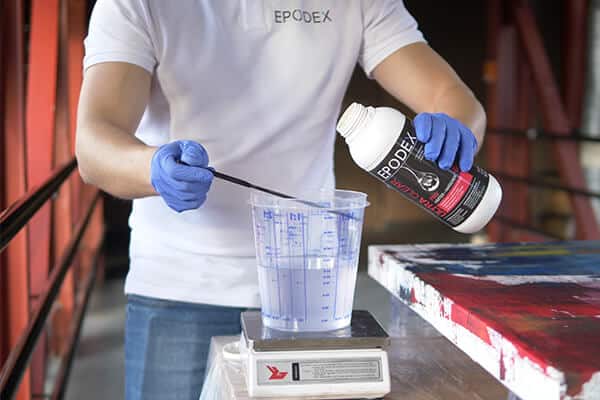
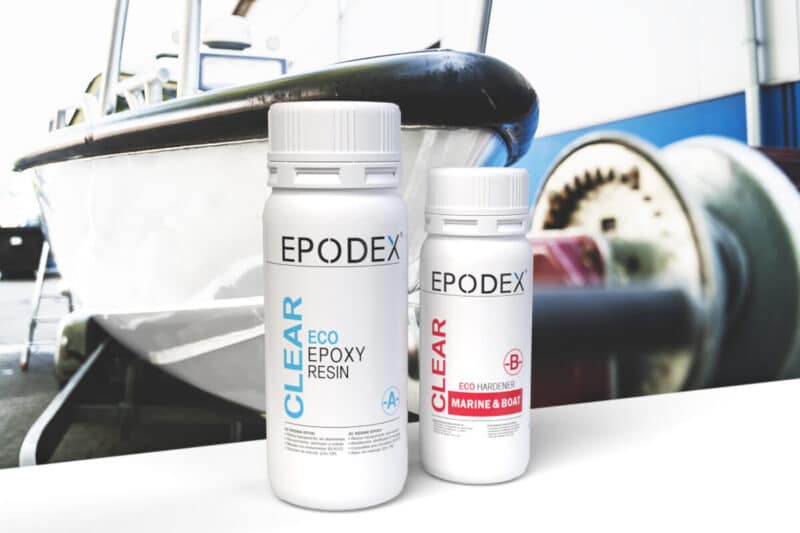
- Mix the resin and hardener in a mixing ratio of 2:1 (e.g. 2gal resin: 1gal hardener).
- Stir through the edge and bottom of the mixing cup as material will settle there. Ideally, pour into a clean mixing cup and mix again. This ensures that the resin and hardener are completely mixed together.
- To color the main coating, mix the colorants with the resin-hardener mixture.
Kit with one Color:
Dye the epoxy resin in the delivered color. Apply the colored epoxy resin over the entire surface.
Kit with two Colors:
First color: The main color is for the basecoat. Dye 90-95% of the delivered epoxy resin in this color. Apply the colored epoxy resin over the entire surface.
Second color: The second color is for the highlights. Dye 5-10% of the delivered epoxy resin in this color. Incorporate it wet in wet on the basecoat.
Marble Kit:
Apply the clear resin-hardener mixture over the entire area and let it cure
- Pour the resin-hardener mixture onto the surface to be coated immediately after mixing, as the product may boil in the mixing cup depending on the system and the amount of substance.
- Apply the material with a squeegee and roller and let it flood over the desired surface.
- Let the epoxy set 30-60min. and remove the masking tape. Use a brush to even out the thicker epoxy running down the edge. If necessary, apply more epoxy to obtain perfect coverage on the edge.
- The main coating is cured after 16-24h.
Info: Epoxy resin is sensitive to any kind of moisture during curing (risk of amine blush formation, i.e. white patches in the top layer). For this reason, we recommend that you avoid any contact between water and the epoxy until it has cured completely (at least 7 days). For thin layers, cold temperatures (ambient, substrate, and resin temperatures below 70°F) and increased humidity, the time until the epoxy resin is fully cured may be extended.
Consumption Volumes
Total Thickness for Floors and Other Surfaces: 1/16”
- Priming with Clear Epoxy: approx. 1oz/sqft
- Priming with EPOXY PRIMER: approx. 0.65oz/sqft
- Main Layer: approx. 4oz/sqft
Customer Service: If you have further questions, please contact us by phone, e-mail or use our WhatsApp support.
Note: Please note that due to different lighting conditions and monitors, the colors may not be uniformly displayed. All information is recommendations based on our experience; without legal obligation.

