Epoxy Floor Coating
An epoxy floor coating protects any floor from deteriorating over time. Once cured it is chemically resistant and waterproof. Redesign your entire space in a few easy steps.
Want to create a one-of-a-kind design? Choose between our metallic mica powders or glitter flakes for the extra wow effect.
Create unique marble effects, or apply a single solid color to your floors, don’t think twice.
Epodex is always the right choice!
- Ideal for all types of floors such as industrial floors, garage floors, and designer floors
- Layer Thickness: 1/16″
- Working time: 60min, Curing time primer: 8-12h, Curing time main coat: 16-24h.
- Kit consists of suitable epoxy primer as well as resin and hardener (mixing ratio 2:1) for the main coat. Epoxy primer not included with the clear kit.
- Select a kit and receive the right amount of colorants to color your epoxy.
Biggest Color Selection Across the USA!
At EPODEX we offer a versatile selection of colors for your next epoxy floor coating project.
From transparent colors to color pastes, & mica color pigments, which are all miscible with one another, the possibilities are endless.
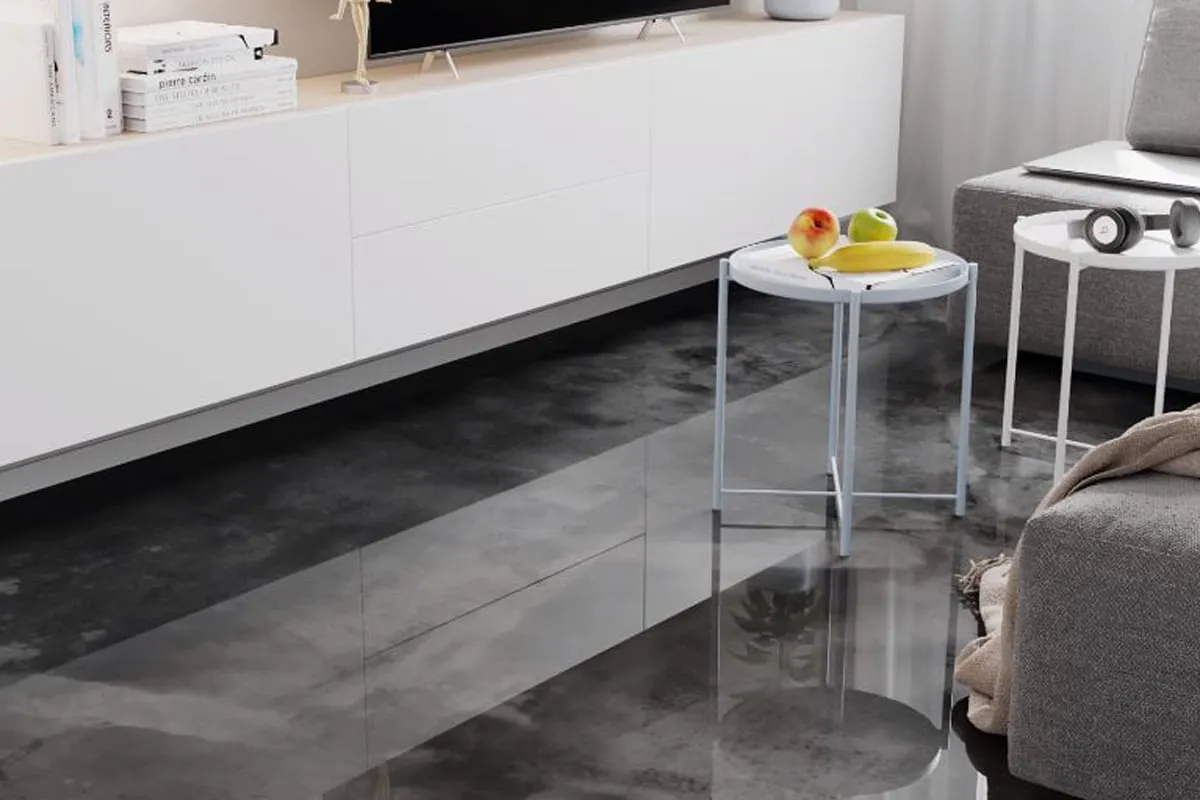
There are several reasons for which you can install an epoxy floor coating, but most people purchase the durability it provides. When the heat cures the resin, polymer bonds are formed that make the substance moisture-resistant and stable against any chemicals and solvents.
In comparison to a genuine marble stone floor, our process and materials will save you a ton of time and money!
One of the most exciting things about an epoxy floor coating is the way it’s created. The steps aren’t that hard to follow, so we thought of giving you an overview of how the epoxy flooring is installed.
Step 1| Preparing the Surface
An epoxy floor coating can be applied over any types of flooring. Most people apply epoxy on bare concrete or in other words cement-based leveling compound. The floor needs to be previously leveled, even, and non-porous. Holes, cracks, breaks, or edges must be filled with a filler or epoxy putty. Preparation is a key ingredient in a perfect epoxy floor coating. Grind the floor if it has an existing layer of paint or epoxy to ensure proper bonding when completing your epoxy floor coating. To avoid amin blush, we recommend doing a moisture test on the concrete floor to ensure complete dryness. Remove any silicone caulking as epoxy does not bond to it. Do remember to clean all the dust and debris with a dry cloth. Loose particules will otherwise be encast in your flooring.
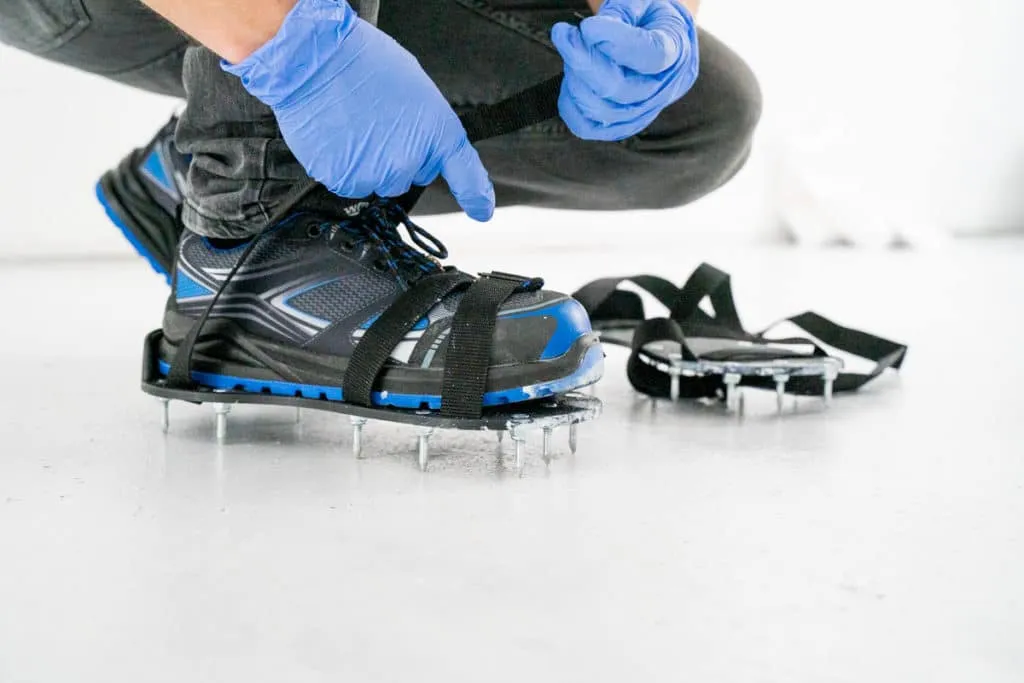
For a proper epoxy floor coating, make sure you clear the entire space, removing furniture as well. The floor must also be completely dry and dust-free. Next, mask the floor edges with tape to seal off the walls. It is recommended to wear nail soles during the application process to avoid leaving any marks on your epoxy floor. Always have a respirator mask to protect your face, goggles to protect your eyes, and old clothes such as disposable overalls to protect your skin. Do not open the windows during processing the resin or the curing process.
Step 2| Applying the Priming Layer
Use the water-based Epoxy Primer for this step which is included in every epoxy floor coating kit we offer. On absorbent substrates, the primer acts to seal and decrease the sequential absorption of the epoxy resin. The primer is fundamental for perfect results. Our epoxy primer was manufactured and designed to provide the perfect base on which to lay an epoxy floor coating. Our Epoxy Primer always guarantees epoxy resin adhesion.
The Epoxy Primer is water-based allowing you to reduce the viscosity of the material by thinning it. As the product has no pot life, it evidently does not thicken if left in the mixing pot for too long. There is no pressure for time!
The Epoxy Primer is included in the scope of delivery when purchasing an epoxy floor coating kit. Always shake the bottle well before use or stir the material with a stir stick. Then pour it into a paint tray. The Epoxy Primer is best and most easily applied with a foam roller.
Allow the primer to dry before continuing with the main coat. We recommend working at a controlled temperature of 70°F and making sure humidity does not exceed 70%. Do not open your windows. All our epoxy kits are safe to be used indoors.
If the surface is extremely porous two or three priming layers will be necessary to sufficiently seal the surface. If the surface is not adequately primed you could result in blisters, craters, bubbles, or pinholes in your epoxy floor coating.
The better you prep the better the results!
Step 3| Applying the Main Layer
Use the 2-component Flooring kit for your epoxy floor coating. In the scope of your delivery, you will receive the Resin A-component, Hardener B-component, and the colorant or colorants separately. These components are to be mixed at a 2:1 ratio (e.g., 64oz resin: 32oz hardener). It is highly recommended to use a scale for precise accuracy when mixing. Always transfer your mixture to a clean mixing jug and mix again to ensure all components are properly combined.
Next, add the colorant of the kit to the resin-hardener mixture. If you purchased a solid color kit, then the scope of delivery only includes one color. If you purchased a Metallic Mica Powder kit, then the scope of delivery includes 1, 2, or alternatively 3 colors.
You will find detailed information, on how to mix and apply the main coat can be found on each product page.
PRO TIP: Make sure your Resin A components are not crystallized. Is the Resin A component clear & streak-free? Free of lumps or ice crystals? Not sure? Check out the crystallization blog post for more information.

Step 4| The Final Touches
The main coating can be walked on/touched after approx. 20h and is chemically fully cured after approx. 7days.
You can find more detailed information on our flooring kit page.
We hope you love the design!
PRO TIPS!
Scratch resistance/UV stabilization can be increased by applying a topcoat. Possible topcoats are e.g., transparent polyurethane (PU) lacquers which are painted or sprayed onto the epoxy coating as a finish.