
River Table – Step-by-Step Instructions
Building a river table is easier than it looks. Our team has prepared easy-to-use kits, which include everything you need to achieve your trendy river table.
Get everything you need now in 2 clicks!
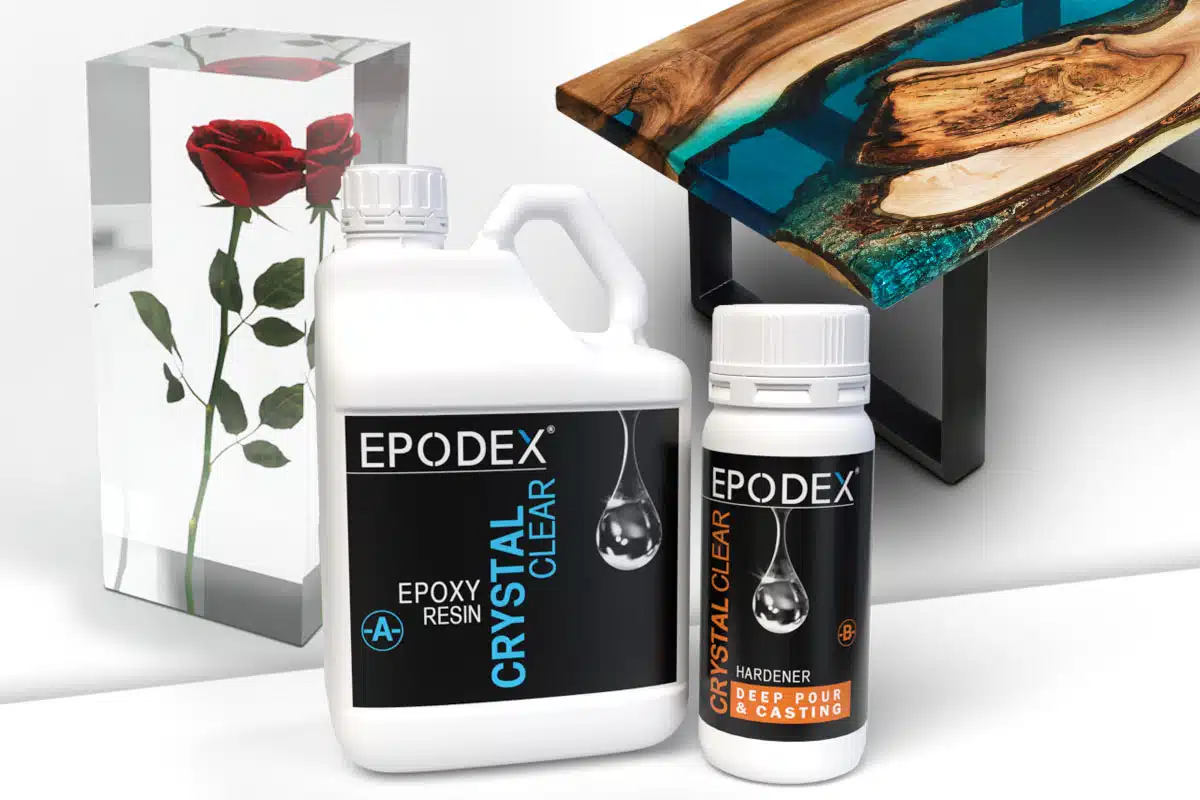
- Crystal-Clear or with one of 141 Colors
- Layer Thickness: 1/16“-2" (12“ also possible)
- UV Stabilized
- Working time: 6h
- Curing-time: 48-72h
Step 1 – Control your working environment
Before starting, make sure that your epoxy, your room, and your mold have a temperature of 70°F. To ensure a perfect result, it is important to have a dry and dust-free environment.
Step 2 – Build your Casting Frame
Once you know the size of the river table you want to build, it’s time to build a frame for it. To do so, use a wooden plate and wooden strips. Cover everything with our EPODEX separating tape.
Screw all wooden parts together and glue all the edges with silicone. Once the silicone is cured, spray the Separating Agent spray over the entire mold. Wipe off any excess with a dry dust-free cloth.
Pro Tips: Do not overlap the Separating Tape! Leave a small gap to save you rigorous sanding later.
Step 3 – First Layer of Resin to Seal the Wood
Once your wooden planks are safely secured in your mold, it is time for the epoxy. Prepare a small mixture of resin and hardener. Make sure your mixture is free of streaks before using it.
Use your brush to apply a thin layer on part of the wooden planks which will be in contact with the epoxy. Pour the rest of your resin-hardener mixture on the river between your wooden planks. Allow the first layer to cure for at least 48h before continuing with Step 4.
Pro Tips: Be sure to always mix according to the mixing ratio. Our PRO+ Kit has a mixing ratio of 2:1. In other words, mix, for example, 1gal of resin with 0.5gal of hardener.
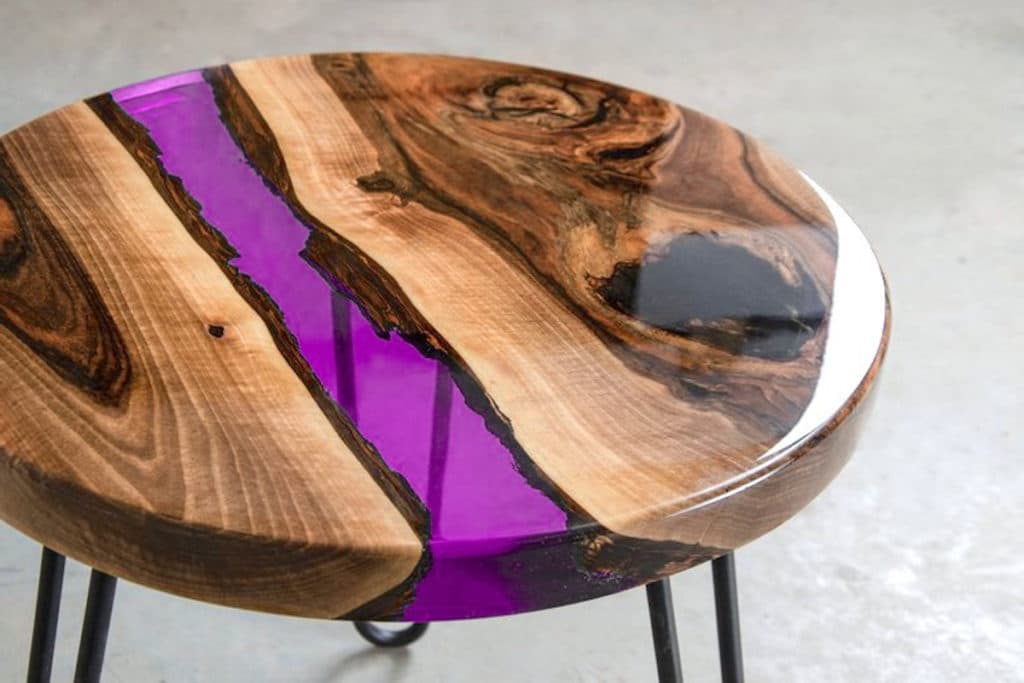
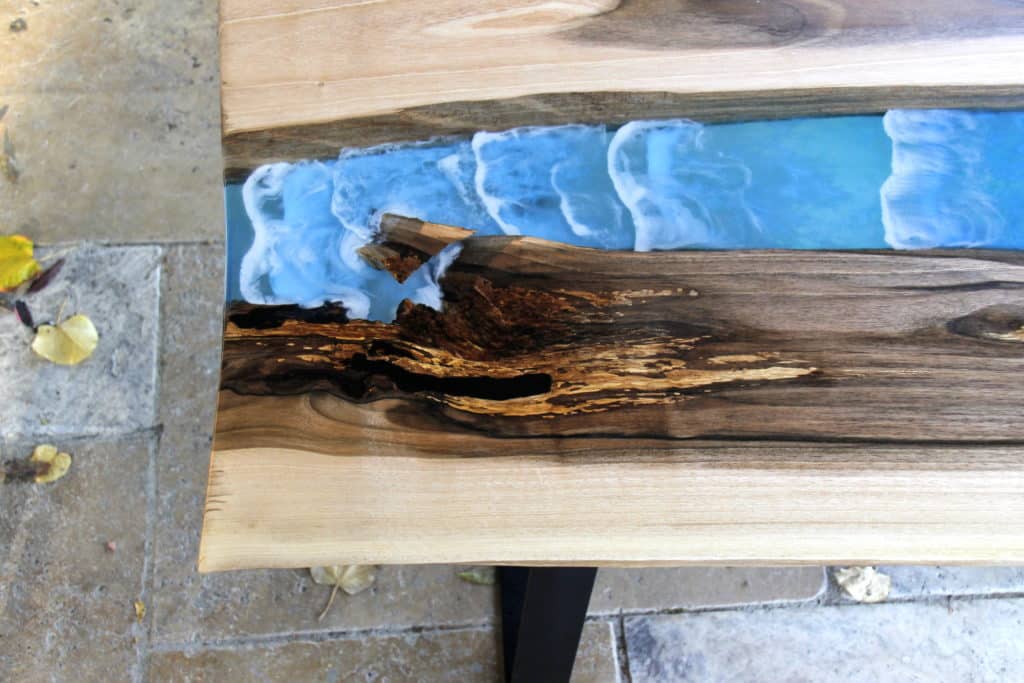
Step 4 – Pour the River
It’s now time for the river table to come alive! First, look how deep you must pour. If your pouring depth is more than 2”, we recommend doing this step in layers of a maximum of 2”.
Mix the epoxy resin and hardener together. Again, make sure that the mixture is free of streaks before using it. If you have selected a kit with a colorant, add your colorant into the streak-free mixture. Now pour the mixture into your river table and let it cure.
Pro Tips: Play on the color intensity by adding more or fewer colorants.


More than
250,000+
Satisfied costumers
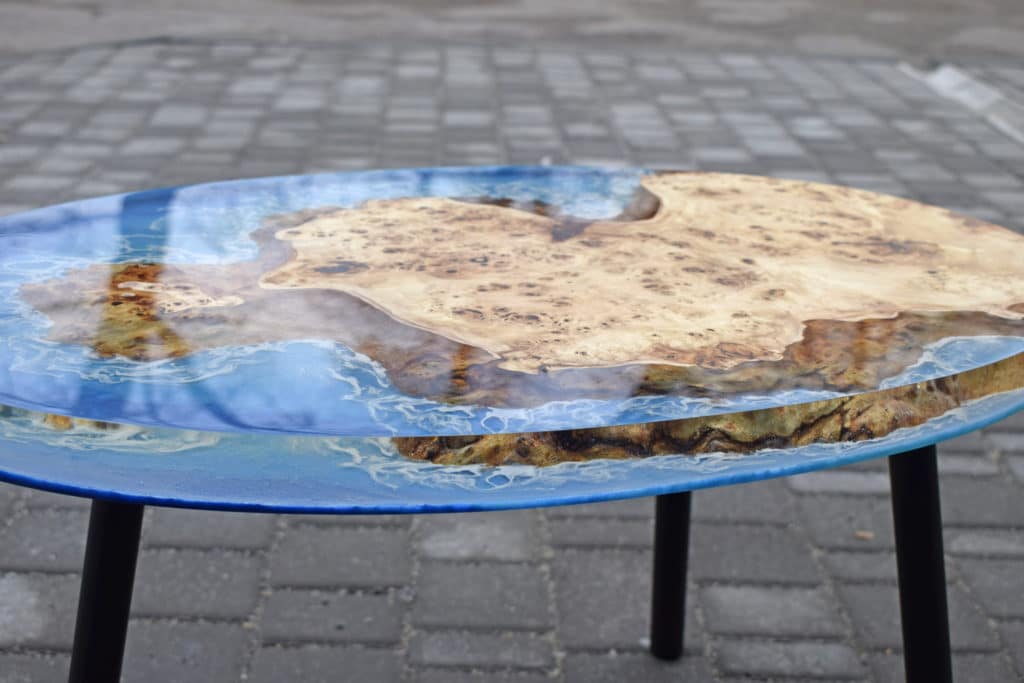
Step 5 – Unmolding, Sanding, and Sealing
Once your river table is perfectly cured, you can unmold it. Unscrew all screws, cut out the silicone and knock out all wooden strips with a hammer.
Sand all areas requiring to be sanded with a random orbital sander or waterproof sanding paper. We recommend starting at a grit of, for example, 150 and working your way up to at least 3000 or more. Once your river table is sanded to your liking, clean it and think about which kind of sealant would be the best for your need.
You can achieve a high gloss finish by simply polishing. To do so, use again your random orbital sander but this time with a buffing attachment.
Alternatively, you can also use oil, wax, or a PU varnish as a sealant.
Pro Tips: Let your sealant dry completely before using your table.
")
